
Somerset Regal L4-151 2.5L (1985)
Compressor Clutch Coil: Service and Repair
Delco Air/Harrison DA-V5 Variable Displacement Compressor
Removal
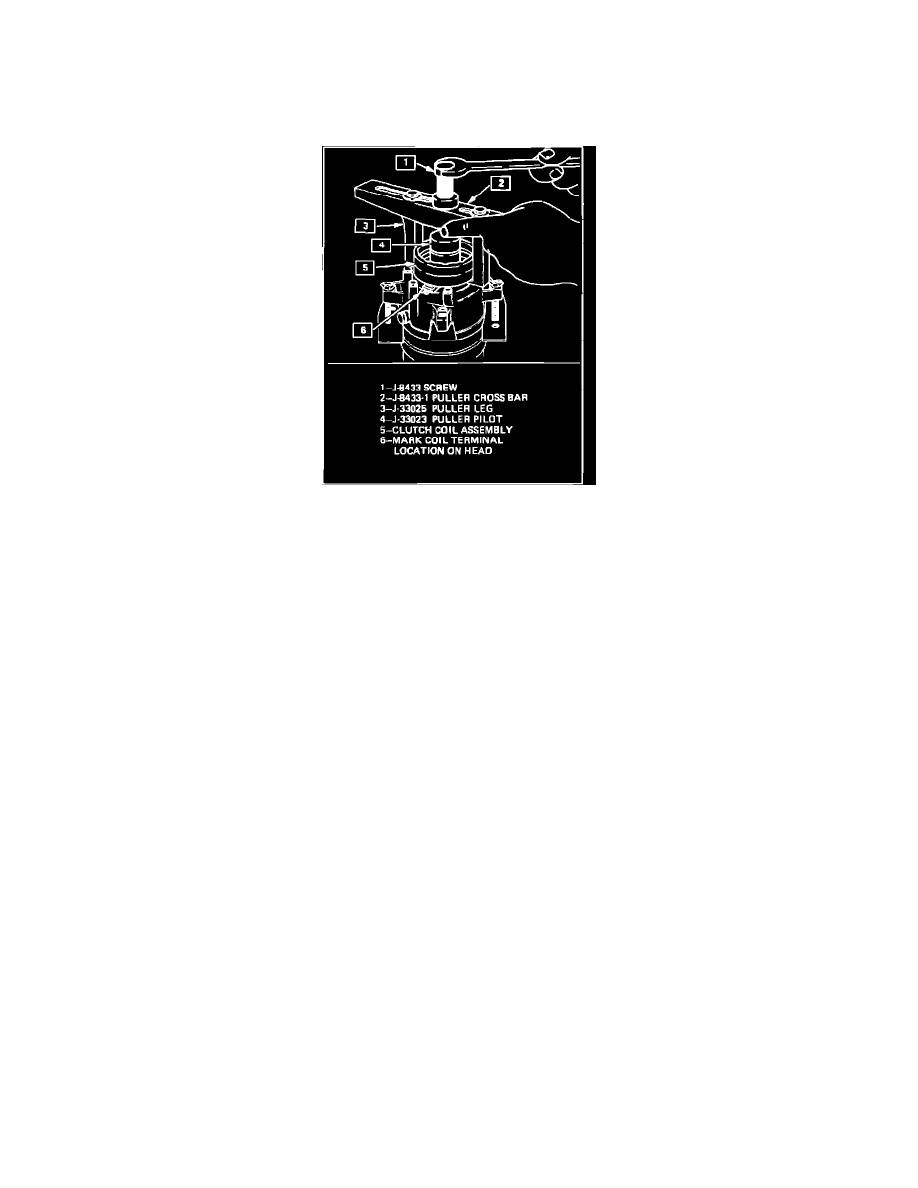
Fig. 6 Clutch coil removal
1.
Remove pulley rotor and bearing assembly from compressor as outlined.
2.
Mount puller pilot J-33023 and suitable puller on compressor as shown in Fig. 6.
3.
Mark position of coil terminals in relation to compressor head, then tighten puller screw to remove coil.
Installation
1.
Position replacement coil on compressor, aligning terminals with marks made during removal.
2.
Mount coil installer, puller crossbar and through bolts over coil, ensuring that all components are properly aligned.
3.
Tighten crossbar screw to press coil into position then remove installation tools.
4.
Stake coil to front head in 3 positions, 120 degrees apart, using 1/8 inch punch. Stakings should be approximately 1/2 the size of the punch tip
and .010-.015 inch deep.
5.
Reinstall rotor and bearing, and clutch plate and hub assemblies.