Catera V6-3.0L VIN R (1997)

Seat Belt Retractor: Service and Repair
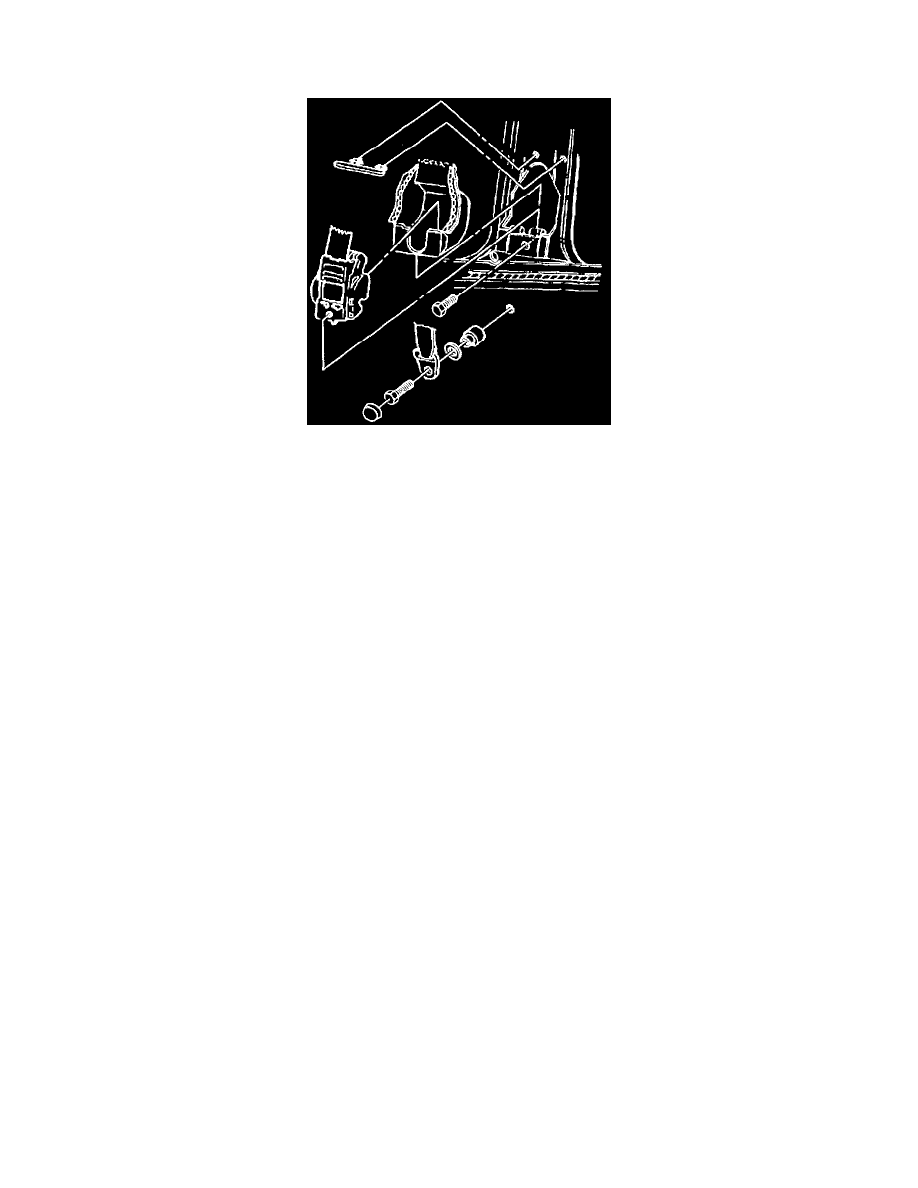
Driver Seat Retractor Side Belt Replacement
Description
Removal Procedure
1. Place the seat in the full forward and upright position.
2. Lower the center pillar trim panel by unsnapping.
3. Remove the front seat track rear trim screw.
4. Remove the front seat track front trim by unsnapping.
5. Remove the carpet retainer. Refer to Carpet Retainer in Interior Trim.
6. Remove the bolt from the driver seat retractor belt lower.
The bolt is located in the center lower pillar to rocker.
7. Remove the screws from the upper center pillar trim panel.
The screws are located in the upper center pillar trim panel.
8. Remove the driver seat retractor belt upper bolt from the front seat shoulder belt height adjuster. Refer to Front Seat Belt Height Adjuster.
9. Remove the screws from the front seat belt shoulder guide.
The screws are located under the upper center pillar trim panel.
10. Remove the bolt from the driver seat retractor belt.
Don't remove the front seat shoulder belt height adjuster when you service the seat belt retractors.
Installation Procedure
Notice: Refer to Fastener Notice in Service Precations.
1. Install the bolt to the driver seat retractor belt.
Tighten
Tighten the driver seat retractor belt bolt to 35 N.m (26 lb. ft).
