
Catera V6-3.0L VIN R (1997)
Axle Shaft Assembly: Service and Repair
GKN Drive Axle Assembly
REAR AXLE
^
Tool Required:
-
J 35566 Service Boot Clamp Pliers
1. Remove the old silicone sealing bead from the dust shield caps and the outer constant velocity joint surfaces.
2. Clean the dust shield cap and outer constant velocity joint surfaces.
3. Install the drive axle boot onto the drive axle shaft.
4. Install the dust shield cap onto the drive axle shaft.
Important: The joint inner race should take the pressing load during the next step.
5. Press the outer constant velocity joint onto the drive axle shaft:
A. Point the inner race identifying step toward the shaft shoulders.
B. Point the outer race identifying channel away from the shaft.
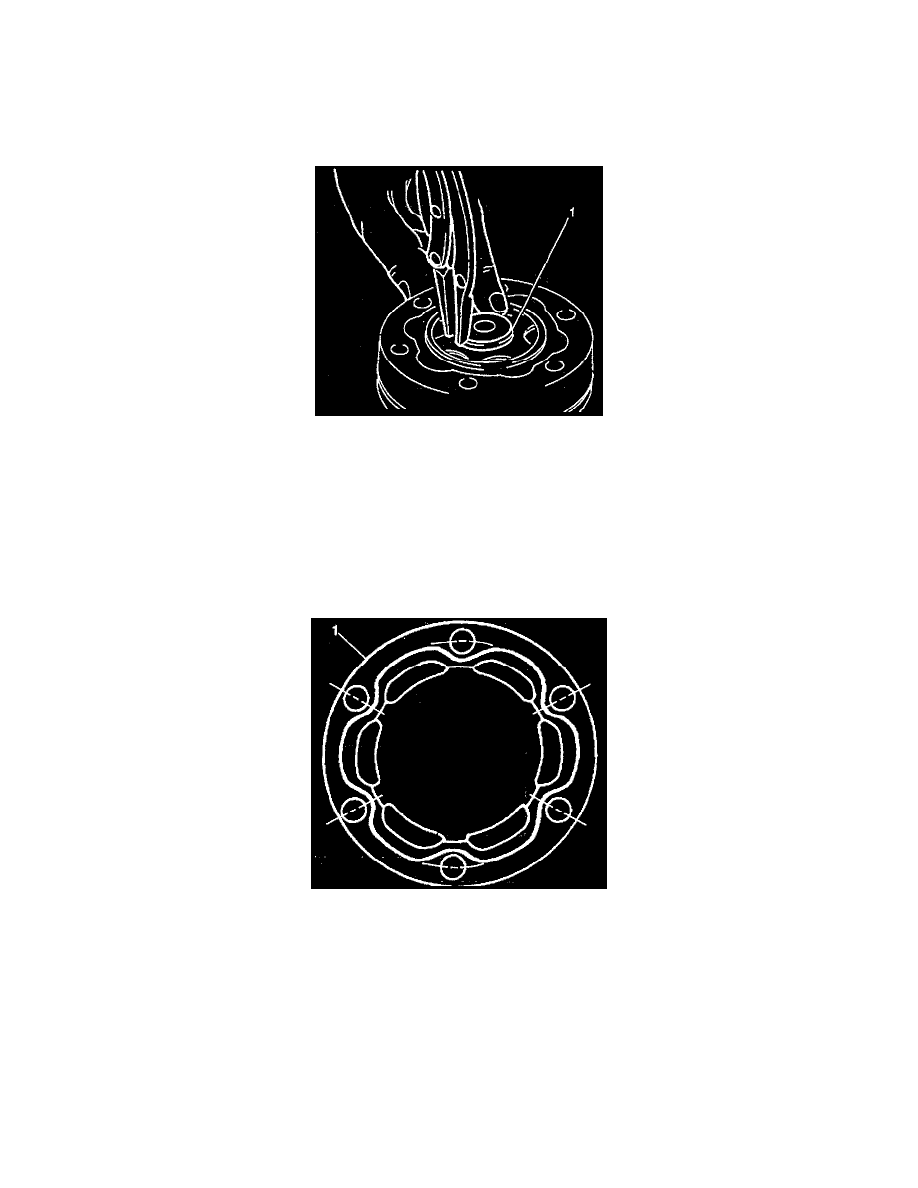
6. Install a new drive axle retaining ring (1).
7. Apply a 2 mm bead of RTV to both cap surfaces.
8. Allow the RTV to cure for about one hour.
9. Pack the inside section of the joint and boot with 40 g of grease.
10. Pack the outside section of the joint with 20 g of grease.
11. Position the inner/outer dust shield caps (1) onto the outer constant velocity joint, aligning all bolt holes.
12. Using a soft-faced mallet, tap the dust shields into place on the joint.