
DeVille V8-4.6L VIN Y (1998)
Ride Height Sensor: Adjustments
ADJUSTMENT PROCEDURE
The link must be attached to the height sensor arm and the suspension control arm during the adjustment.
1. Park the vehicle on a level floor.
2. Check the following:
^
Check the tire inflation pressures-and adjust if necessary.
^
Check the fuel level in the tank; the tank should be full or adjust the rear suspension loading to simulate a full fuel load: 3.75 liters (1 gallon)
weighs about 3.2 kg (7 lbs.).
^
No other load is in the vehicle.
3. Place the front seat in rear position.
4. Turn the ignition to ON to activate the system.
5. Bounce the rear of the vehicle three times to normalize the suspension.
6. Measure the trim height at the rear underbody points on both sides of the vehicle.
7. If the trim heights vary from side to side more than the specification allows, and BOTH trim heights are lower than the minimum specification,
then there is a problem with the rear springs or suspension.
IMPORTANT: DO NOT continue this procedure until the above suspension problem is corrected.
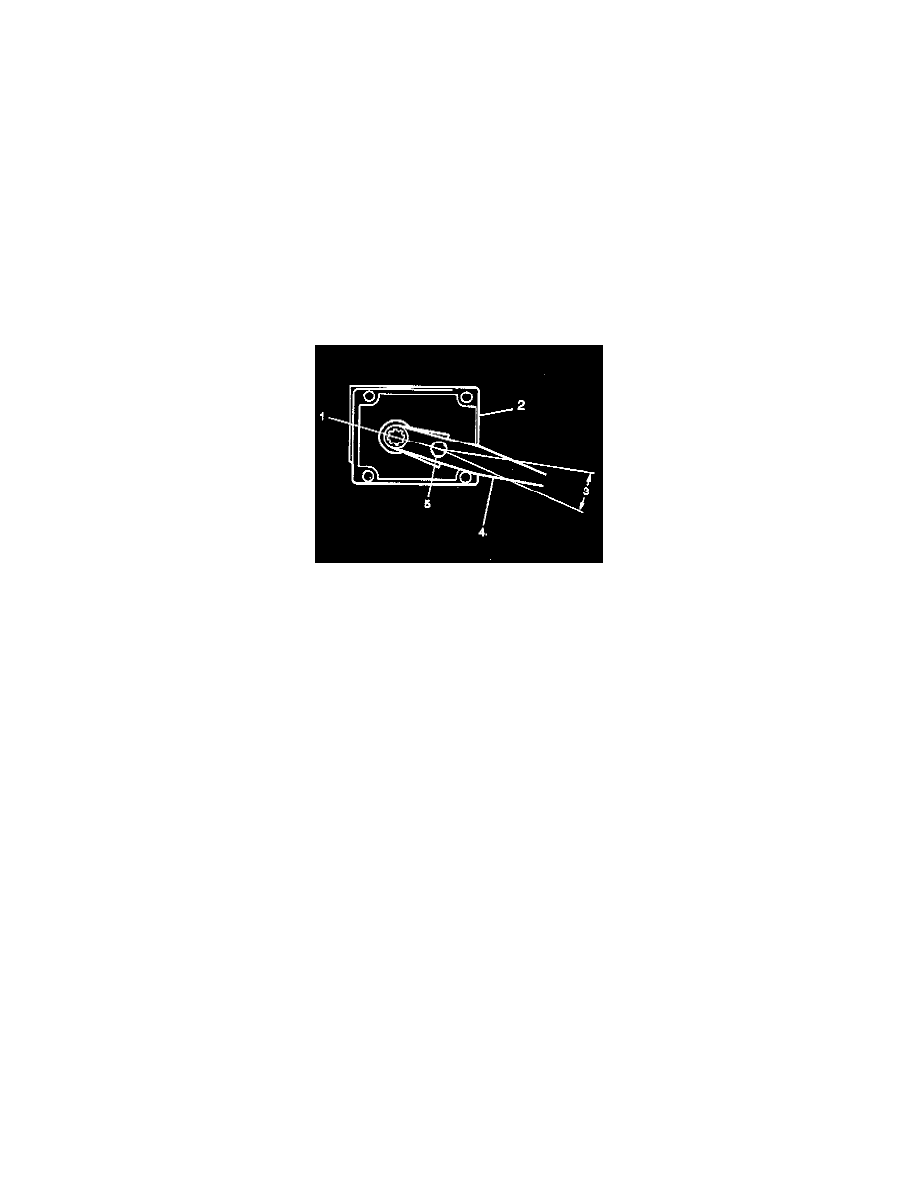
8. Loosen the lock bolt (5) that clamps the metal actuating arm (4) to the plastic actuating arm. To increase the trim height, move the plastic arm up
in relation to the metal arm; to decrease the trim height, move the plastic arm down in relation to the metal arm.
9. Tighten the lock bolt.
10. Bounce the rear of the vehicle three times to normalize the rear suspension.
11. Measure the trim height at the rear underbody points on both sides of the vehicle.
Optional Sensor Adjustment Method
Special Tool J 34825 may be used for sensor adjustment. Instructions are provided with the tool.