
DeVille DHS V8-4.6L VIN Y (2000)
Body Emblem: Service and Repair
Emblem/Nameplate Replacement
Emblem/Nameplate Replacement
Replacement Procedure (32 V Northstar)
1. Wash the affected panel (1) with a soap and water mixture.
2. Dry the affected panel using a clean cloth.
3. Remove all traces of adhesive from the panel and from the back of the emblem/nameplate using 3M General Purpose Adhesive Cleaner 08984 or
equivalent.
4. Wipe the panel (1) with a clean cloth and an alcohol and water mixture.
5. Using the dimensions, mark the proper position of the emblem/nameplate with a length of masking tape or a magnetic strip.
6. If the body is below 21°C (70°F), warm the affected panel with a heat lamp or a heat gun while proceeding with the following step.
7. If necessary, apply a double-coated acrylic foam tape such as 3M Super Automotive Attachment Tape (3M 06380 which has a white backing, 3M
06377 which has a black backing, or 3M 06382 which has a gray backing) or equivalent to the emblem/nameplate.
8. Align the emblem/nameplate with the panel.
9. Press the emblem/nameplate firmly in place to ensure proper adhesion.
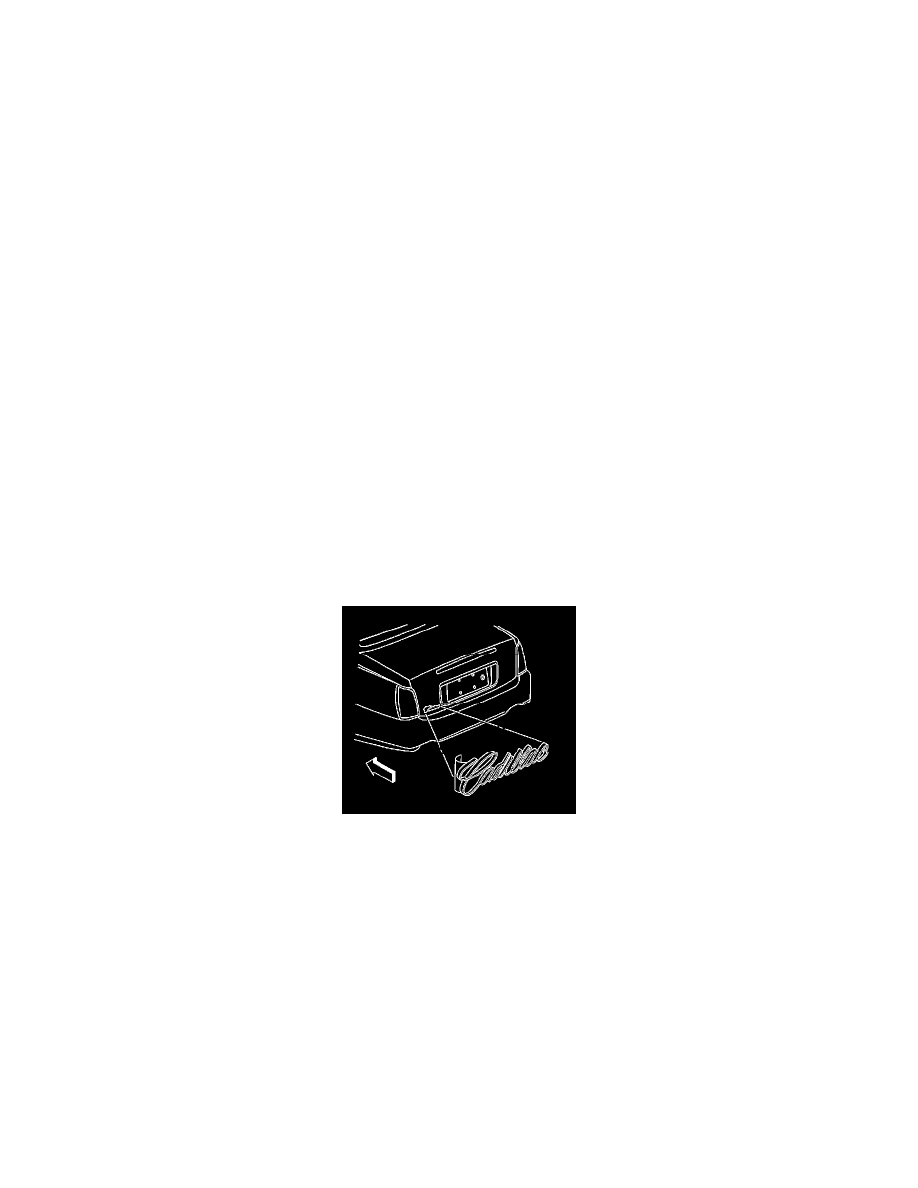
Replacement Procedure (Cadillac)
1. Wash the affected panel (1) with a soap and water mixture.
2. Dry the affected panel using a clean cloth.
3. Remove all traces of adhesive from the panel and from the back of the emblem/nameplate using 3M General Purpose Adhesive Cleaner 08984 or
equivalent.
4. Wipe the panel (1) with a clean cloth and an alcohol and water mixture.
5. Using the dimensions, mark the proper position of the emblem/nameplate with a length of masking tape or a magnetic strip.
6. If the body is below 21°C (70°F), warm the affected panel with a heat lamp or a heat gun while proceeding with the following step.
7. If necessary, apply a double-coated acrylic foam tape such as 3M Super Automotive Attachment Tape (3M 06380 which has a white backing, 3M
06377 which has a black backing, or 3M 06382 which has a gray backing) or equivalent to the emblem/nameplate.
8. Align the emblem/nameplate with the panel.
9. Press the emblem/nameplate firmly in place to ensure proper adhesion.
Replacement Procedure (Deville)
1. Wash the affected panel (1) with a soap and water mixture.
2. Dry the affected panel using a clean cloth.
3. Remove all traces of adhesive from the panel and from the back of the emblem/nameplate using 3M General Purpose Adhesive Cleaner 08984 or
equivalent.
4. Wipe the panel (1) with a clean cloth and an alcohol and water mixture.
5. Using the dimensions, mark the proper position of the emblem/nameplate with a length of masking tape or a magnetic strip.
6. If the body is below 21°C (70°F), warm the affected panel with a heat lamp or a heat gun while proceeding with the following step.
7. If necessary, apply a double-coated acrylic foam tape such as 3M Super Automotive Attachment Tape (3M 06380 which has a white backing, 3M
06377 which has a black backing, or 3M 06382 which has a gray backing) or equivalent to the emblem/nameplate.