
DeVille DTS V8-4.6L VIN 9 (2002)
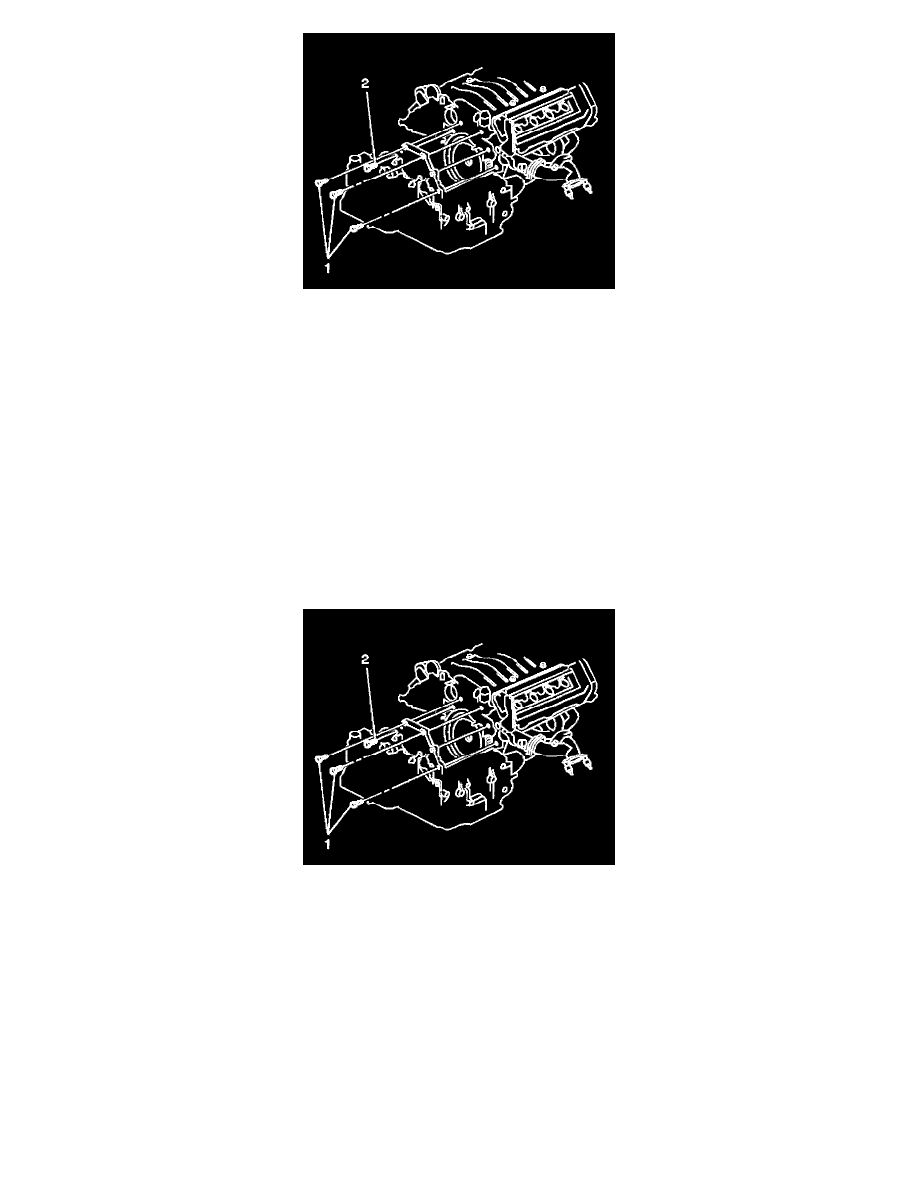
42. Remove the remaining transaxle to engine bolt (2).
43. Separate the transaxle from the engine.
44. Tilt the transaxle using the support jack enough to allow clearance for the starter nose cone.
Important: Ensure clearance is maintained between the transaxle and the following:
^
The brake pipes
^
The secondary AIR pipe
^
The power steering pressure hose
^
The wiring harnesses
45. Carefully lower the transaxle from the vehicle.
46. Complete the following if transaxle replacement is necessary:
^
Remove the transaxle cooler pipe,
^
Remove the left transaxle bracket.
^
Remove the rear transaxle bracket.
Installation Procedure
1. Complete the following if previously removed from the transaxle:
^
Install the rear transaxle bracket.
^
Install the left transaxle bracket.
^
Install the transaxle cooler pipe.
Important: Ensure clearance is maintained between the transaxle and the following:
^
The brake pipes
^
The secondary AIR pipe
^
The power steering pressure hose
^
The wiring harnesses
2. Carefully raise the transaxle to the engine in a tilted position in order to clear the starter nose cone.
3. Align the transaxle with the engine and position the transaxle onto the engine dowels.
Notice: Refer to Fastener Notice in Service Precautions.