Escalade ESV RWD V8-6.2L (2010)

1. Remove the air cleaner outlet duct. Refer to Air Cleaner Resonator Outlet Duct Replacement (See: Tune-up and Engine Performance Checks/Air
Cleaner Housing/Air Cleaner Fresh Air Duct/Hose/Service and Repair/Air Cleaner Resonator Outlet Duct Replacement).
2. If the vehicle is equipped with four wheel drive (4WD), remove the front drive axle. Refer to Differential Carrier Assembly Replacement (9.25
inch) (See: Transmission and Drivetrain/Differential Assembly/Service and Repair)Differential Carrier Assembly Replacement (8.25 inch) (See:
Transmission and Drivetrain/Differential Assembly/Service and Repair).
3. If the vehicle is equipped with 4WD, remove the front drive axle bracket bolts and bracket.
4. Remove the exhaust manifold. Refer to Exhaust Manifold Replacement - Right Side (See: Exhaust System/Exhaust Manifold/Service and
Repair/Exhaust Manifold Replacement - Right Side).
5. Remove the air conditioning (A/C) compressor bracket. Refer to Air Conditioning Compressor Bracket Replacement (HP2) (See: Heating and
Air Conditioning/Compressor HVAC/Service and Repair/Removal and Replacement/Air Conditioning Compressor Bracket Replacement)Air
Conditioning Compressor Bracket Replacement (Non-HP2) (See: Heating and Air Conditioning/Compressor HVAC/Service and
Repair/Removal and Replacement/Air Conditioning Compressor Bracket Replacement).
Note: DO NOT raise and/or support the engine by the crankshaft balancer or oil pan.
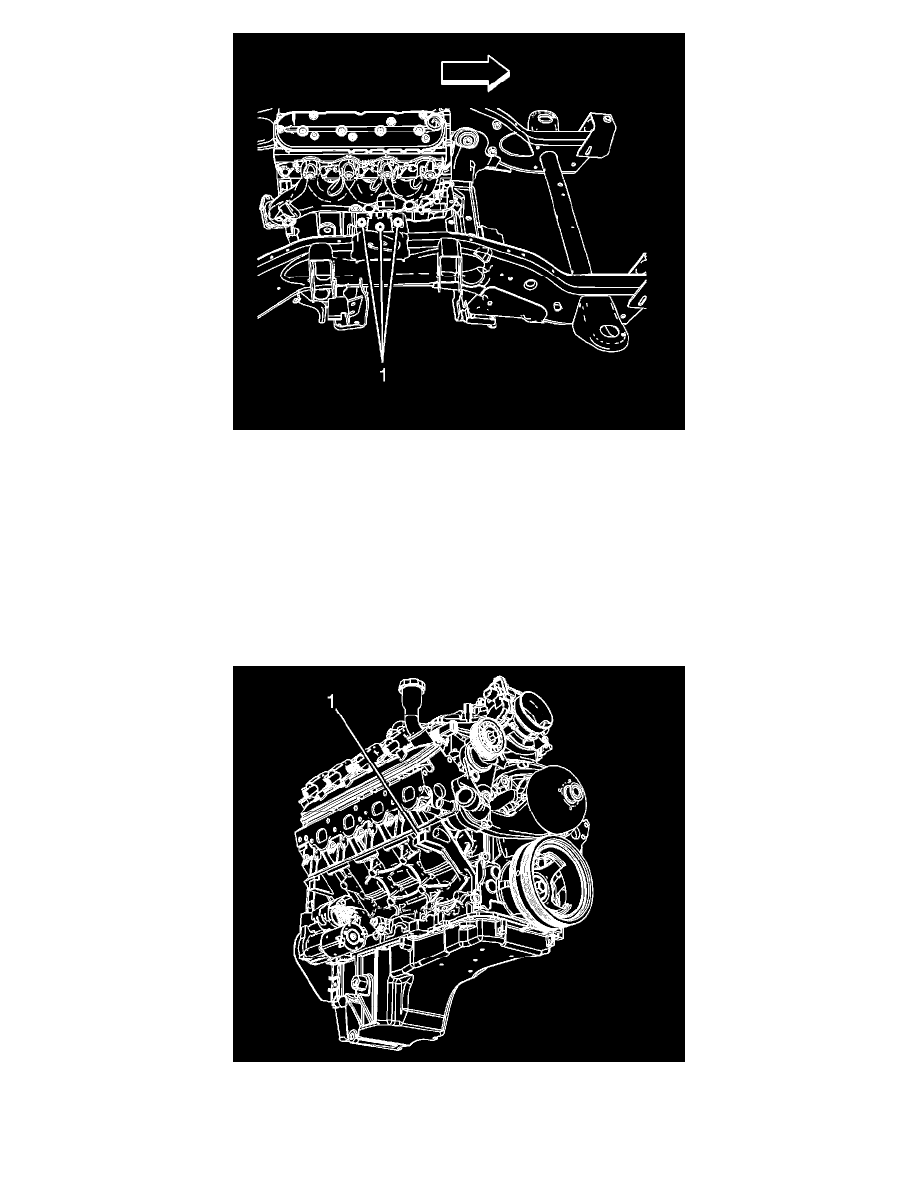
6. Place an adjustable (screw type) jack to the tab (1) located on the engine block.
7. Remove the engine mount to frame bolts (1).
