
Escalade AWD V8-6.0L Hybrid (2010)
Caution: Support the brake caliper with heavy mechanic wire, or equivalent, whenever it is separated from its mount and the hydraulic flexible
brake hose is still connected. Failure to support the caliper in this manner will cause the flexible brake hose to bear the weight of the caliper, which
may cause damage to the brake hose and in turn may cause a brake fluid leak.
Note: Remove the brake caliper and bracket as a single unit. It is not necessary to separate them.
8. Remove the 2 brake caliper bracket mounting bolts.
9. Remove the caliper and bracket assembly and support with heavy mechanics wire or equivalent.
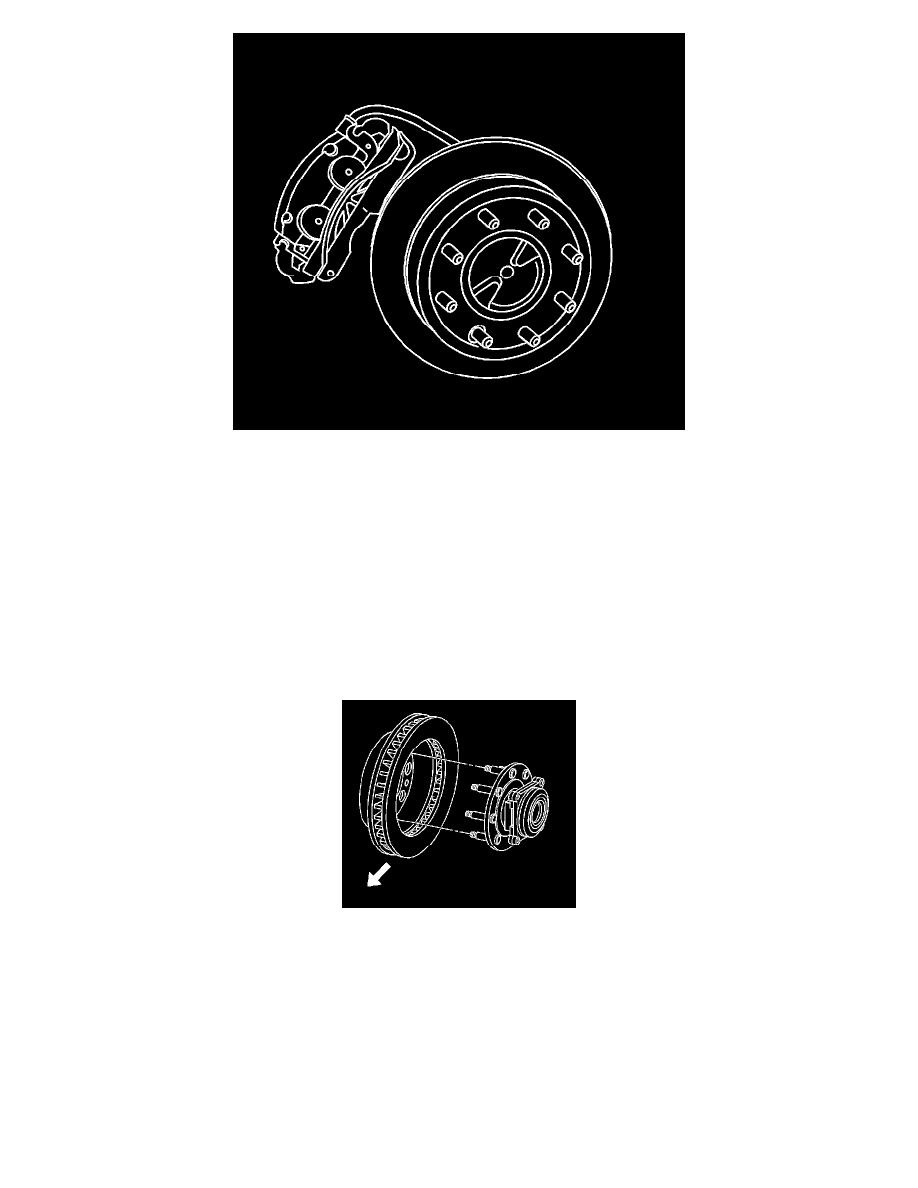
10. Remove the rotor retaining push nuts from the wheel studs, if applicable.
11. It may be necessary to strike the end of the hub or the rotor with a deadblow hammer to separate the rotor from the hub.
1. Install the wheel nuts on the wheel studs to protect the ends of the wheel studs.
2. Strike the brake rotor between the wheel studs to separate the brake rotor from the wheel hub.
3. Remove the wheel nuts.
12. Remove the brake rotor.
13. If the brake does not separate from the wheel hub, perform the following steps.
*
Clean all the surface areas and the threaded holes of contamination.
*
Generously apply penetrating oil or the equivalent to the hub/rotor area.
*
Insert 2 M10 x 1.5 bolts into the threaded holes of the rotor.
*
Tighten both bolts evenly to force the rotor from the hub.
Installation Procedure
Note: Whenever the brake rotor has been separated from the hub/axle flange, any rust or contaminants should be cleaned from the hub/axle flange
and the brake rotor mating surfaces. Failure to do this may result in excessive assembled lateral runout (LRO) of the brake rotor, which could lead
to brake pulsation.