
Escalade EXT AWD V8-6.2L (2009)
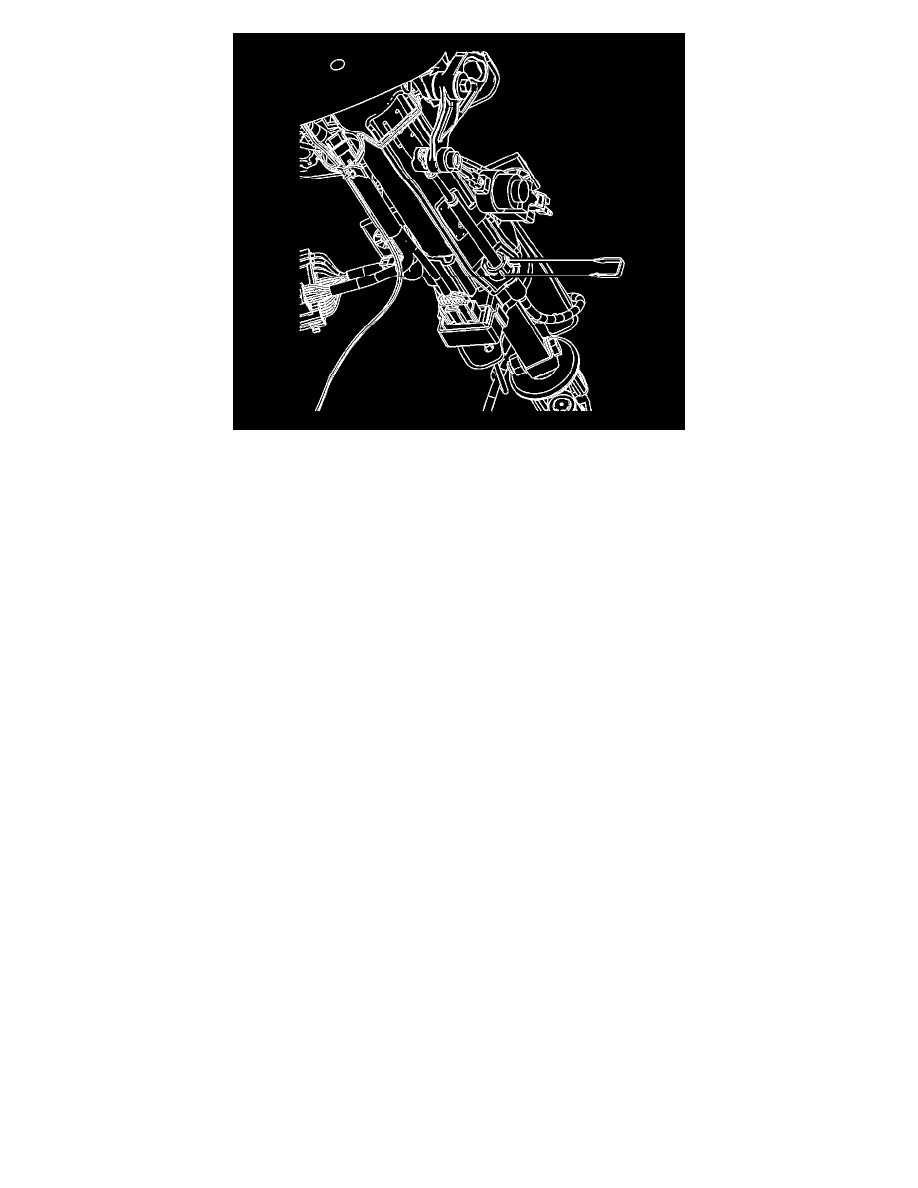
14. Install the retainer securing the cable to the steering column.
15. Position the carpet and insulation around the driver area.
16. Install the driver seat. Refer to Front Seat Replacement - Bucket (Tahoe with HP2) (See: Body and Frame/Seats/Service and Repair/Front Seat
Replacement - Bucket)Front Seat Replacement - Bucket (without HP2) (See: Body and Frame/Seats/Service and Repair/Front Seat Replacement
- Bucket).
17. Install the instrument panel knee bolster. Refer to Knee Bolster Replacement (Except Cadillac) (See: Body and Frame/Interior Moulding /
Trim/Dashboard / Instrument Panel/Service and Repair)Knee Bolster Replacement (Cadillac) (See: Body and Frame/Interior Moulding /
Trim/Dashboard / Instrument Panel/Service and Repair).
18. Test the transmission for proper shift operation.
19. If all of the gear positions cannot be achieved, adjust the cable. Refer to Range Selector Lever Cable Adjustment (See: Adjustments).
Range Selector Lever Cable Bracket Replacement
Range Selector Lever Cable Bracket Replacement