Fleetwood V8-368 6.0L VIN 9 FI (1982)

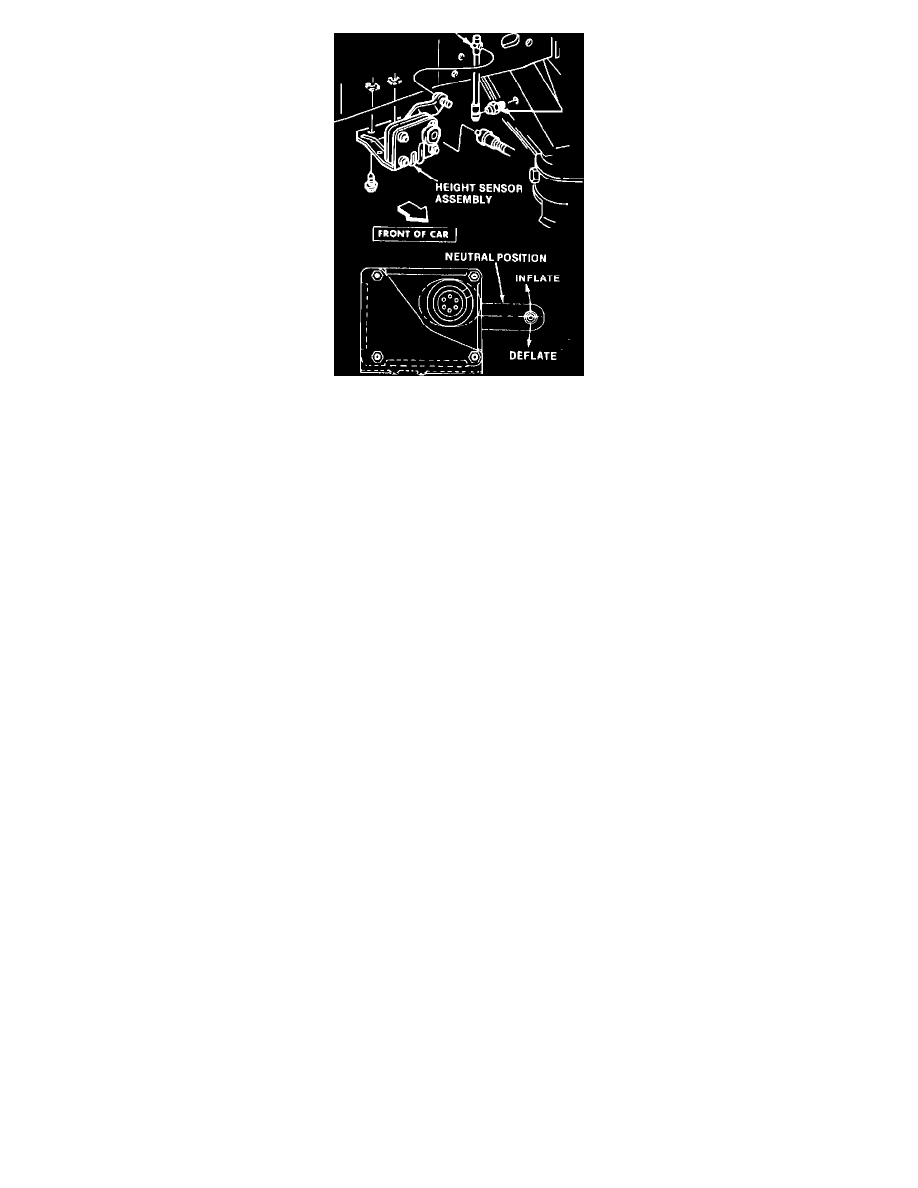
Fig. 11 Height sensor installation. Eldorado, Riviera, Seville & Toronado
1982-85
1.
Reset height sensor time limit accumulators as outlined in step 2 of ``Systems Operational Test.''
2.
Raise vehicle on hoist. If frame hoist is being used, support rear axle as close as possible to the normal position when vehicle is at curb weight.
This can be done by using a suitable jack or stands.
3.
Disconnect link from height sensor arm.
4.
Disconnect and re-connect wiring to height sensor to assure resetting the sensor time limit function.
5.
Refer to Figs. 9 through 11 to determine the neutral position of the height sensor arm. This is the approximate trim position when the vehicle is
level.
6.
Move arm about 1 1/2 inches above the neutral position, Figs. 9 through 11. There should be a 14---28 second delay on Cadillac, Toronado,
Riviera, 1985 Electra, Park Avenue and 98, or a 8---15 second delay on other models before compressor turns on and shock absorbers start to
inflate. As soon as shock absorber air springs noticeably fill, stop compressor by moving sensor arm down. Note arm position when compressor
stops.
7.
Move arm about 1 1/2 inches below the position where the compressor stopped, Figs. 9 through 11. There should be a 14---28 second delay on
Cadillac, Toronado, 1985 Electra, Park Avenue and 98, or a 8---15 second delay on other models before shock absorbers start to deflate.
