
Fleetwood V8-368 6.0L VIN 9 FI (1982)
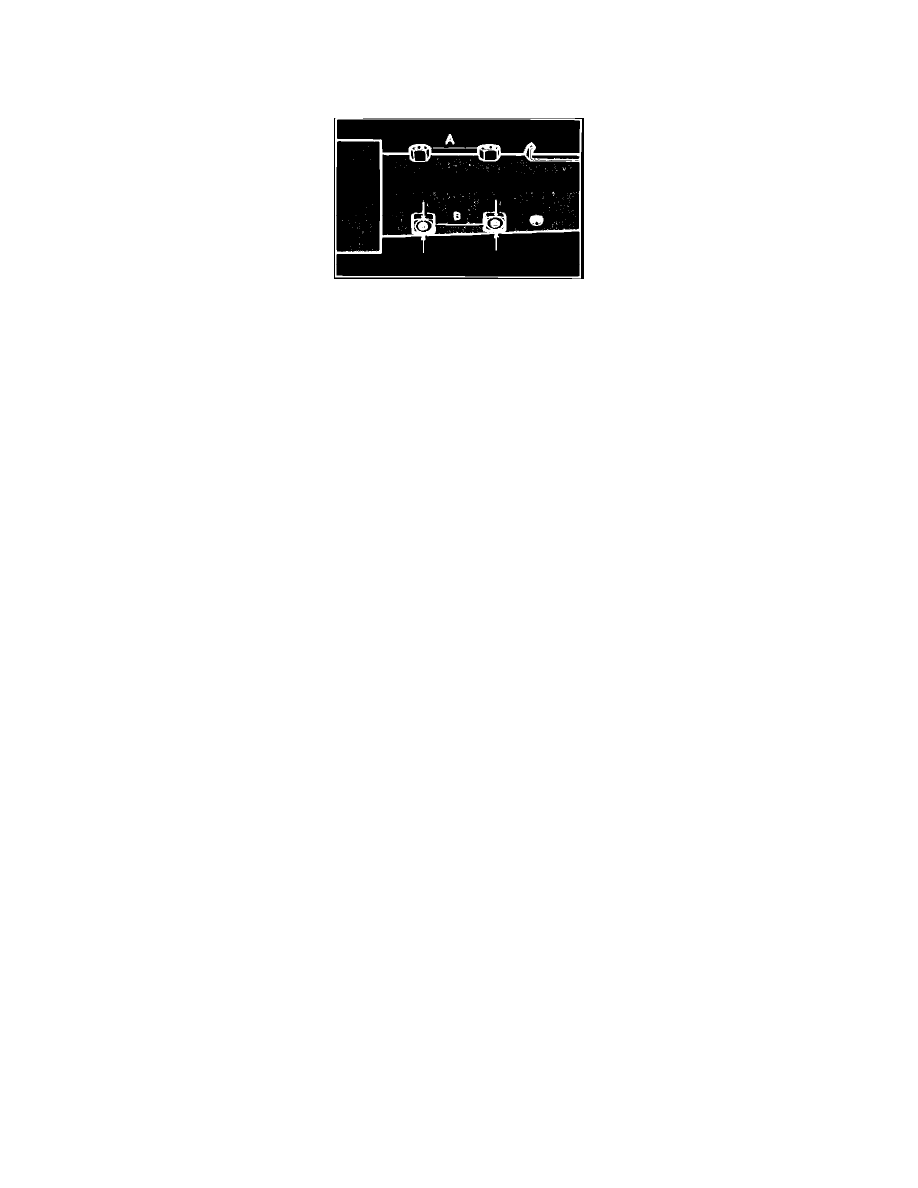
Fig. 28 Fixed key release steering column exploded view. Cavalier, Cimarron, Firenza, Skyhawk & 2000/Sunbird; 1985---87 Calais, Grand Am & Somerset Regal; 1986---87 Skylark
EXCEPT CHEVETTE & 1000
Refer to Figs. 26, 27 and 28 for steering column component identification.
Fig. 29 Steering column clamping points
Disassembly
1.
Remove dash panel bracket and store bracket in a safe place to prevent damage to mounting capsules.
2.
Place column in a vise using both weld nuts of either set A or B, Fig. 29. The vise jaws must clamp onto the sides of weld nuts indicated by arrows
shown on set B. Do not place column in vise by clamping onto only one weld nut, by clamping on one weld nut of both sets A and B or by
clamping onto the sides not indicated by arrows, as damage to column could result.
3.
Inspect steering shaft to determine type of thread used for steering shaft nut. Metric type shafts can be identified by a groove located in area of
steering wheel locating splines, while shafts with American type threads do not have this groove. If shaft has metric type threads, the forcing screw
of Lock Plate Compressor Tool J-23653 must be removed and replaced with the metric forcing screw J-23653-4 before installing lock plate
compressor tool on steering shaft. Compress lock plate using lock plate compressor tool, then pry snap ring from shaft groove and discard wing.
Remove lock plate compressor tool and lock plate.
4.
Remove directional signal switch, lock cylinder and ignition key warning switch, then remove steering shaft from lower end of column.
5.
On power steering columns, remove steering shaft lower bearing from plastic adapter at lower end of column.
6.
Remove four turn signal housing to column jacket retaining screws and remove housing and shroud assembly.
7.
Remove three shroud to signal housing retaining screws and remove shroud.
8.
Using hand as shield to prevent lock inhibitor lever spring wire from flying out, remove lock inhibitor lever and spring wire.
9.
Lift ignition switch actuating rod, rack assembly, shaft lock bolt and spring assembly from housing, then if necessary, remove rack preload spring.
10.
Remove ignition switch actuator sector through lock cylinder hole by pushing firmly on block tooth of sector with a blunt punch or screwdriver.
Steering Column - Without Key Release