
Fleetwood FWD V8-273 4.5L (1988)
11.
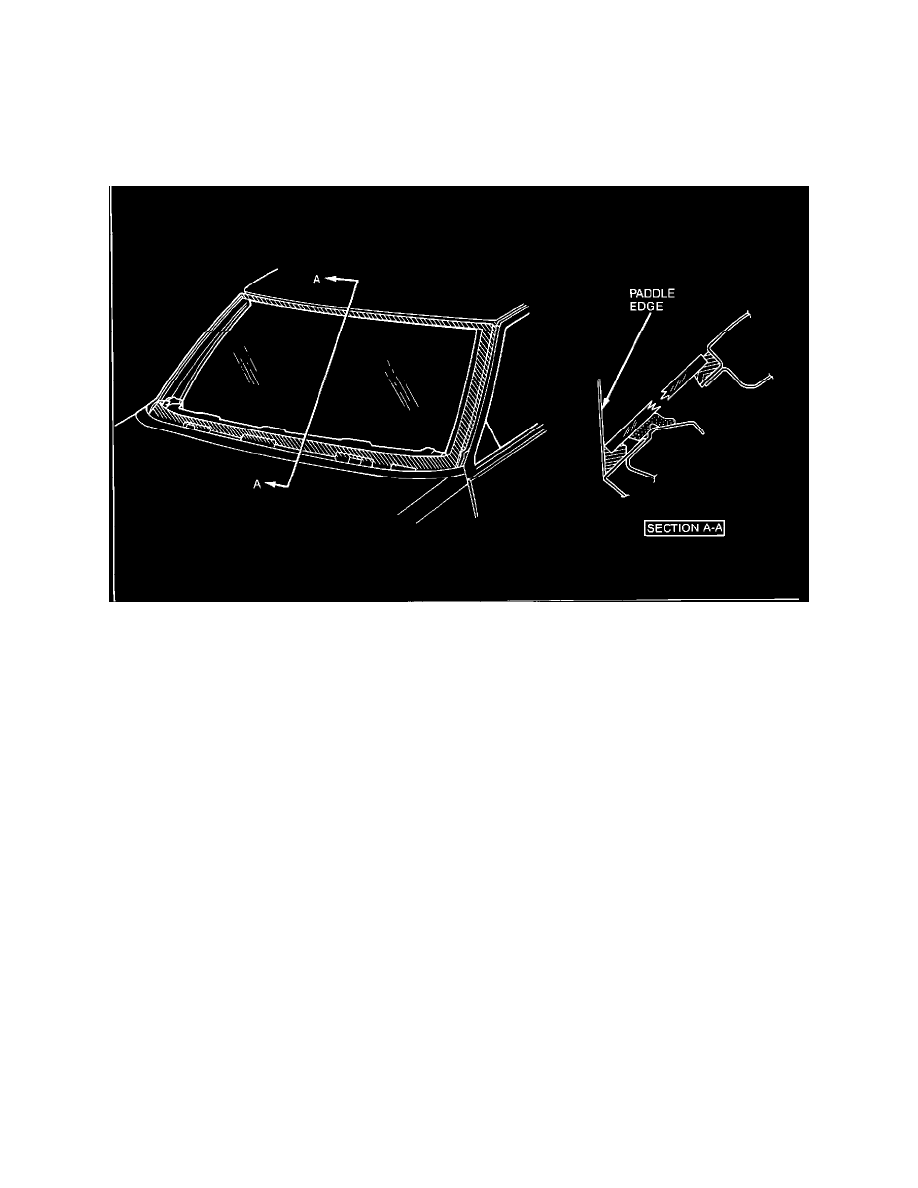
Trim urethane dispense tip as shown in Figure 4, View A.
12.
Apply urethane bead to glass ensuring a bead size of 7 mm wide by 8-10 mm high.
13.
Position glass in opening onto spacers. With glass centered in opening, place glass on lower supports and use tape applied in step 8 to carefully
place glass in proper position.
14.
Press glass firmly to wet-out and set adhesive. Use care to avoid excessive squeeze out which may cause an appearance problem.
FIGURE 5 - FILLING VOIDS IN SEAL
15.
Except where push-in molding will be inserted, paddle excess urethane around glass to ensure water-tight seal. If necessary, paddle additional
material to fill voids in seal, refer to Figure 5.
16.
Remove protective coverings from body.
17.
Install "push-in" type reveal moldings.
18.
If reveal moldings won't stay in proper position, use cloth waterproof tape to hold them in position until adhesive is cured.
19.
Water test car using a soft spray. Use warm or hot water if available. Do not direct hard stream of water at fresh adhesive material. If any leaks are
found, paddle in extra adhesive at leak point using a small disposable brush or flat-bladed tool. Water applied on top of urethane adhesive will
speed up the cure of the urethane.
20.
Install remaining reveal moldings and wiper arms.
21.
Vehicle must be kept at a minimum of 65~ F for six hours to allow material to cure.
22.
Remove tape.
For warranty purposes use Labor Operation C0034 at 1.7 hours.