
SRX 2WD V8-4.6L VIN A (2004)
For the XLR
^
Build the vehicle.
^
Select Vehicle Control Systems.
^
Select Computer/Integrating Systems.
^
Select ECU Identification Information.
^
Select CDX.
^
Read the CDX Software Version.
Important:
If the vehicle has a Remote CD Changer with a software version earlier than 3.52, audio operation can be temporarily restored by removing the
fuse specified as follows for 30 seconds and then reinstalling it. If the vehicle is an SRX, remove and then reinstall the 15 amp Audio Fuse
located in the Left Rear Fuse Block. If the vehicle is an XLR, remove and then reinstall the 15 amp Radio/Audio fuse located in the BCM
(Body Control Module).
2.
If the vehicle has a Remote CD changer with a software version earlier than 3.52, obtain a replacement Remote CD Changer from your Authorized
Electronic Service Center and proceed to Step 4. The replacement Remote CD Changer will have updated software already installed.
3.
If the vehicle has any of the conditions listed above, with a Remote CD Changer that has a software version later than 3.52, proceed with normal
entertainment system diagnosis. Refer to the Diagnostic Starting Point-Entertainment procedure in SI to begin diagnosis, SI Document.
4.
Remove the Remote CD Changer from the vehicle.
Note:
When servicing an XLR, use extreme care when removing and installing the Console and Instrument Panel trim plates as they can be easily
damaged. When removing and installing the Console Trim plate, the Cupholder Door MUST be in the open position or it will be damaged.
Firm fingertip pressure should be used (local to each clip) to disengage the four clips that retain the Console Trim plate. The Console Trim
plate should not be raised any higher than necessary to disengage a clip until all four clips are disengaged. Extreme care must be taken to
ensure that the Instrument Panel trim plate is not scratched when removing or installing the Console Trim plate.
5.
Install the new Remote CD Changer. Technicians must remember to remove the Travel Pin from the bottom of the Remote CD Changer prior to
installation of the unit into the vehicle.
6.
Verify the proper operation of the audio, navigation and OnStar(R) systems.
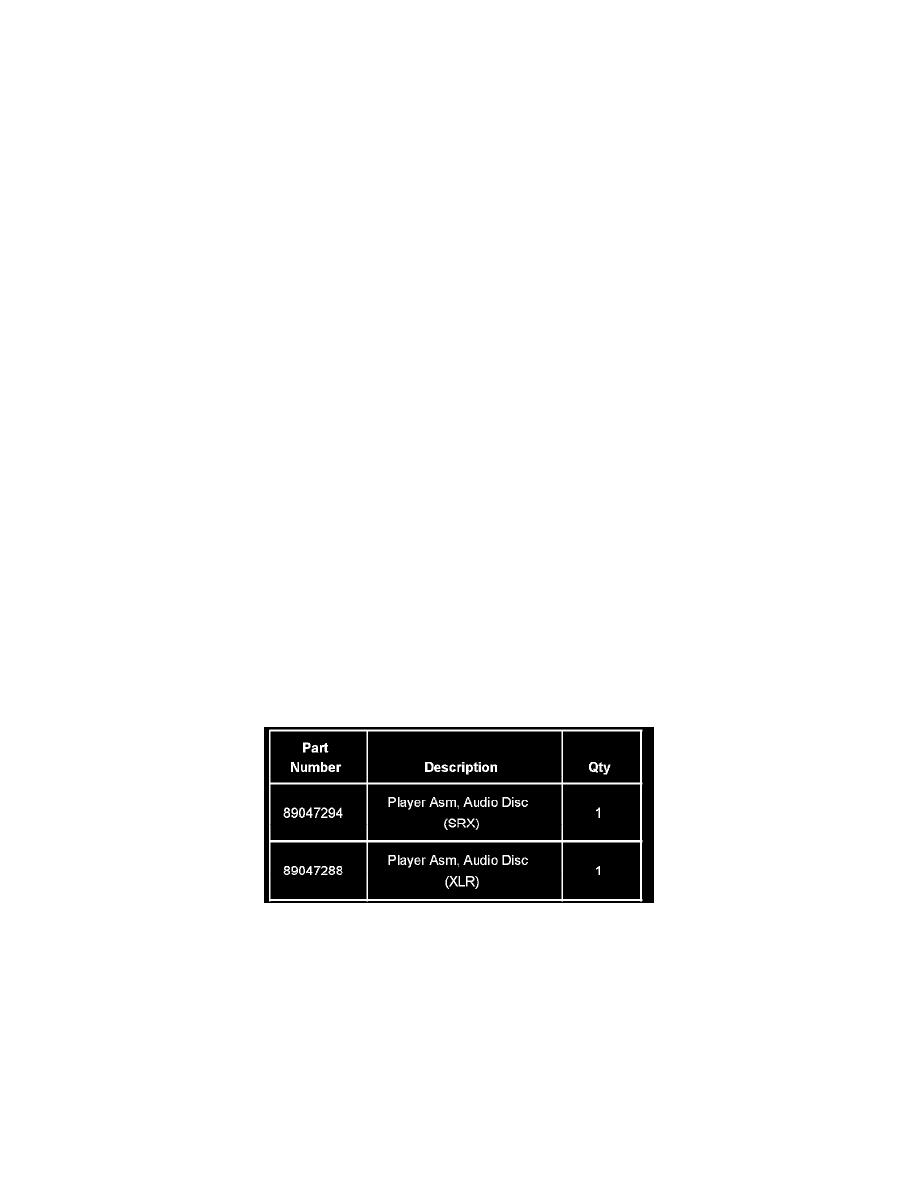
Parts Information
Parts are currently available through your Authorized Electronic Service Center.
Warranty Information