
SRX AWD V6-3.0L (2010)
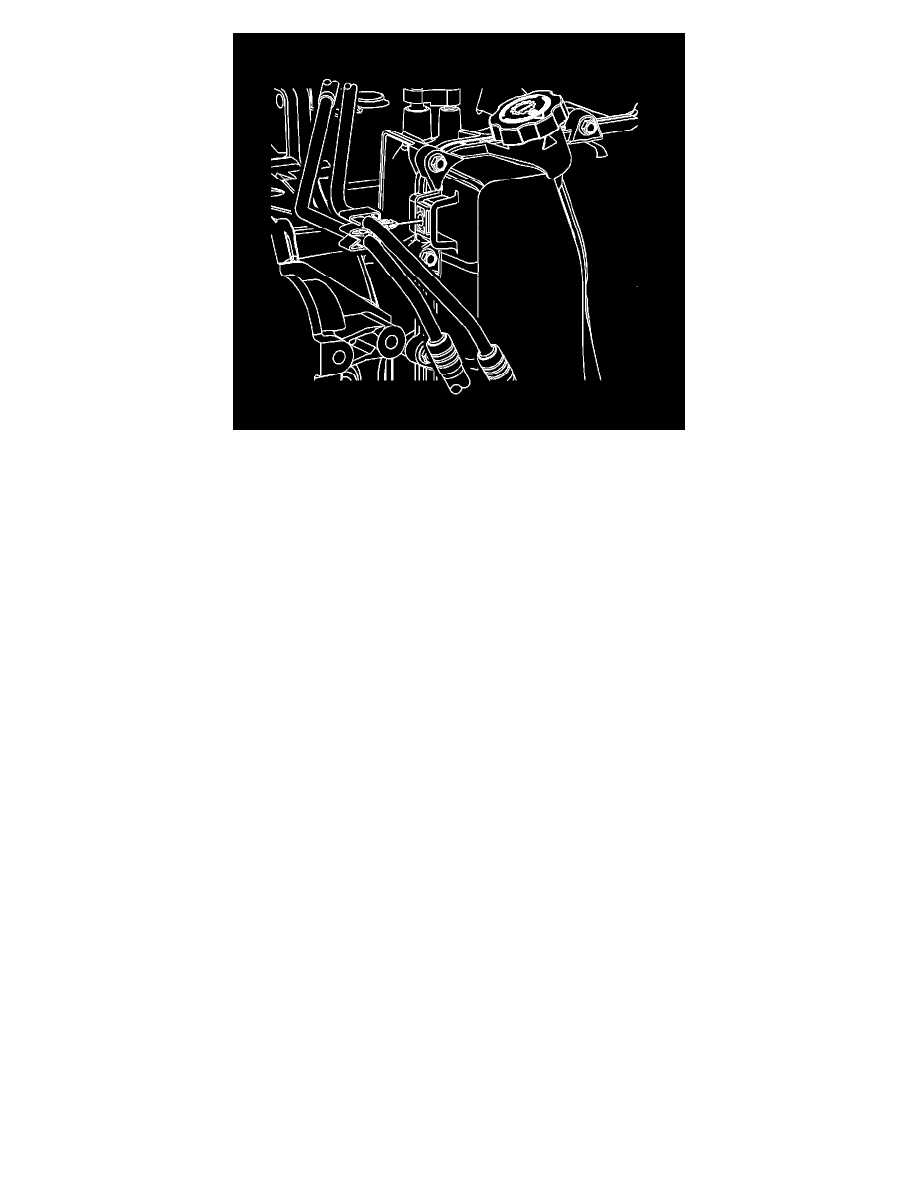
11. Install the oil cooler inlet and outlet hoses to the retainer on the control valve body cover.
12. Install the wire harness retainer to the control valve body cover stud.
13. Tighten the nut to 12 Nm (106 lb in).
14. Install the front transmission mount. Refer to Transmission Front Mount Replacement (See: Transmission Mount/Service and Repair/6T70/6T75
- Automatic Transmission/Transmission Front Mount Replacement).
15. Install the radiator lower baffle and deflector assembly. Refer to Radiator Air Lower Deflector Replacement (See: Body and Frame/Spoilers,
Flaps, and Air Dams/Air Dam/Service and Repair).
16. Lower the vehicle.
17. Install the battery tray. Refer to Battery Tray Replacement (See: Starting and Charging/Battery/Battery Tray/Service and Repair).
18. Fill the transmission. Refer to Transmission Fluid Replacement ().
19. Install the front compartment front sight shield. Refer to Front Compartment Front Sight Shield Replacement (See: Body and Frame/Doors, Hood
and Trunk/Doors/Front Door/Service and Repair).
20. Check for leaks.
Control Valve Lower Body and Upper Body Replacement
Control Valve Lower Body and Upper Body Replacement
Removal Procedure
1. Remove the control valve body cover. Refer to Control Valve Body Cover Replacement (See: Control Valve Body Cover Replacement).