
SRX AWD V6-3.0L (2010)
Quarter Window Glass: Service and Repair
Quarter Window Replacement
Special Tools
*
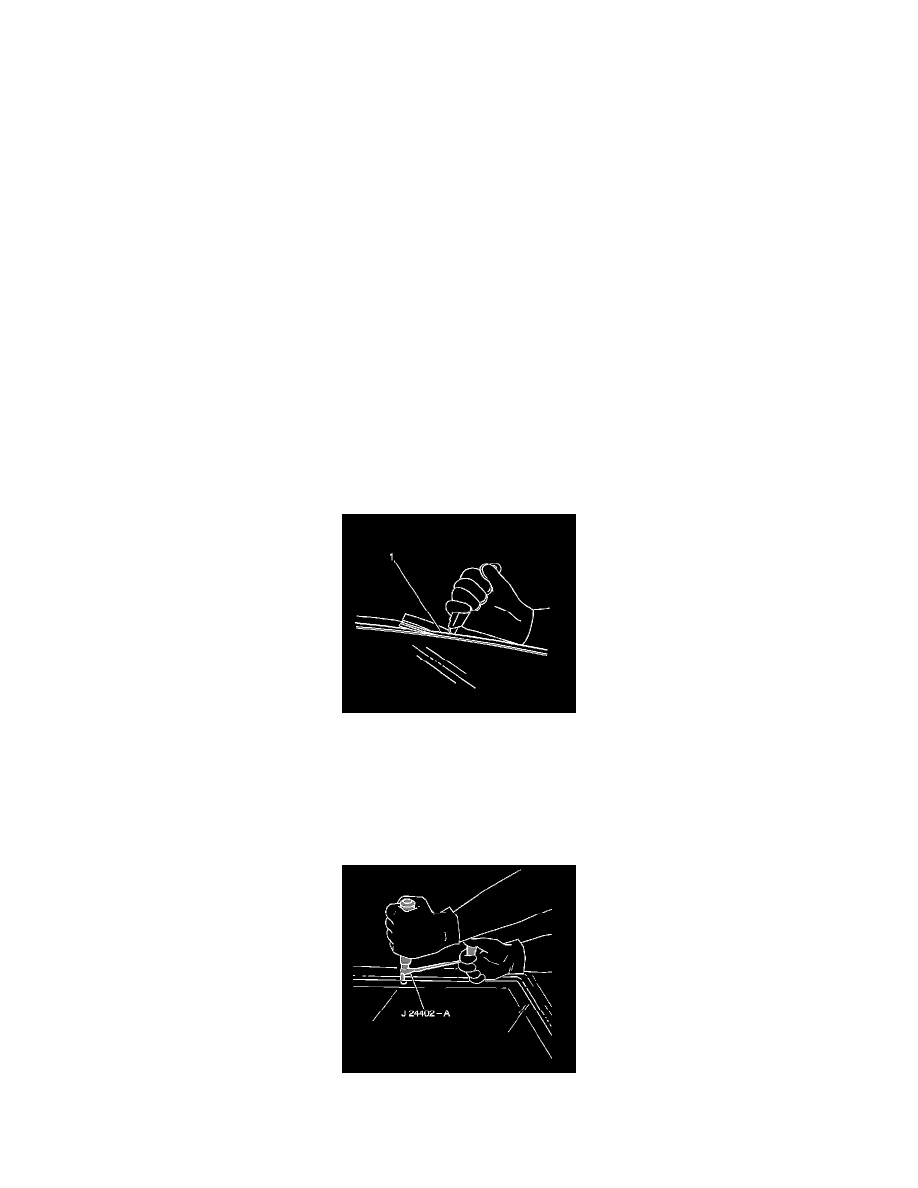
J 24402-A Glass Sealant (Cold Knife) Remover
*
J 39032 Stationary Glass Removal Tool
*
Use a urethane adhesive systems which meet GM Specification GM 3651G
Removal Procedure
Warning
If a window is cracked but still intact, crisscross the window with masking tape in order to reduce the risk of damage or personal injury.
Note: Before cutting out a stationary window, apply a double layer of masking tape around the perimeter of the painted surfaces and inner trim.
1. Remove the rear quarter trim panel. Refer to Quarter Upper Trim Panel Replacement (See: Body and Frame/Interior Moulding / Trim/Trim
Panel/Service and Repair/Quarter Upper Trim Panel Replacement)
2. Disconnect the electrical connector from the window.
Warning: Refer to Defroster Outlet Warning (See: Heating and Air Conditioning/Service Precautions)
3. Cover to protect the following parts from broken glass:
1. Upper dash pad
2. Defroster outlets and A/C outlets
3. Seats and carpeting
Warning: Refer to Glass and Sheet Metal Handling Warning (See: Body and Frame/Service Precautions/Glass and Sheet Metal Handling
Warning)
Note: The urethane adhesive fills the cavities between the body and window.
4. Use a utility knife in order to cut around the outer and inner window edge (1).
5. Use care not to cut off the window retainers on the inside edge.
Note: Keep the cutting edge of the tool against the window.
6. This will allow the urethane adhesive to be separated from the window.