
SRX AWD V6-3.6L (2008)
Caution: In order to prevent SIR deployment, personal injury, or unnecessary SIR system repairs, do not strike the door or the door pillar in the
area of the side impact sensor (SIS). Turn OFF the ignition and remove the key when performing service in the area of the SIS.
1. Remove the front seats. Refer to Bucket Seat Replacement (See: Seats/Service and Repair/Removal and Replacement/Bucket Seat Replacement) .
2. Remove the center console. Refer to Front Floor Console Replacement (Left Hand Drive) (See: Console/Service and Repair)Front Floor Console
Replacement (Right Hand Drive) (See: Console/Service and Repair) .
3. Remove the rear seat. Refer to Rear Seat Replacement (See: Seats/Service and Repair/Removal and Replacement/Rear Seat Replacement) .
4. Remove the front carpet retainers. Refer to Front Carpet Retainer Replacement (See: ) .
5. Remove the rear carpet retainers. Refer to Rear Carpet Retainer Replacement (See: ) .
6. Remove the center pillar garnish moldings. Refer to Center Pillar Garnish Molding Replacement (See: Trim Panel/Service and Repair) .
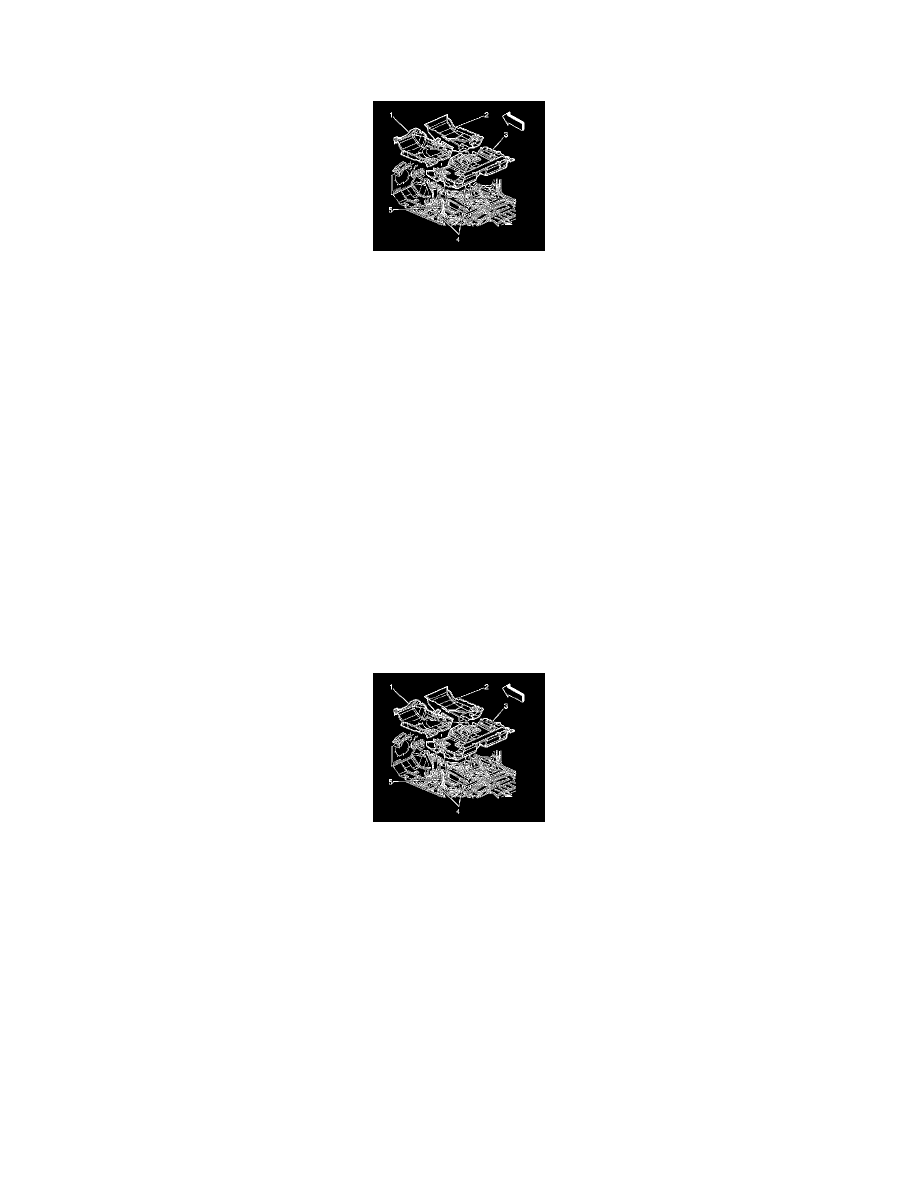
7. Using a J 38778 disconnect the push-in retainers at the rear ducts.
8. Carefully lift the rear carpet in order to disengage the front floor ducts (4) from the rear floor duct assembly.
9. Remove the intermediate carpet (3) from the vehicle.
10. Using the J 38778 disconnect the push-in retainers from the air ducts to carpet.
11. Remove the air ducts from the carpeting.
Installation Procedure
1. Place the rear air distribution ducts to the carpet.
2. Install the push-in retainers in order to secure the air distribution ducts to the intermediate carpet.
Caution: All floor pan insulator material must meet Federal Vehicle Safety Standards for flammability. Failure to do so could result in personal
injury and/or vehicle damage.
Caution: In order to avoid personal injury or vehicle damage when you repair or replace the carpet, use the same thickness and material size as
the original installation. Always return the carpet to the original location.
3. Place the carpet (3) into the vehicle.
4. Ensure the electrical connectors are exposed above the carpeting.
5. Angle the front edge of the carpeting in order to attach the HVAC ducts to the front carpeting duct assembly (4).
6. Ensure the floor ducts are securely attached to the floor duct assembly.
7. Install new push-in retainers.
8. Press the carpet to the floorpan in order to remove any distortion from the carpet.
9. Install the center pillar garnish moldings. Refer to Center Pillar Garnish Molding Replacement (See: Trim Panel/Service and Repair) .
10. Install the rear carpet retainers. Refer to Rear Carpet Retainer Replacement (See: ) .
11. Install the front carpet retainers. Refer to Front Carpet Retainer Replacement (See: ) .
12. Install the center console. Refer to Front Floor Console Replacement (Left Hand Drive) (See: Console/Service and Repair)Front Floor Console
Replacement (Right Hand Drive) (See: Console/Service and Repair) .
13. Install the front seats. Refer to Bucket Seat Replacement (See: Seats/Service and Repair/Removal and Replacement/Bucket Seat Replacement) .
14. Install the rear seat. Refer to Rear Seat Replacement (See: Seats/Service and Repair/Removal and Replacement/Rear Seat Replacement) .
Rear Carpet Retainer Replacement
Rear Carpet Retainer Replacement