
SRX AWD V6-3.6L (2008)
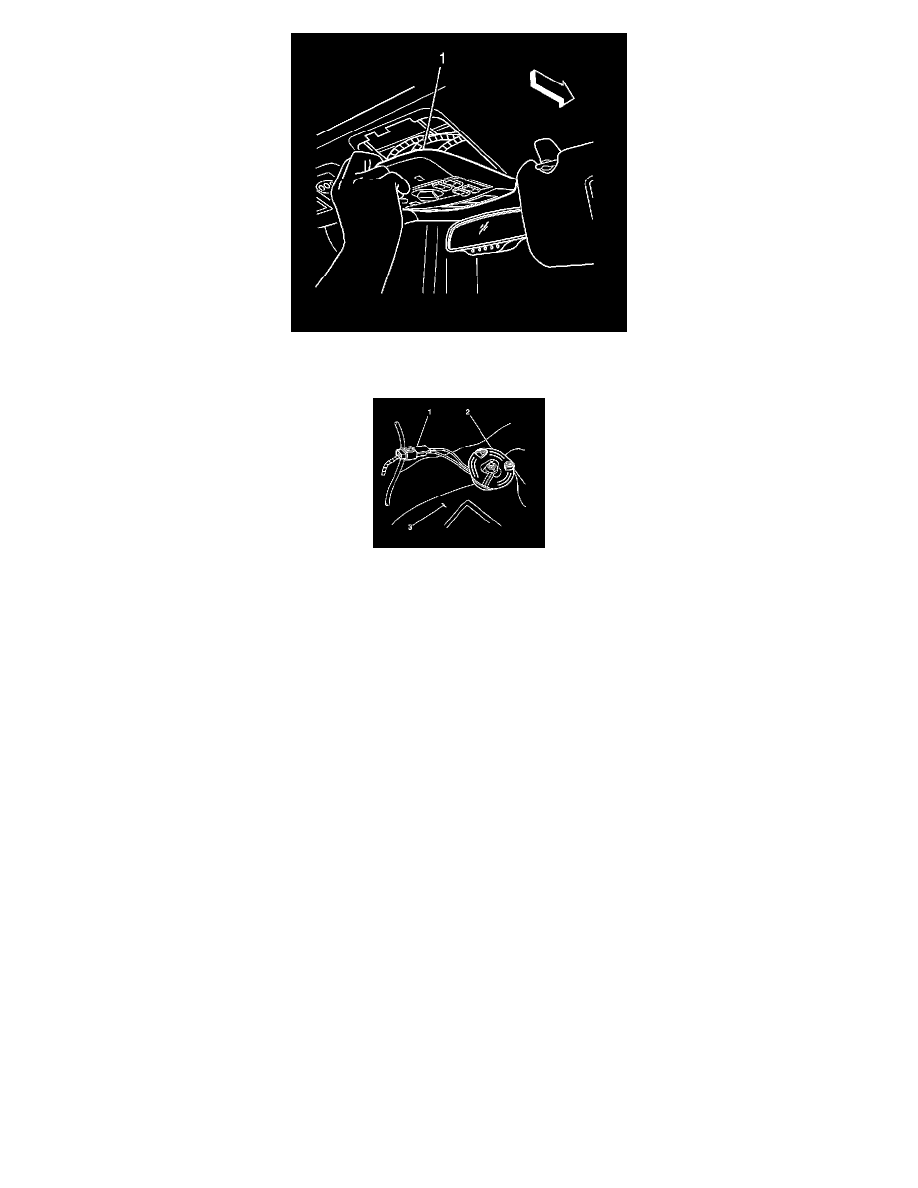
12. Remove the overhead console (1). Refer to Roof Console Replacement (See: Console/Service and Repair) .
13. Remove the sunshades. Refer to Sunshade Replacement (See: Sun Visor/Service and Repair) .
Important: The sunshades are secured to the headliner with a 2-piece retainer clip/spacer (2).
14. Ensure that the 3 screws on each side are retrieved as the headliner is lowered.
Important: Note the size and location of the retainers for installation.
15. Remove the fasteners for the sunshade rod retainers.
16. Remove the sunshade rod retainers.
17. Disconnect the mirror connector.
18. Remove the cargo lamp. Refer to Cargo Lamp Replacement (See: Lighting and Horns/Cargo Lamp/Service and Repair/Cargo Lamp Replacement)
.
19. Remove the dome lamp. Refer to Dome Lamp Replacement (See: Lighting and Horns/Dome Lamp/Service and Repair/Dome Lamp Replacement)
.
20. Disconnect the antenna module. Refer to Radio Antenna Module Replacement (See: Accessories and Optional Equipment/Antenna/Antenna,
Radio/Service and Repair/Radio Antenna Module Replacement) .
21. Disconnect the radio control module.
22. Remove the right side sound insulator.
23. Disconnect the rear washer hose front the connector at the right side lower instrument panel compartment.
24. Disconnect the washer hose at the liftgate.
25. Pull away the exterior weatherstrips on the front window and/or rear vent window opening to the headliner.
26. Disconnect the inline electrical connectors.
Notice: Use care when removing or installing the headliner. Excessive bending will damage the headliner.