
SRX AWD V6-3.6L (2008)
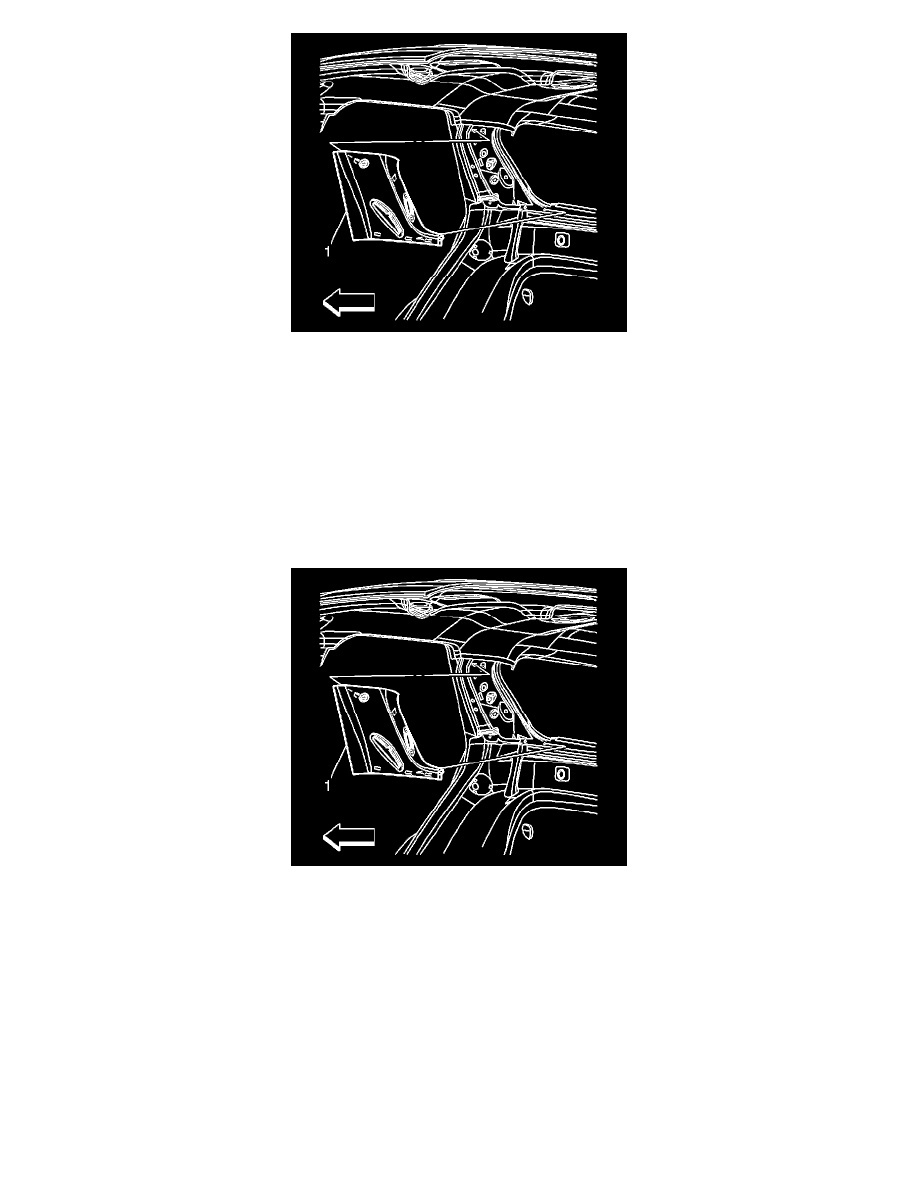
2. Remove the screw from the garnish molding (1).
3. Remove the side door garnish molding by pulling the panel from the locator holes.
4. Remove the seat belt guide from the garnish molding.
5. Remove the seat belt anchor bolt. Refer to Seat Belt Retractor Replacement - No. 1 Rear (See: Restraint Systems/Seat Belt Systems/Seat Belt
Retractor/Service and Repair/Seat Belt Retractor Replacement - No. 1 Rear) .
6. Slide the seat belt through the garnish molding.
7. Remove the garnish molding.
Installation Procedure
1. Insert the seat belt through the garnish molding.
2. Insert the seat belt guide into the garnish molding.
3. Align the retainers on the side door garnish molding (1) with the holes in the body pillar.
4. Push the panel inward in order to secure the retainers.
5. Install the seat belt anchor bolt. Refer to Seat Belt Retractor Replacement - No. 1 Rear (See: Restraint Systems/Seat Belt Systems/Seat Belt
Retractor/Service and Repair/Seat Belt Retractor Replacement - No. 1 Rear) .
Notice: Refer to Fastener Notice .
6. Install the garnish molding screw.
Tighten the screw to 2 N.m (18 lb in).
7. Install the air bag screw cover.
Windshield Pillar Garnish Molding Replacement