
SRX AWD V6-3.6L (2008)
10. Measure the tracks side-to-side to ensure that both tracks are parallel.
Notice: Refer to Fastener Notice (See: Service Precautions/Vehicle Damage Warnings/Fastener Notice) .
11. Secure the track to drive tube retainers.
Tighten the screws to 5 N.m (44 lb in).
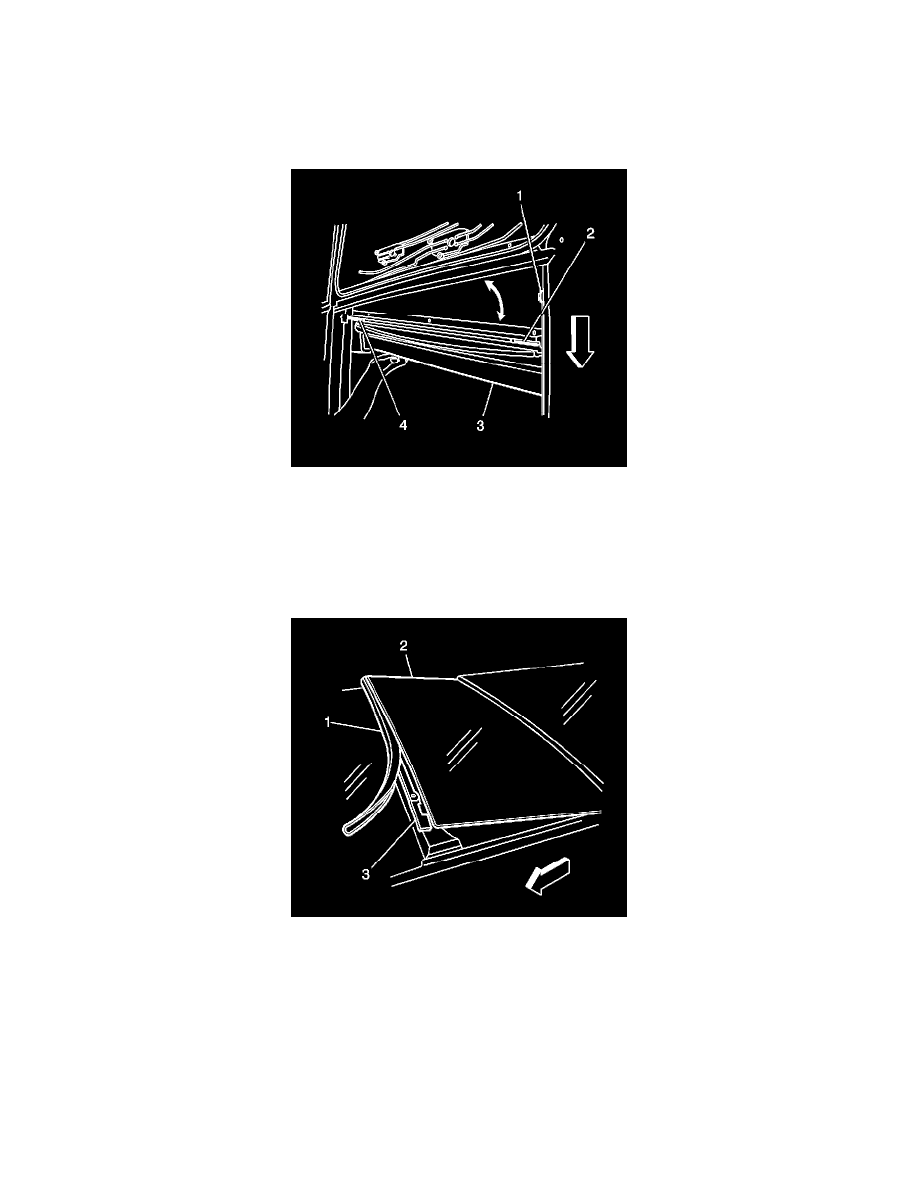
12. Install the front sunshade assembly (3). Refer to Sunroof Sunshade Assembly Replacement (Rear) (See: Sun Shade/Service and Repair/Sunroof
Sunshade Assembly Replacement (Rear))Sunroof Sunshade Assembly Replacement (Front) (See: Sun Shade/Service and Repair/Sunroof
Sunshade Assembly Replacement (Front)) .
13. Install the headliner. Refer to Headlining Trim Panel Replacement (See: Interior Moulding / Trim/Headliner/Service and Repair) .
14. Install the front sunroof window. Refer to Sunroof Window Replacement (Front) (See: Sunroof / Moonroof Panel/Service and Repair)Sunroof
Window Replacement (Rear Vent) (See: Sunroof / Moonroof Panel/Service and Repair)Sunroof Window Replacement (Center) (See: Sunroof /
Moonroof Panel/Service and Repair)Sunroof Window Replacement (Rear Stationary) (See: Sunroof / Moonroof Panel/Service and Repair) .
15. Install the center window panel (2). Refer to Sunroof Window Replacement (Front) (See: Sunroof / Moonroof Panel/Service and Repair)Sunroof
Window Replacement (Rear Vent) (See: Sunroof / Moonroof Panel/Service and Repair)Sunroof Window Replacement (Center) (See: Sunroof /
Moonroof Panel/Service and Repair)Sunroof Window Replacement (Rear Stationary) (See: Sunroof / Moonroof Panel/Service and Repair) .
16. Perform the sunroof front window/sunshade initialization procedure. Refer to Sunroof Front Window/Sunshade Initialization Process (See:
Description and Operation/Sunroof Front Window/Sunshade Initialization Process) .
Sunroof Window Cable Assembly Replacement (Rear)
Sunroof Window Cable Assembly Replacement (Rear)
Removal Procedure