
SRX AWD V6-3.6L (2008)
*
J 45689 A/C Quick Connect Joint Tool
Removal Procedure
1. Recover the refrigerant from the system. Refer to Refrigerant Recovery and Recharging (See: Heating and Air Conditioning/Service and
Repair/Refrigerant Recovery and Recharging) .
2. Remove the air cleaner assembly. Refer to Air Cleaner Assembly Replacement (See: Filters/Air Cleaner Housing/Service and Repair) .
3. Remove the surge tank. Refer to Radiator Surge Tank Replacement (Left Hand Drive) (See: Engine, Cooling and Exhaust/Cooling
System/Coolant Reservoir/Service and Repair)Radiator Surge Tank Replacement (Right Hand Drive) (See: Engine, Cooling and Exhaust/Cooling
System/Coolant Reservoir/Service and Repair) .
4. Disconnect the electrical connector from the wiper motor.
5. Disconnect the engine harness electrical connector.
6. Remove the surge tank outlet hose bracket nuts from the cowl.
7. Reposition the surge tank outlet hose.
8. Remove the brake booster. Refer to Power Vacuum Brake Booster Replacement (LHD) (See: Brakes and Traction Control/Power Brake
Assist/Vacuum Brake Booster/Service and Repair/Power Vacuum Brake Booster Replacement (LHD))Power Vacuum Brake Booster Replacement
(RHD) (See: Brakes and Traction Control/Power Brake Assist/Vacuum Brake Booster/Service and Repair/Power Vacuum Brake Booster
Replacement (RHD)) .
9. Raise and support the vehicle. Refer to Lifting and Jacking the Vehicle (See: Vehicle Lifting/Service and Repair) .
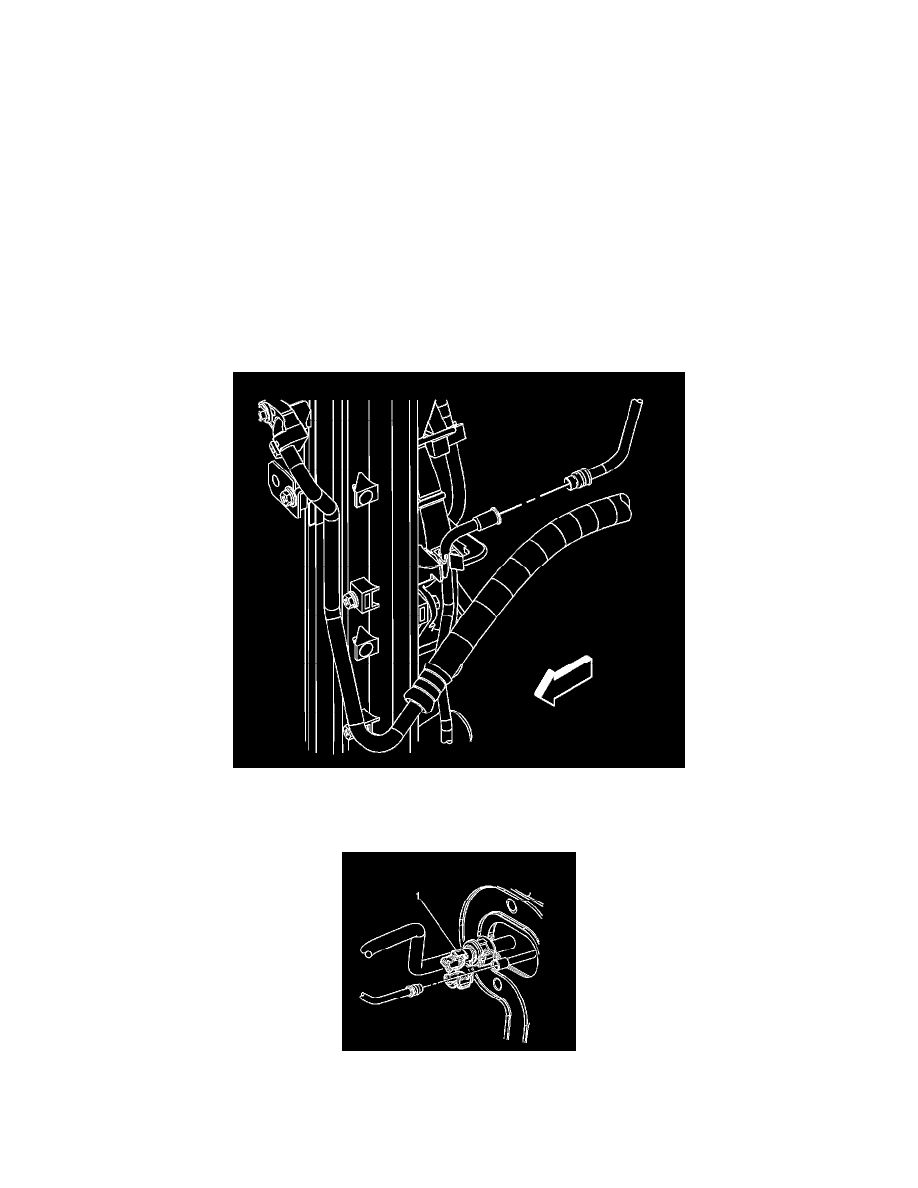
10. Remove the liquid line quick connect fitting from the condenser tube. Refer to Air Conditioning Line/Tube Connector Removal/Replacement (
See: Air Conditioning Line/Tube Connector Removal/Replacement) .
11. Disconnect the liquid line from the condenser tube.
12. Remove the liquid line quick connect fitting (1) from the evaporator. Refer to Air Conditioning Line/Tube Connector Removal/Replacement (See:
Air Conditioning Line/Tube Connector Removal/Replacement) .
13. Disconnect the liquid line from the evaporator.
14. Remove and discard the O-rings from the liquid line. Refer to O-Ring Replacement (See: Heating and Air Conditioning/Coupler HVAC/A/C