SRX AWD V6-3.6L (2008)

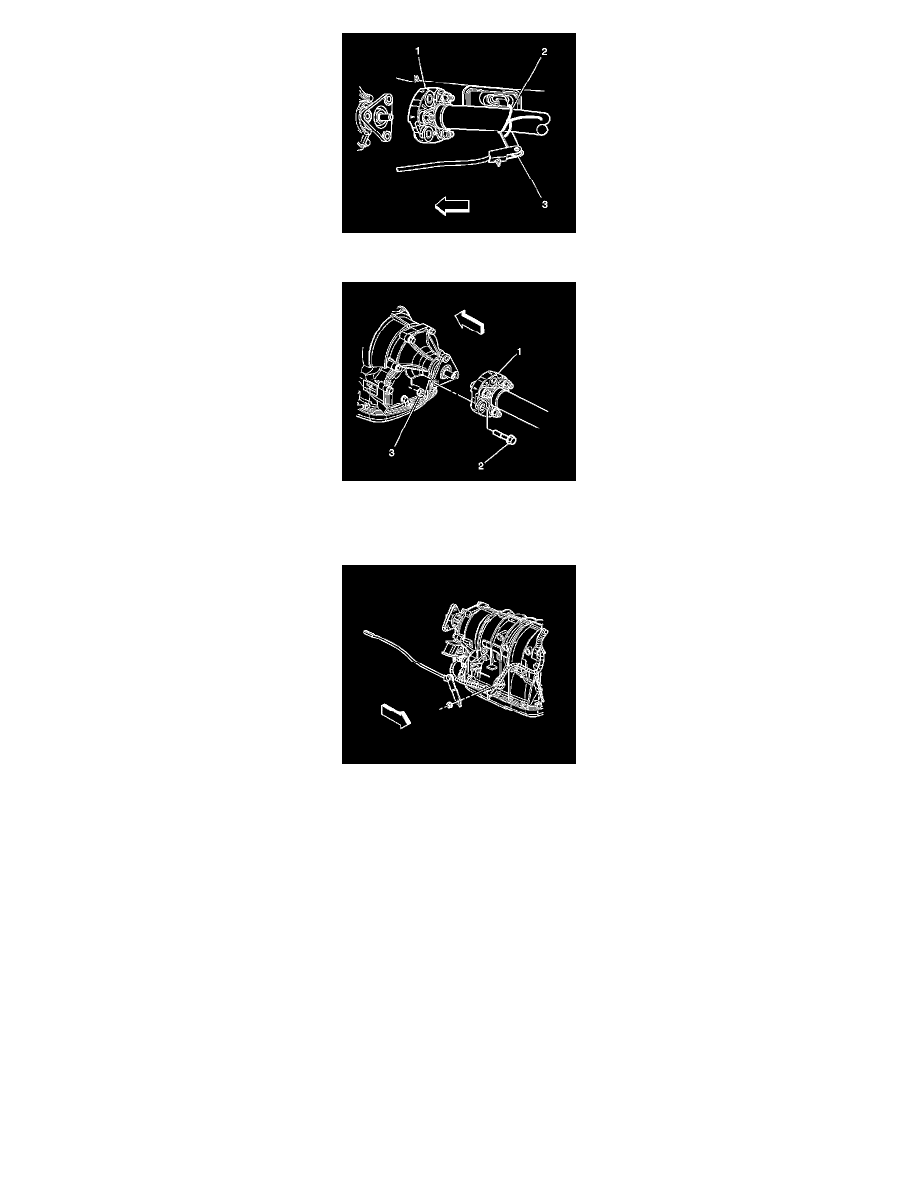
21. Remove the mechanics wire (2) securing front propeller shaft (1) to the shift control lever (3).
22. Install the propeller shaft coupler (1) to the transmission flange. Refer to Rear Propeller Shaft Replacement (RWD) (See: Transmission and
Drivetrain/Drive/Propeller Shafts, Bearings and Joints/Drive/Propeller Shaft/Service and Repair/Rear Propeller Shaft Replacement (RWD)) .
23. Install the exhaust system. Refer to Exhaust System Replacement (See: Engine, Cooling and Exhaust/Exhaust System/Service and Repair) .
24. Connect the shift linkage to the transmission manual shift shaft.
25. Install the transmission manual shift shaft nut.
Tighten the nut to 9 N.m (80 lb in).
26. Adjust the shift control linkage. Refer to Shift Control Linkage Adjustment (All Wheel Drive) (See: Transmission and Drivetrain/Automatic
Transmission/Transaxle/Shift Linkage/Adjustments/5L40-E/5L50-E - Automatic Transmission/Shift Control Linkage Adjustment (All Wheel
Drive))Shift Control Linkage Adjustment (Rear Wheel Drive) (See: Transmission and Drivetrain/Automatic Transmission/Transaxle/Shift
Linkage/Adjustments/5L40-E/5L50-E - Automatic Transmission/Shift Control Linkage Adjustment (Rear Wheel Drive)) .
27. Lower the vehicle.
Important: It is recommended that transmission adaptive pressure (TAP) information be reset.
Resetting the TAP values using a scan tool will erase all learned values in all cells. As a result, The ECM, PCM or TCM will need to
relearn TAP values. Transmission performance may be affected as new TAP values are learned.
28. Reset the TAP values. Refer to Control Module References (See: Testing and Inspection/Programming and Relearning) .
