SRX AWD V6-3.6L (2008)

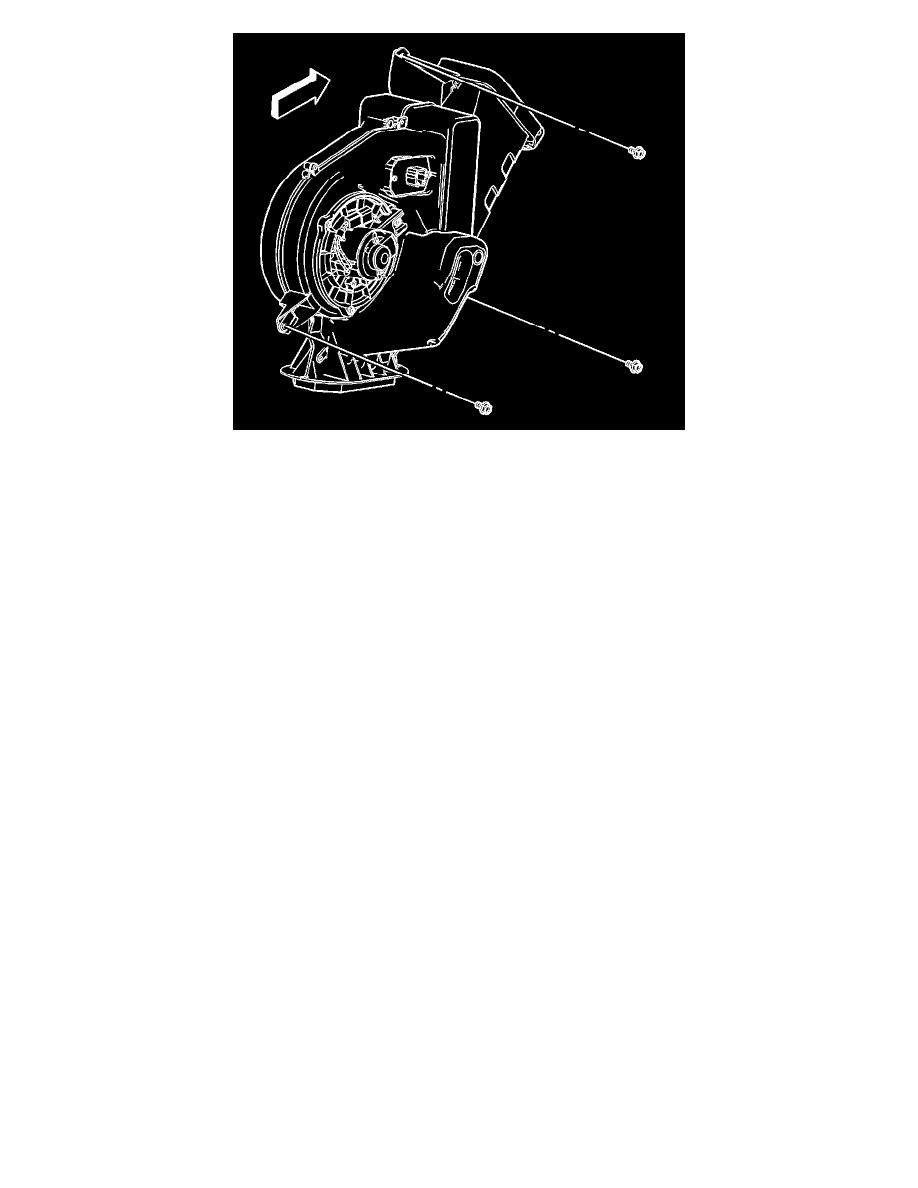
1. Install the auxiliary HVAC module to the vehicle.
Notice: Refer to Fastener Notice .
2. Install the auxiliary HVAC module bolts to the vehicle.
Tighten the bolts to 9 N.m (80 lb in).
3. Connect the electrical connectors to the auxiliary HVAC module.
4. Install the air duct to the auxiliary HVAC module.
5. Install the left body side trim panel. Refer to Body Side Rear Trim Panel Replacement (w/TB5) (See: Body and Frame/Interior Moulding /
Trim/Trim Panel/Service and Repair)Body Side Rear Trim Panel Replacement (w/o TB5) (See: Body and Frame/Interior Moulding / Trim/Trim
Panel/Service and Repair) .
6. Raise the vehicle.
7. Install new O-rings to the auxiliary evaporator inlet and outlet lines. Refer to O-Ring Replacement (See: Heating and Air Conditioning/Coupler
HVAC/A/C Coupler O-ring/Service and Repair) .
8. Install the auxiliary evaporator outlet line to the auxiliary HVAC module.
9. Connect the auxiliary evaporator inlet line to the body retainer clip.
