
SRX RWD V8-4.6L VIN A (2006)
8. Hold the inner joint horizontally to the shaft.
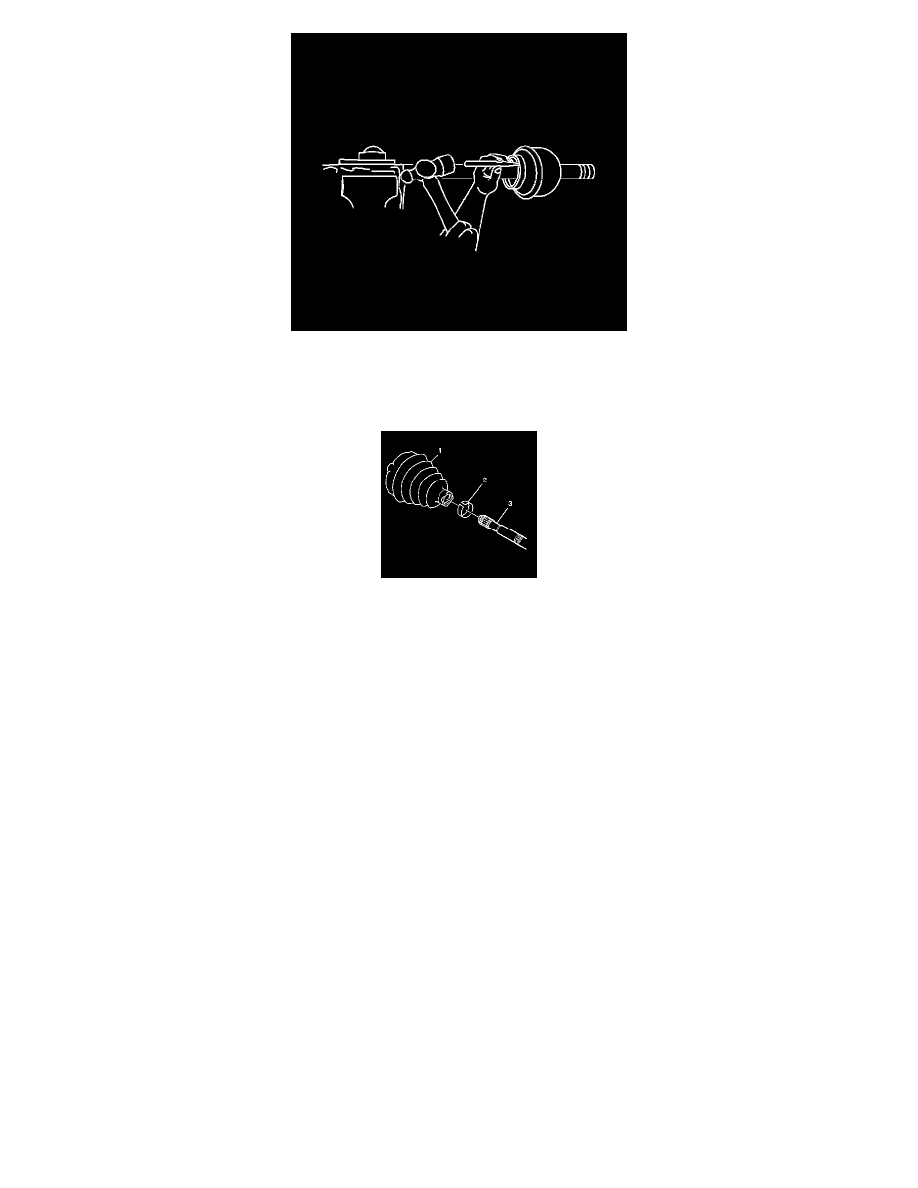
9. Position a brass drift on the inner race.
10. Carefully strike the brass drift with a hammer to remove the inner joint assembly from the wheel drive shaft.
11. Remove and discard both wheel drive shaft retaining rings from the axle shaft.
12. Remove the seal (1) from the wheel drive shaft (3).
13. Remove the small seal retaining clamp (2) from the wheel drive shaft (3).
14. Remove the wheel drive shaft (3) from the vise.
15. Wrap a shop towel around the joint outer race splined shaft.
16. Place the outer race vertically in a bench vise.
17. Important:
All traces of old grease and any contaminates must be removed.
Clean the following parts thoroughly with clean solvent:
^
The inner race
^
The outer race
^
The cage
^
The balls
^
The axle shaft exposed end
18. Thoroughly air dry all of the parts.
19. Inspect the following parts for damage and/or wear:
^
The inner race
^
The outer race
^
The cage
^
The balls
^
The axle shaft exposed end
Installation Procedure
1. Insert approximately 60 percent of the grease from the service kit into the inner joint.
1. Spread 60 percent the grease onto the ball tracks, the balls, the cage and the inner race.
2. Spread the remainder of the grease into the bottom of the outer race.
2. Remove the inner joint from the bench vise.
3. Wrap a shop towel around the wheel drive shaft.
4. Place the wheel drive shaft horizontally in a bench vise.