
STS RWD V8-4.6L VIN A (2006)
area of the bolt. Allow the threadlocker to cure approximately 10 minutes before installation.
Important: If reusing the propeller shaft-to-flange bolts, to ensure proper adhesion and fastener retention, the threads must be free of debris prior
to the application of threadlocker.
7. Install the front propeller shaft coupler-to-transfer case flange bolts. Ensure that the crescent washers are in place on each pair of bolts.
Tighten the 6 propeller shaft CV joint-to-transfer case flange bolts in sequence (1-6) to 30 Nm (22 ft. lbs.).
8. Install the propeller shaft heat shield.
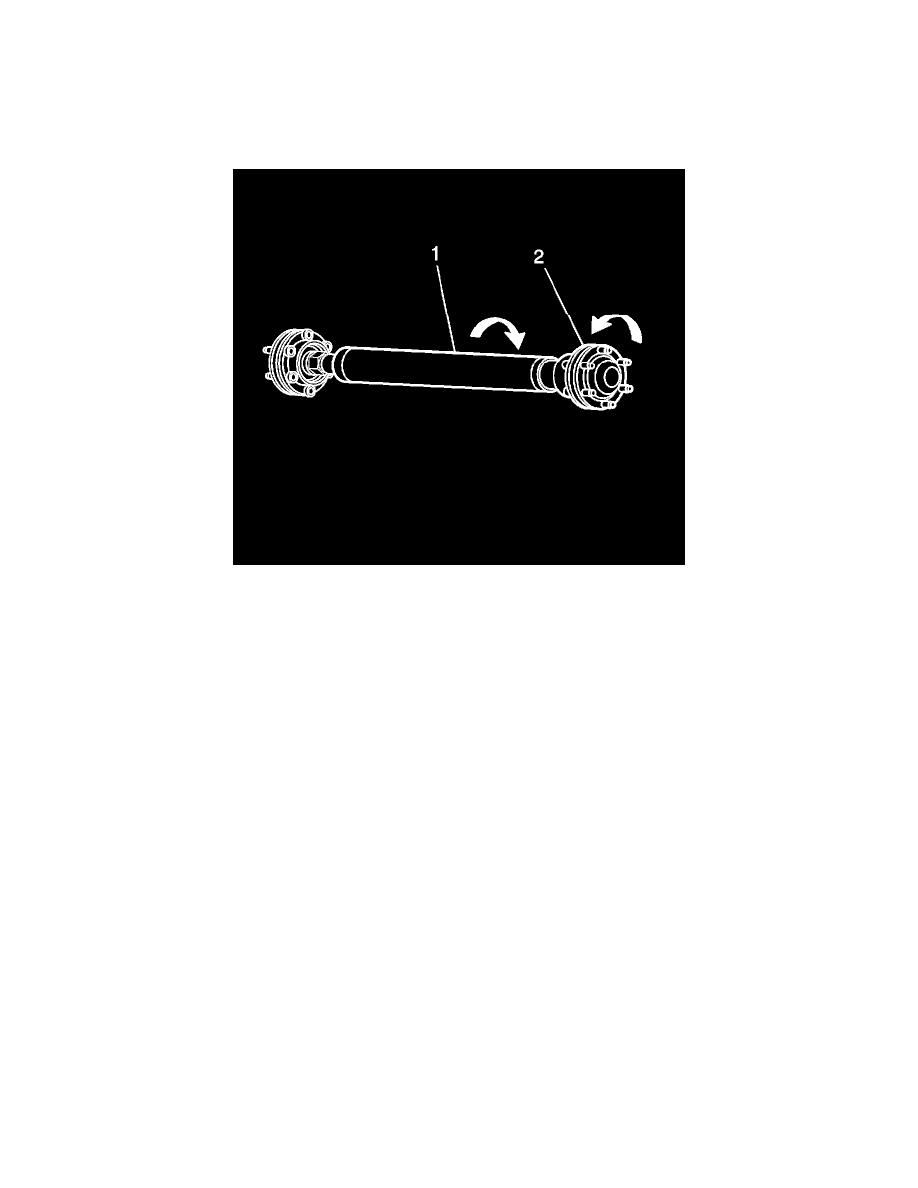
Important: Ensure that there is no rotational movement between the CV joint (2) and the propeller shaft tube (1).
9. Lower the vehicle.