
Astro Van 2WD V6-4.3L VIN W (2001)
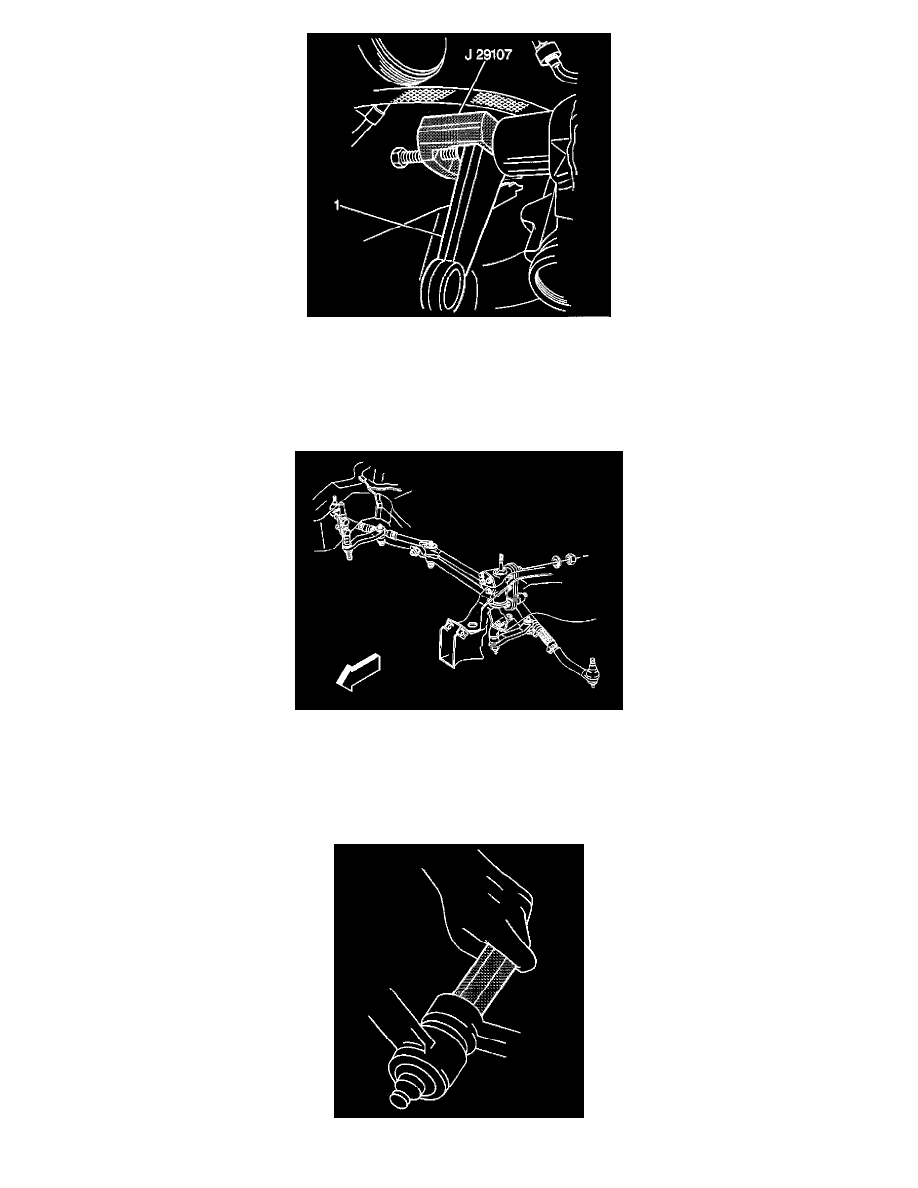
5. Use the J 29107-A in order to remove the pitman arm (1).
6. Inspect the ball stud threads for damage.
7. Inspect the ball stud seals for excessive wear.
8. Clean the threads on the ball stud and the ball stud nut.
Installation Procedure
1. Align the marks made on the pitman arm during removal in order to install the pitman arm on the pitman shaft.
Notice: Refer to Fastener Notice in Service Precautions.
2. Install the washer and the new prevailing torque nut to the pitman shaft.
-
Tighten the pitman arm prevailing torque nut to 250 Nm (185 ft. lbs.).