
Avalanche 1500 2WD V8-5.3L VIN Z Flex Fuel (2005)
4. Install the front cross rail assembly (2) to the side rails (1), stopping at the second or third notch from the front of each rail.
5. Depress the adjuster handles to lock each side.
6. Install the rear cross rail to the side rails, stopping at the second or third engagement notch.
7. Depress the adjuster handle to lock each side.
8. Install the rear rail covers (2) by inserting the legs of the cover and rotating cover down to engage the retainer.
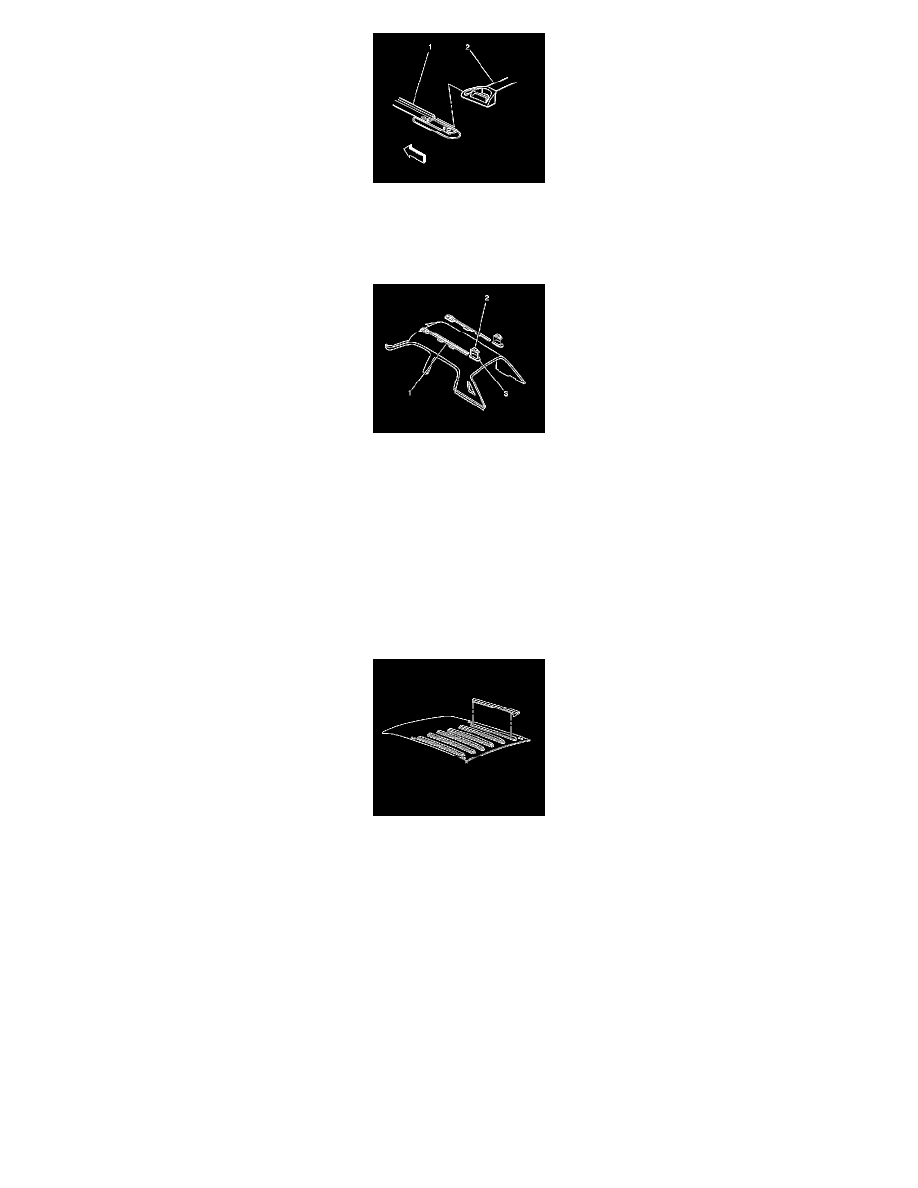
Luggage Carrier Slats Replacement
LUGGAGE CARRIER SLATS REPLACEMENT
TOOLS REQUIRED
J 25070 Heat Gun
REMOVAL PROCEDURE
1. Mark the location of the luggage carrier slats on the roof with masking tape.
2. Use tape to protect the mounting surface during removal.
3. To remove the luggage carrier slats, heat the slats using J 25070 . Apply heat in a circular motion for 30 seconds.
4. Use a plastic, flat-bladed tool to lift or remove the slats from the vehicle.
NOTE: Use a plastic, flat-bladed tool to prevent paint damage when removing an emblem/name plate.
5. Remove the luggage carrier slats from the vehicle.
6. When replacing the slats, remove all of the adhesive using a 3M(TM) Scotch Brite molding adhesive remover disk, 3M(TM) P/N 07501 or
equivalent.
INSTALLATION PROCEDURE