
Avalanche 1500 2WD V8-5.3L VIN Z Flex Fuel (2005)
1. Heat the mounting surface to approximately 27-41°C (80-105°F).
IMPORTANT: Apply the slats in an environment that is free from dust or other dirt that could come into contact with the sticky backing. Foreign
material may cause improper adhesion.
2. Ensure that the temperature of the slats is approximately 29-32°C (85-90°F).
3. Remove the backing from the adhesive on the slats.
IMPORTANT: Do NOT touch the adhesive backing.
4. Align the luggage carrier slats with the masking tape.
5. Install the luggage carrier slats to the vehicle.
6. Apply equal pressure along the slats in order to uniformly bond the item to the mounting surface.
7. Remove the masking tape from the vehicle.
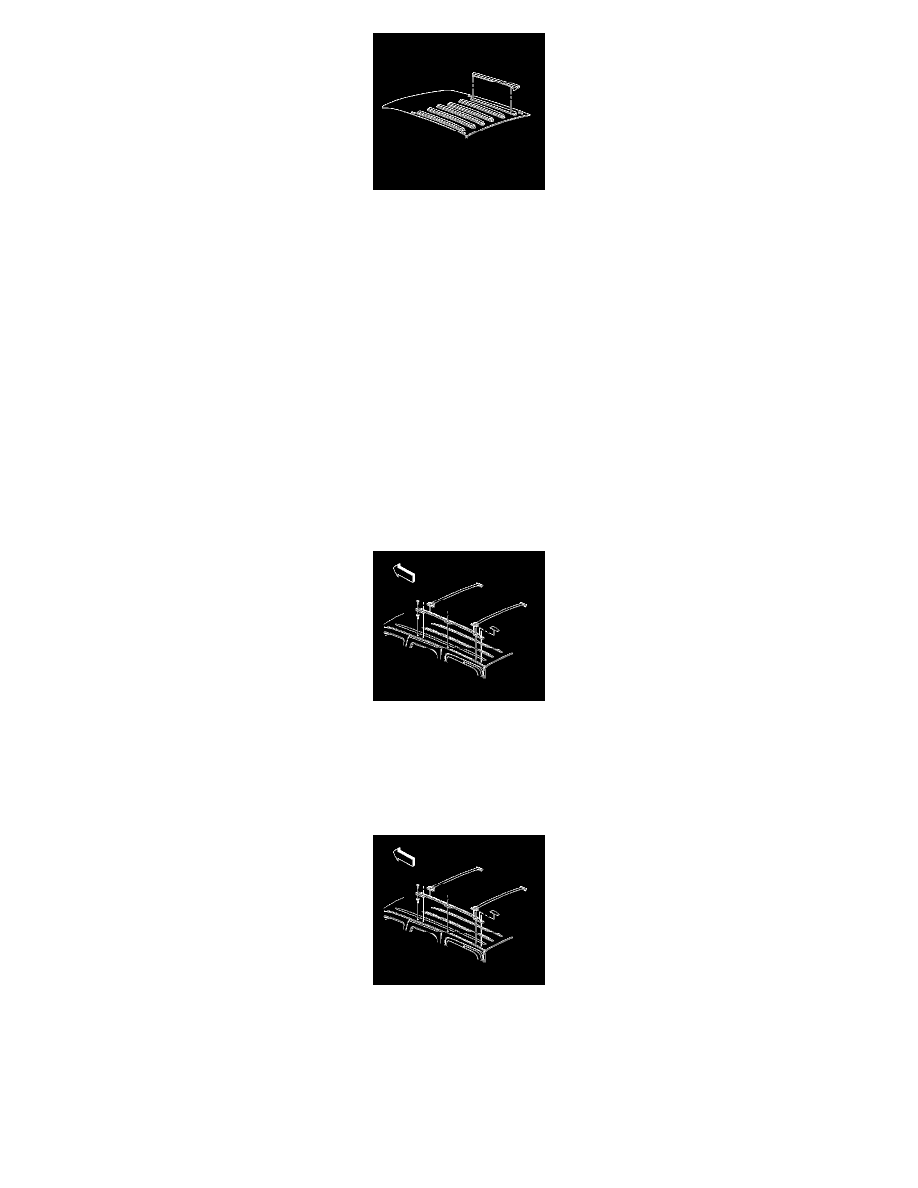
Luggage Carrier Replacement (All Except Z-71)
LUGGAGE CARRIER REPLACEMENT (ALL EXCEPT Z-71)
REMOVAL PROCEDURE
1. Remove the rear pad covers.
2. Remove the cross rails by releasing the lever on both sides and sliding toward rear of vehicle.
3. Remove the side rail attaching bolts.
4. Remove the side rail(s).
INSTALLATION PROCEDURE
1. Install the side rail(s).
2. Install the side rail attaching bolts.
NOTE: Refer to Fastener Notice in Service Precautions.
Tighten the bolts 4 N.m (35 lb in).
3. Install the cross rails by sliding toward front of vehicle and engaging lever on both sides.