
Aveo L4-16L (2008) Brake Bleeding System Maintenance Guide
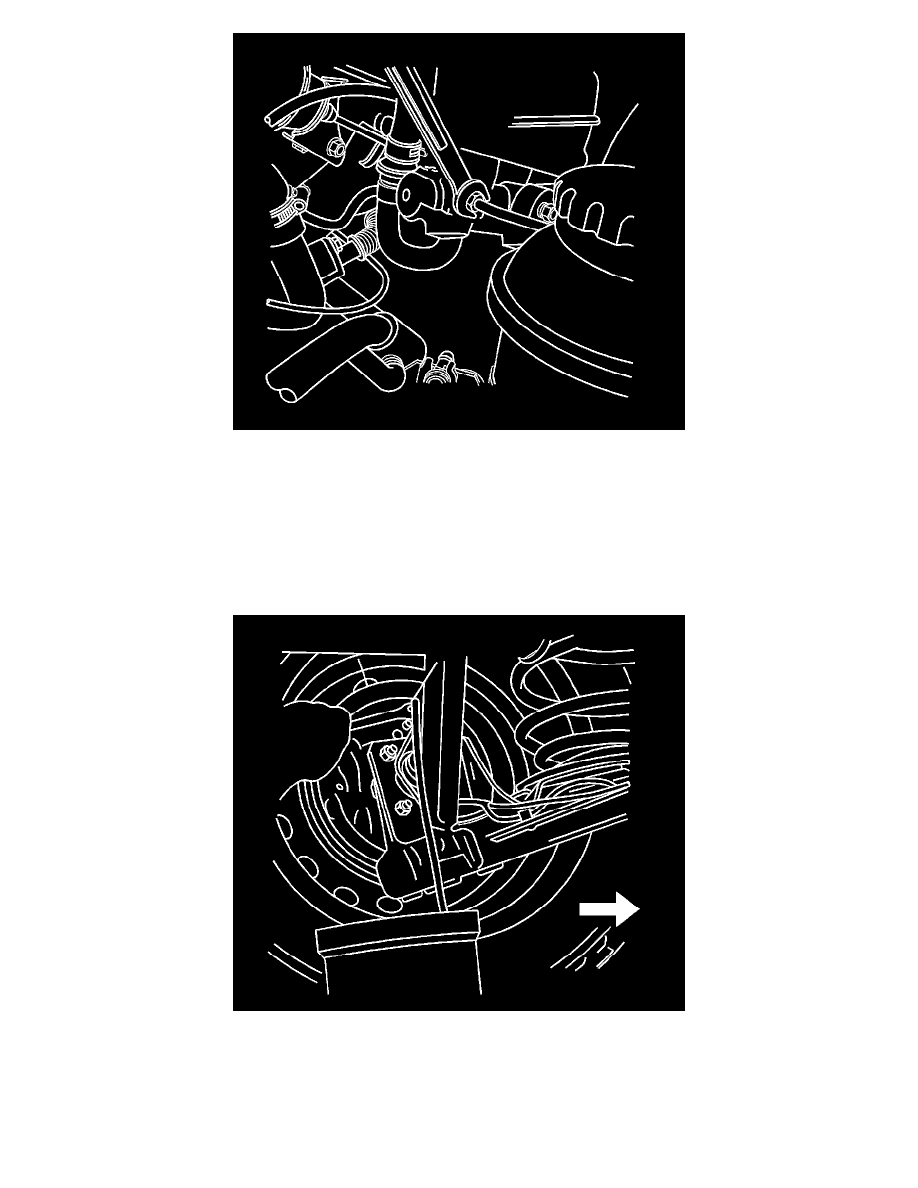
7. Loosen the front brake line at the master cylinder to purge all air from the cylinder.
8. Tighten the brake line as in step 5, and then release the brake pedal slowly. Wait 15 seconds before proceeding to the next step.
9. Repeat the sequence, including the 15 second wait, until all the air is removed from the master cylinder bore.
Notice: Refer to Brake Fluid Effects on Paint and Electrical Components Notice (See: Brakes and Traction Control/Service Precautions/Vehicle
Damage Warnings/Brake Fluid Effects on Paint and Electrical Components Notice).
10. After all the air has been removed at the forward connections, bleed the master cylinder at the rear air inlet connections in the same manner as with
the front connections.
Important: The bleeding sequence is as follows: right rear, left front, left rear, and right front.
11. Attach a transparent tube over the valve. Allow the tube to hang submerged in brake fluid in a transparent container.