
C 2500 Truck 2WD V8-5.7L VIN R (1997)
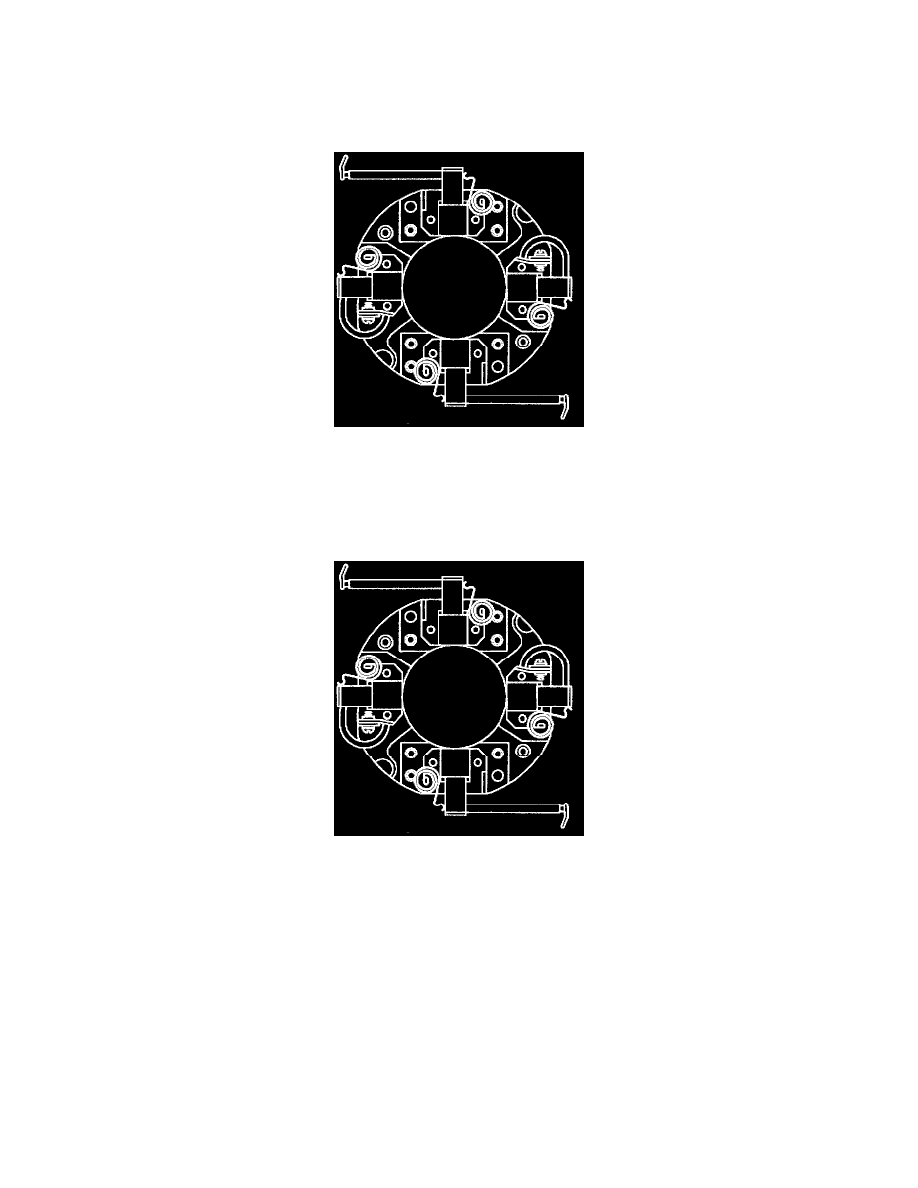
1. Brush springs if removed.
A. Start each brush spring onto the post on the brush holder assembly just enough to hold the inside end of spring from turning.
B. Grasp the free end of the spring with needle-nose pliers and twist it to the right over the top of the brush socket.
C. Push the spring fully onto the post and release the free end to engage the notch in the brush socket.
NOTICE: Brush leads may be damaged by excessive handling. Do not overflex the leads near the clip welds or the cups may break off.
2. Brushes if removed.
Springs And Brushes On The Brush Holder
A. Check for proper installed position of all brushes. Make sure the insulated brushes go into the brush sockets of the brush holder assembly that
mounts on the insulation.
B. To install each brush, grasp the free end of the brush spring with needle-nose pliers, twist it to the right to clear the brush socket, and insert the
brush partly into the brush socket.
Springs And Brushes On The Brush Holder
C. Gradually release the spring so that its end contacts the side (not end) of the brush. This will hold the brushes retracted until after the brush
holder is installed over the armature commutator.
3. Grounded brush screws.