
C 2500 Truck 2WD V8-5.7L VIN R (1997)
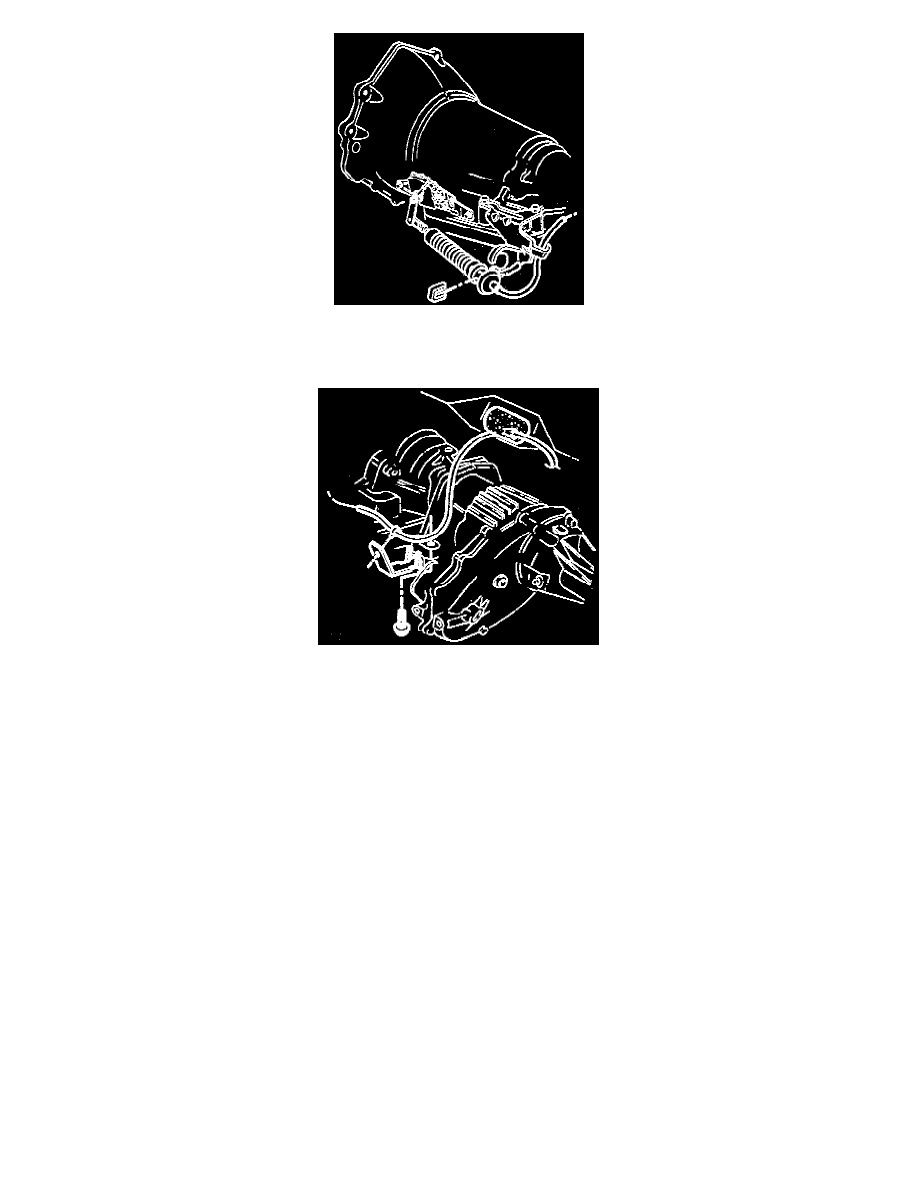
8. Retaining clip securing the shift cable to the transmission shift cable bracket.
-
Squeeze the retainers while pulling the cable towards the rear of the vehicle.
9. Shift cable end from the transmission shift control lever by pulling the cable end from the transmission shift control lever stud ball.
10. Shift cable from under the fuel line and from the rear transmission bracket.
-
Note the routing of shift cable on the vehicle prior to removing the shift cable from the vehicle.
11. Shift cable grommet from the floor panel.
12. Shift cable from the vehicle.
INSTALL OR CONNECT
-
Prior to installing the shift cable to the vehicle, ensure that the column shift lever and the transmission control lever are in the mechanical park
position. The transmission control lever can be positioned to mechanical park by rotating the control lever clockwise until it reaches its full
clockwise stop position.
1. Shift cable to the vehicle.
-
Route the shift cable as noted during removal.
2. Shift cable grommet to floor panel.
3. Shift cable to the clip and/or tape on the floor pan.
4. Shift cable end to the steering column shift control.
5. Steering column filler panel to the steering column.
6. Carpet and carpet retainers on the driver's side.
7. Door sill trim plate.
8. Hinge pillar trim panel.
9. Front seat.
10. Ensure that the shift lever is in park.
-
Raise the vehicle.
11. Route shift cable under fuel lines and connect to rear transmission bracket.
12. Attach the shift cable to transmission shift cable bracket and secure with retaining clip.