C 2500 Truck 2WD V8-5.7L VIN R (1997)

1. Apply heat to cylinder with a heat gun while being careful not to damage the painted surfaces.
2. Hold the door shutter open with a paper clip (or similar item) and force air into cylinders using compressed air and a blow gun attachment.
3. While holding the shutter door open, inject a small amount of lubricant (refer to above recommendations) into cylinder.
4. Work the key into the cylinder several times and wipe any excess lubrication residue from key.
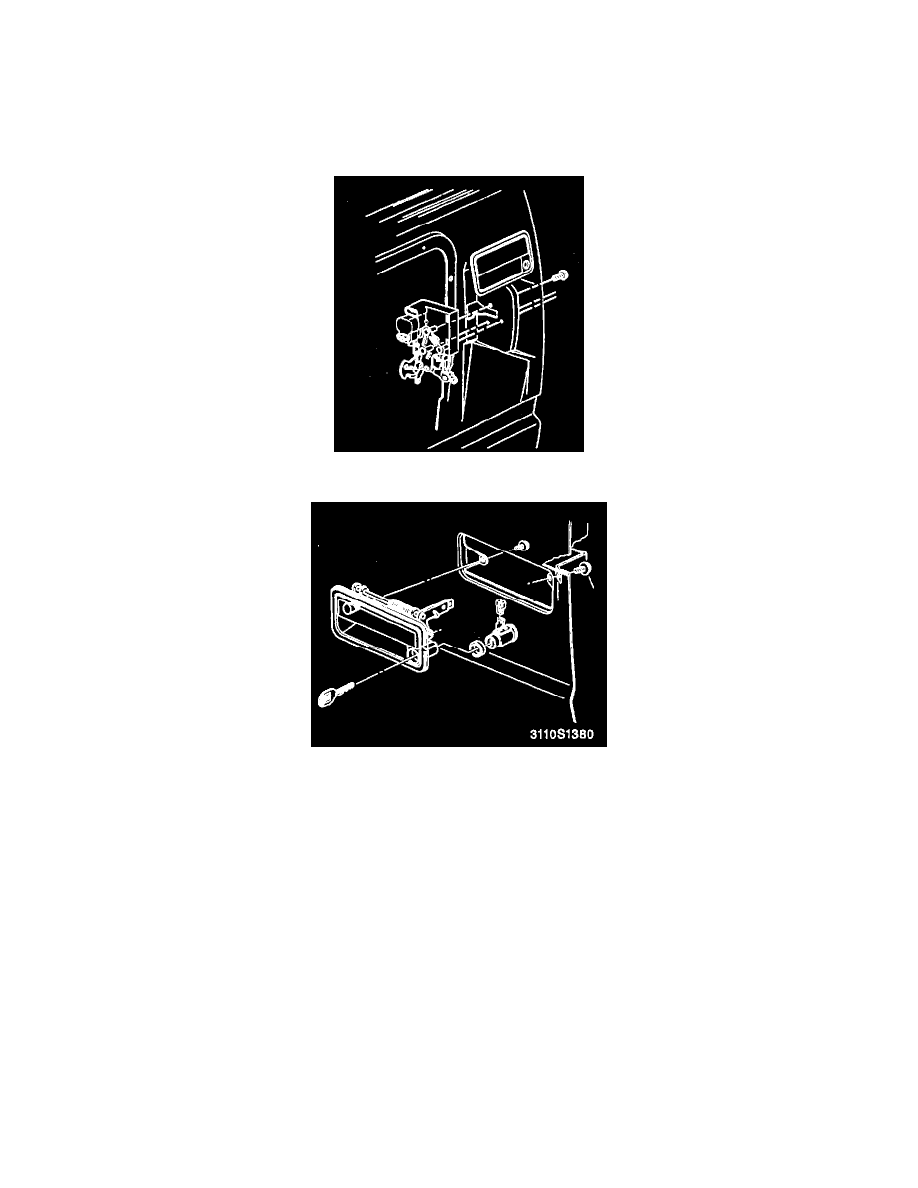
Door Lock Cylinder & Outside Handle
Outside Door Handle & Lock Assembly
Outside Door Handle Assembly
New lock cylinders are available as replacement parts. If door lock cylinders require replacement for any reason, apply a coating of GM P/N 12345120
or equivalent lubricant inside of the lock case and cylinder keyway prior to assembling and installing the cylinder.
Remove or Disconnect
1. Trim panel.
2. Water deflector.
3. Inner mounting panel assembly.
4. Outside handle rod from the rod clip.
5. Lock cylinder rod from the rod clip.
6. Outside handle mounting screws.
7. Door lock cylinder from the outside handle housing.
8. Handle.
Install or Connect
1. Handle to the vehicle.
2. Door lock cylinder to the outside handle housing.
3. Lock cylinder rod to the lock cylinder clip.
4. Handle rod to the handle assembly clip.
