
Camaro V8-6.2L (2010)
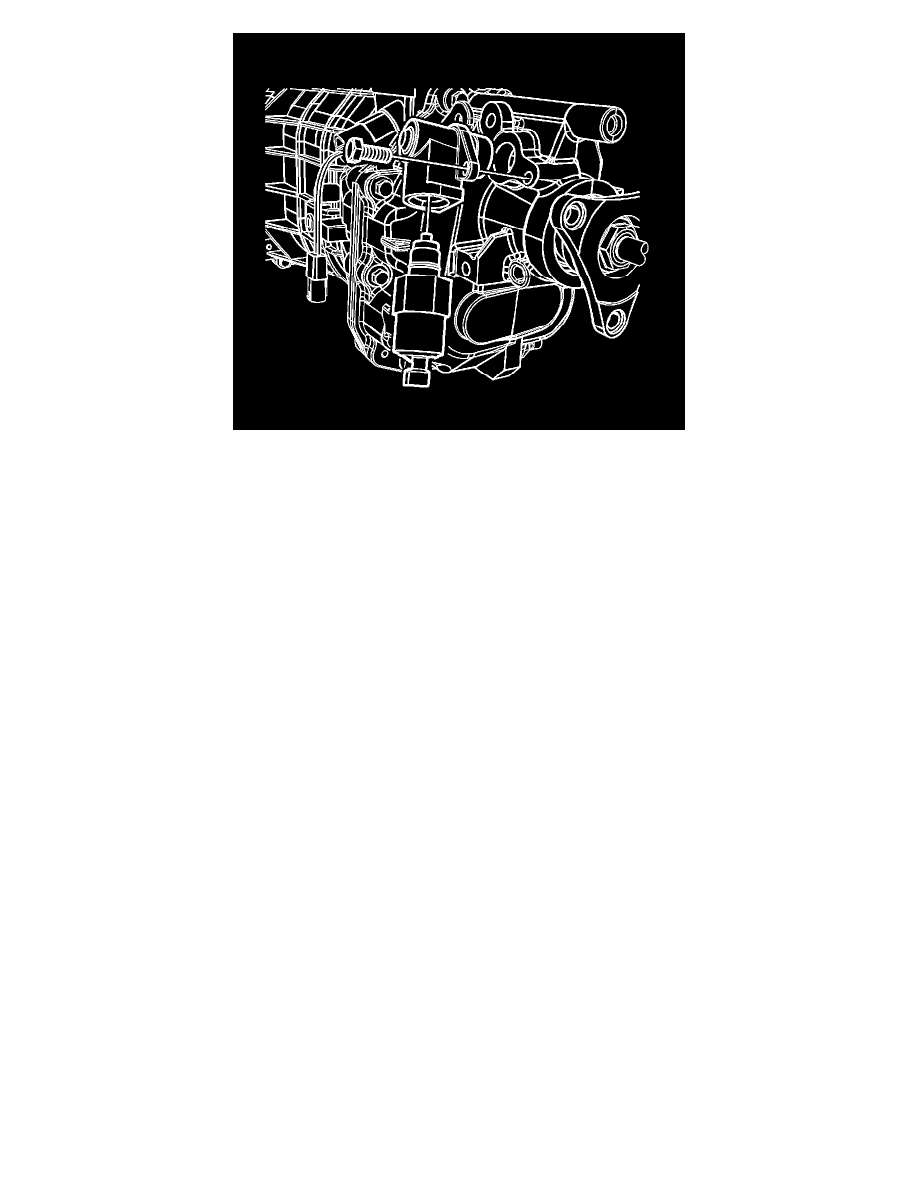
1. If removed, inspect the reverse lockout assembly O-ring. Replace the reverse lockout assembly O-ring if necessary.
Caution: Refer to Fastener Caution (See: Service Precautions/Vehicle Damage Warnings/Fastener Caution).
2. Install the reverse lockout assembly and bolt and tighten to 18 Nm (13 lb ft).
3. Install the reverse lockout solenoid using the J 41099. Inspect and replace the O-ring if necessary.
Tighten the reverse lockout solenoid to 40 Nm (30 lb ft).
4. Connect the reverse lockout solenoid electrical connector.
5. Install the transmission mount. Refer to Transmission Rear Mount Replacement (See: Transmission Mount/Service and Repair/Tremec 6-Speed -
Manual Transmission)
6. Remove the transmission jack.
7. Install the exhaust system. Refer to Exhaust Muffler with Resonator, Exhaust, and Tail Pipe Replacement (See: Engine, Cooling and
Exhaust/Exhaust System/Muffler/Service and Repair/Exhaust Muffler with Resonator, Exhaust, and Tail Pipe Replacement)
8. Lower the vehicle.