
Colorado 2WD V8-5.3L (2009)
Windshield: Removal and Replacement
Windshield Replacement
Windshield Replacement
Special Tools
*
J 24402-A Glass Sealant Remover (Cold Knife)
*
J 39032 Stationary Glass Removal Tool
*
Use a urethane adhesive systems which meet GM Specification GM 3651G
Removal Procedure
Note: Before cutting out a stationary window, apply a double layer of masking tape around the perimeter of the painted surfaces and the interior
trim.
1. Remove the fixed antenna mast. Refer to Fixed Antenna Mast Replacement (See: Accessories and Optional Equipment/Antenna/Antenna
Mast/Service and Repair).
2. Open the hood.
3. Remove the window wiper arms. Refer to Windshield Wiper Arm Replacement (See: Wiper and Washer Systems/Wiper Arm/Service and Repair
).
4. Remove the cowl air inlet grille panel. Refer to Air Inlet Grille Panel Replacement (See: Body and Frame/Cowl/Cowl Moulding / Trim/Service
and Repair).
5. Remove the inside rear view mirror. Refer to Inside Rearview Mirror Replacement (See: Body and Frame/Mirrors/Service and Repair/Inside
Rearview Mirror Replacement).
6.
Pull back and position the auxiliary weatherstrip away from the pinch-weld flange.
Note: Both doors need to be opened.
7. Remove the windshield side reveal moldings. Refer to Windshield Side Reveal Molding Replacement (See: Windshield Side Reveal Molding
Replacement).
Warning: Refer to Glass and Sheet Metal Handling Warning (See: Body and Frame/Service Precautions/Glass and Sheet Metal Handling
Warning).
Warning
If broken glass falls into the defroster outlets, it can be blown into the passenger compartment and cause personal injury.
8. Cover to protect the following parts from broken glass:
*
Upper dash pad
*
Defroster outlets and A/C outlets
*
Seats and carpeting
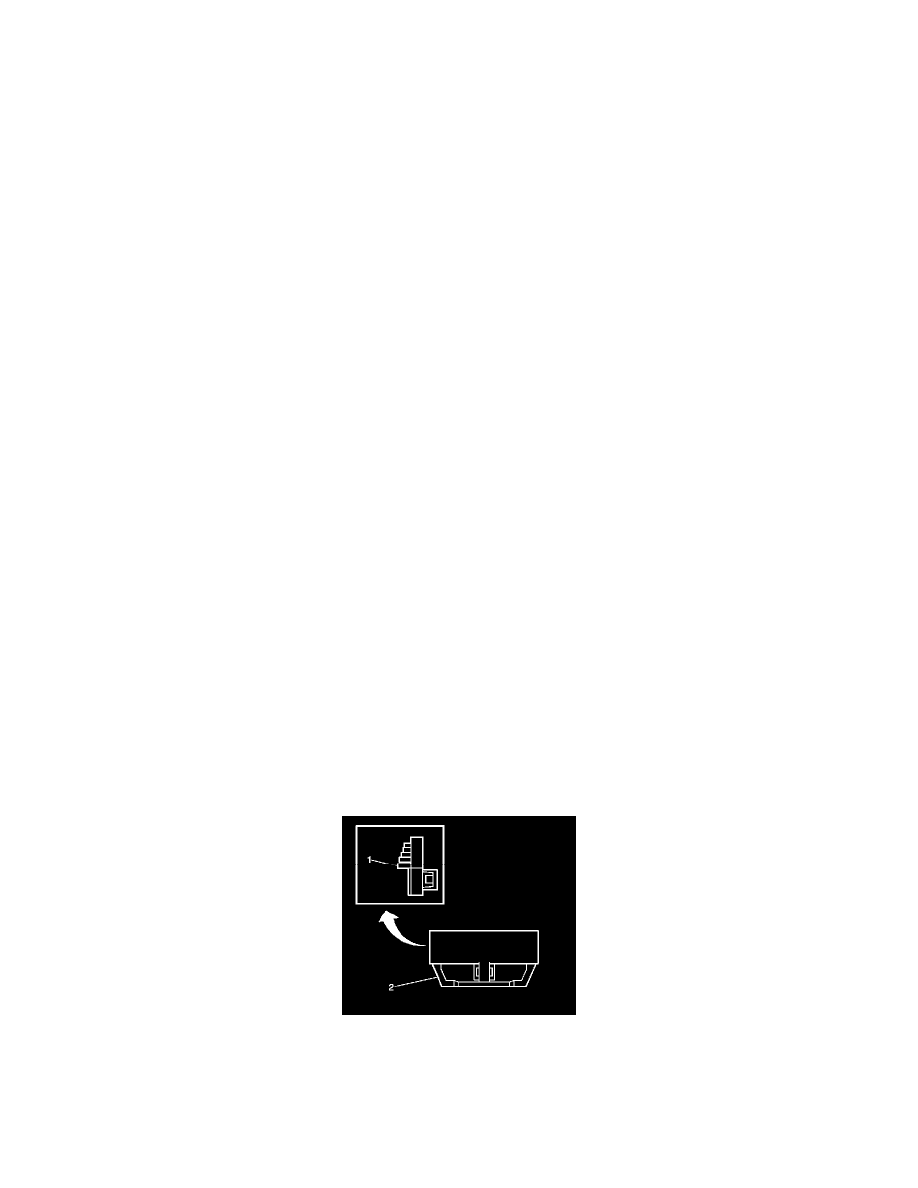
Note: The window lower supports (1) have molded in locks with an urethane adhesive strip (2) on the back side. Once the window lower stop
have been removed they must be replaced.
9. Remove the window lower supports (1) by using a flat-bladed tool, lightly prying upward in the middle until it releases.