
Colorado 2WD V8-5.3L (2009)
Note: Keep the cutting edge of the tool against the window.
10. This will allow the urethane adhesive to be separated from the window.
*
Leave a base of urethane on the pinch-weld flange.
*
The only suitable lubrication is clear water.
*
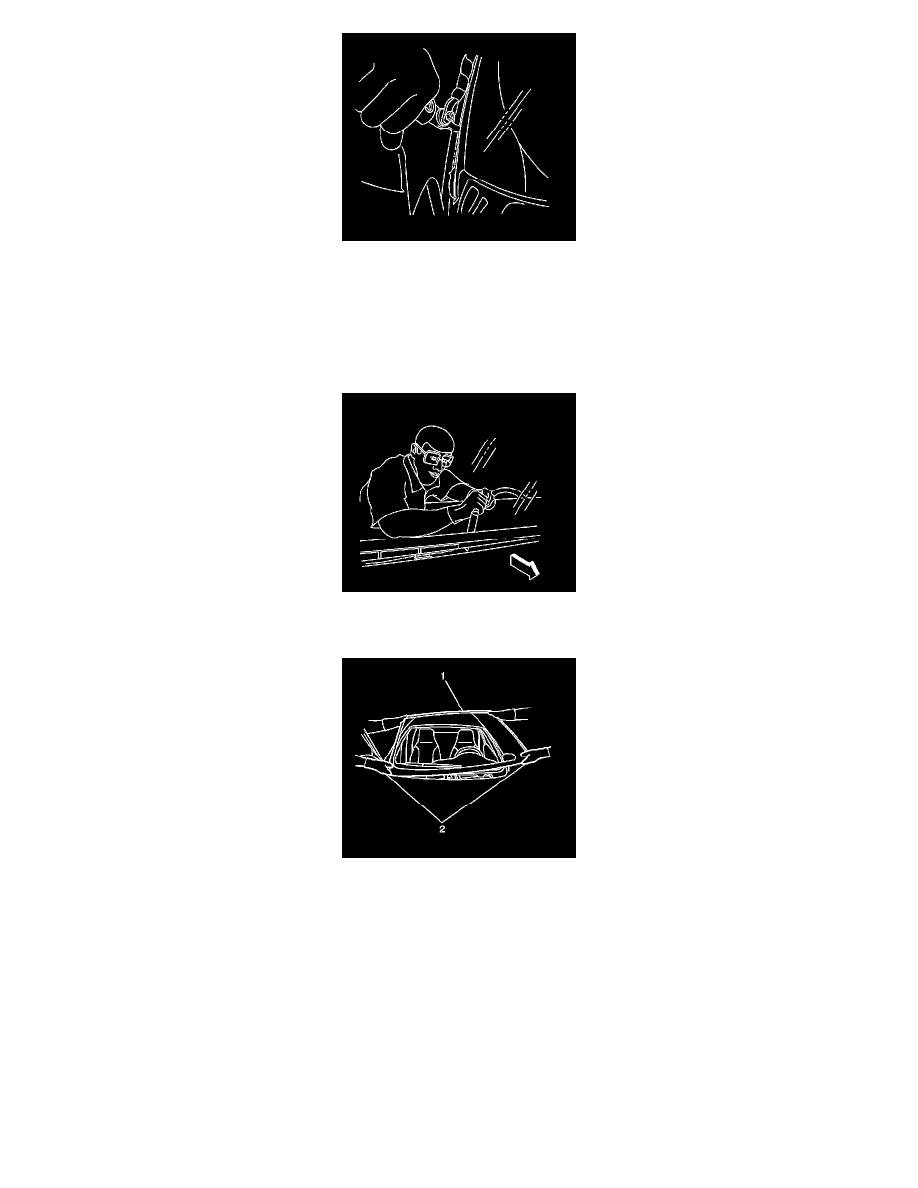
Use J 24402-A , J 39032 or equivalent in order to remove the window.
11. Remove the bottom of the window from the urethane adhesive using a long utility knife or similar tool. Keep the cutting edge of the utility knife
against the glass.
12. With the aid of an assistant (2) remove the window (1) from the vehicle.
Installation Procedure
1. Install a stationary window into the opening. Refer to Adhesive Installation of Stationary Windows (See: Windows/Service and Repair/Adhesive
Installation of Stationary Windows).
2. Install the window side reveal moldings to the vehicle. Refer to Windshield Side Reveal Molding Replacement (See: Windshield Side Reveal
Molding Replacement).
3. Reposition the auxiliary weatherstrip to the pinch-weld flange.
4. Install the antenna mast. Refer to Fixed Antenna Mast Replacement (See: Accessories and Optional Equipment/Antenna/Antenna Mast/Service
and Repair).
5. Install the cowl air inlet grille panel. Refer to Air Inlet Grille Panel Replacement (See: Body and Frame/Cowl/Cowl Moulding / Trim/Service and
Repair).
6. Install the window wiper arms. Refer to Windshield Wiper Arm Replacement (See: Wiper and Washer Systems/Wiper Arm/Service and Repair).
7. Install the inside rear view mirror. Refer to Inside Rearview Mirror Replacement (See: Body and Frame/Mirrors/Service and Repair/Inside
Rearview Mirror Replacement).