
Corvette V8-7.0L (2007)
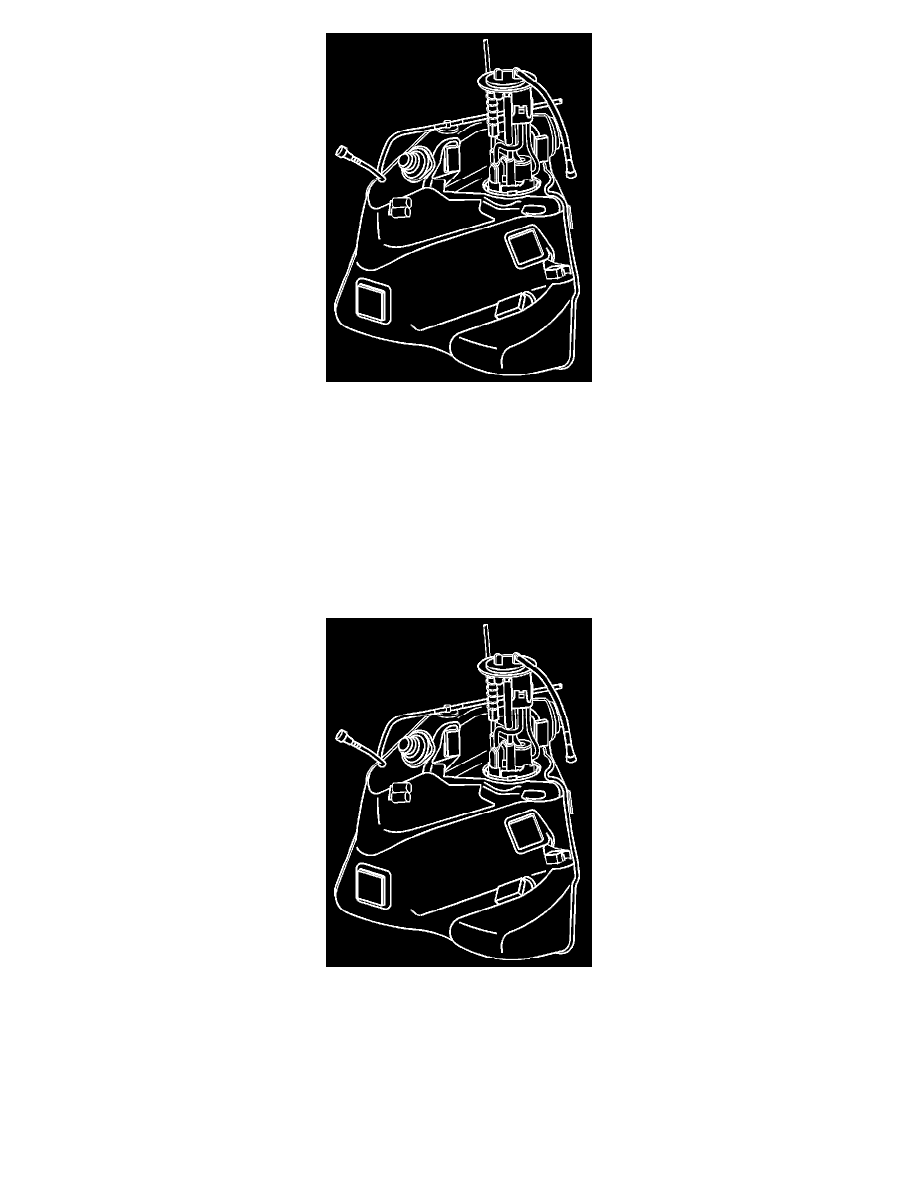
8. Carefully remove the fuel pump module from the fuel tank, with the jet lines connected. Take care not to damage the fuel sender float arm.
9. Disconnect the jet line quick-connect connectors from the fuel pump module inner port.
10. Remove the jet line from the module retainer cup. This line has no attached connector.
11. Remove the fuel pump module O-ring from the fuel tank opening.
12. Remove the jet line insert through the crossover tube to fuel tank opening.
Installation Procedure
1. Inspect the jet line insert for damage and replace if necessary.
2. Install the jet line insert through the crossover tube to fuel tank opening.
3. Install a new fuel pump module O-ring to the fuel tank opening.
4. Place tape around the jet line with the connector. This will permit line access once the pump module is inserted into the fuel tank.
5. Install the pump module into the fuel tank half way , taking care not to damage the float arm.
6. Using the tape as a guide, gently pull the jet line up through the fuel pump module opening.
7. Place the jet line with no connector in the module retainer cup.
8. Secure the line into the module retaining clip.
9. Remove the tape from the jet line with a connector.
Important: Pull on each connector to ensure that the connectors are properly latched.
10. Connect the jet line quick-connect connectors to the fuel pump module inner port.