
Corvette V8-7.0L (2007)
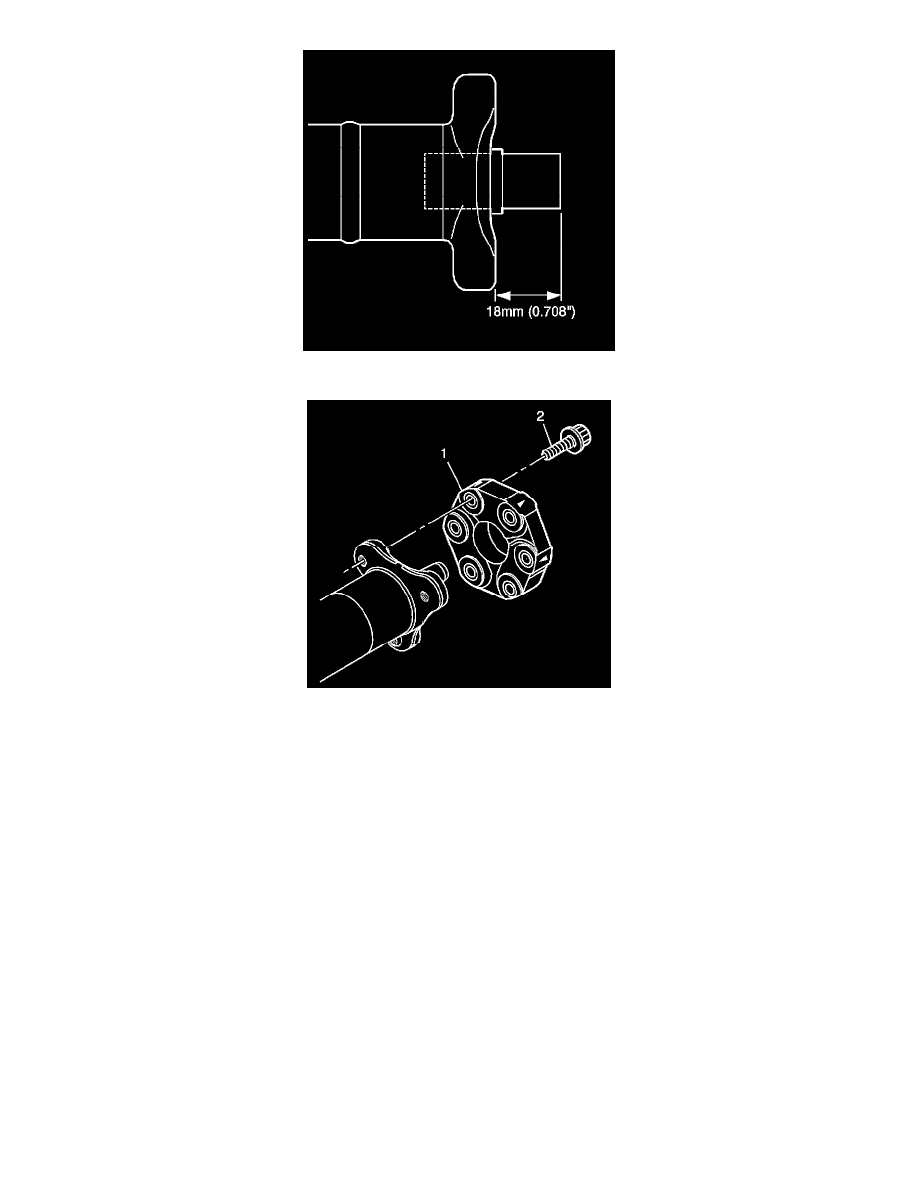
2. Inspect the bushing for proper installation. A properly installed bushing will protrude 18 mm (0.708 in) from the face of the hub.
3. Apply threadlock GM P/N 12345382 (Canadian P/N 10953489), or equivalent, to the threads of the coupling bolts.
Important: If the coupling orientation mark has been lost during the cleaning or disassembly process, the coupling MUST be installed
with the directional arrow pointed toward the flange to which it mounts.
4. Install the rear coupling (1), bolts (2), and washers to the propeller shaft.
Tighten the coupling bolts to 90 N.m (66 lb ft).