
Express 1/2 Ton Van V8-5.7L VIN R (1999)
7. Install the inflator module onto the steering wheel and press the module into the retaining tabs until the module is secured properly in all 4
retaining locations.
8. Rotate the steering wheel back into the straight position.
9. Enable the SIR system.
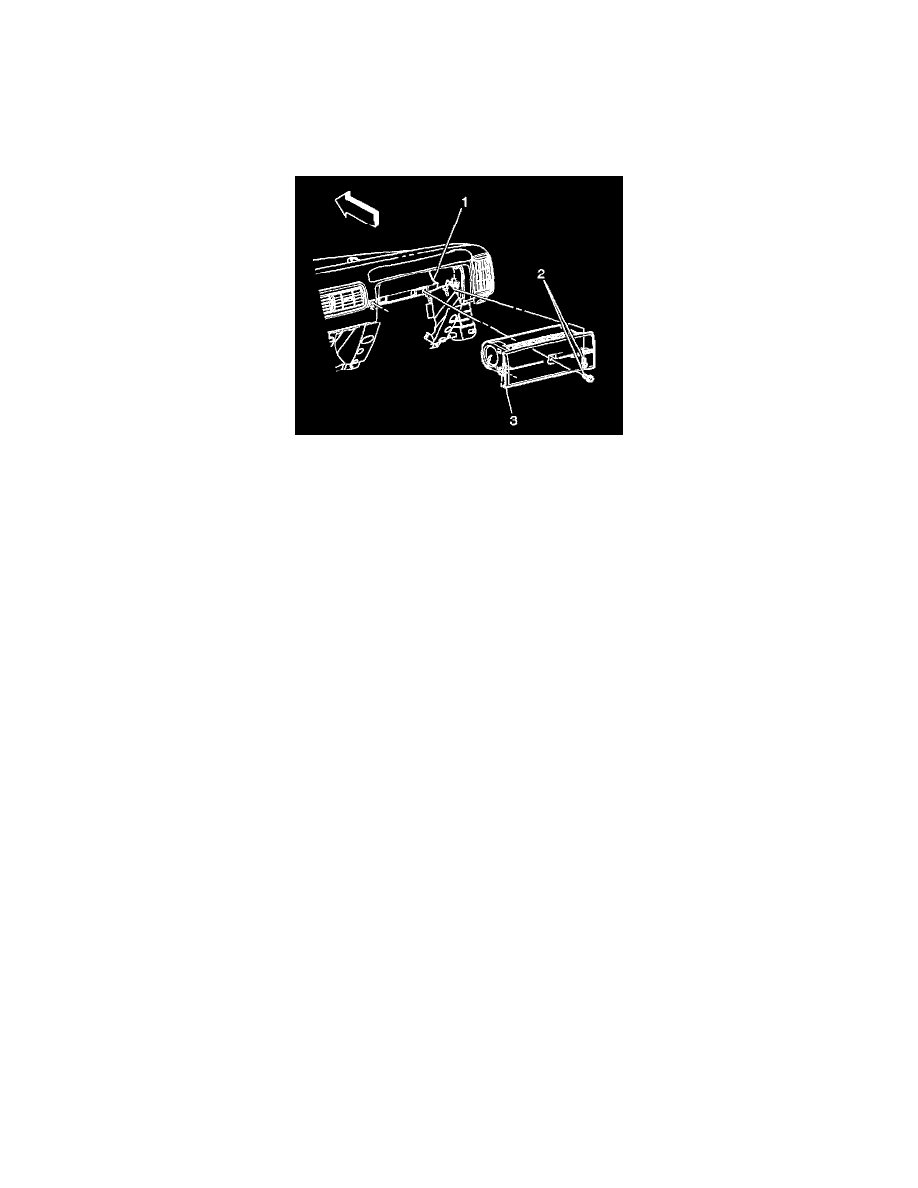
Instrument Panel Module Replacement
Caution: Be careful when you handle a Sensing and Diagnostic Module (SDM). Do not strike or jolt the SDM. Before applying power to the
SDM:
^
Remove any dirt, grease, etc. from the mounting surface.
^
Position the SDM horizontally on the mounting surface.
^
Point the arrow on the SDM toward the front of the vehicle.
^
Tighten all of the SDM fasteners and SDM bracket fasteners to the specified torque value.
Failure to follow the correct procedure could cause air bag deployment, personal injury, or unnecessary SIR system repairs.
Removal Procedure
1. Disable the SIR system.
2. Remove the passenger knee bolster.
3. Remove the Connector Position Assurance (CPA) from the Inflatable Restraint Instrument Panel (IP) module harness connector.
4. Disconnect the Inflatable Restraint IP module pigtail connector.
5. Remove the Inflatable Restraint IP module mounting fasteners (2).
6. Remove the Inflatable Restraint IP module (3) from the IP carrier (1).
Installation Procedure
1. Install the Inflatable Restraint IP module (3) to the IP carrier (1).
Notice: Refer to Fastener Notice in Cautions and Notices.
2. Install the Inflatable Restraint IP module mounting fasteners (2).
Tighten
Tighten the fasteners to 10 Nm (89 lb in).
3. Connect the Inflatable Restraint IP module pigtail connector.
4. Install the Connector Position Assurance (CPA) to the Inflatable Restraint IP module harness connector.
5. Install the passenger knee bolster.
6. Enable the SIR system.