
Express 2500 V8-6.6L DSL Turbo (2010)
4. Install the evaporator and blower module assembly cover (2) to evaporator case (3).
Caution: Refer to Fastener Caution (See: Service Precautions/Vehicle Damage Warnings/Fastener Caution).
5. Secure cover with the fourteen screws (1) and tighten to 1.9 Nm (17 lb in).
6. Install new sealing washers to the evaporator inlet and outlet tubes. Refer to Air Conditioning System Seal Replacement (See: Coupler
HVAC/A/C Coupler O-ring/Service and Repair/Air Conditioning System Seal Replacement).
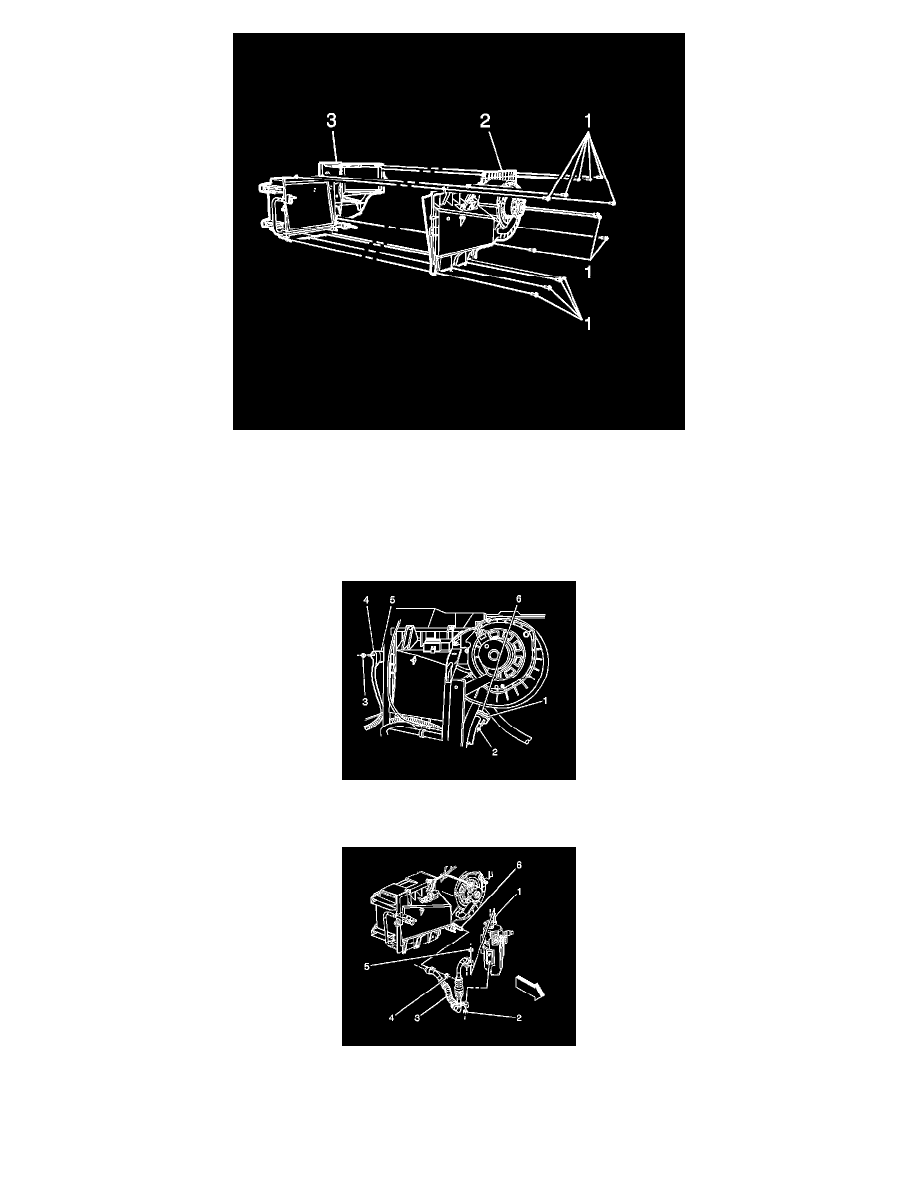
7. Install the evaporator inlet tube (4) to the evaporator (5).
8. Install the evaporator inlet tube retaining nut (3) and tighten to 16 Nm (12 lb ft).
9. Install the evaporator outlet hose and retaining nuts (4,5) and tighten to 18 Nm (13 lb ft).
10. Connect the low pressure sensor electrical connector.
11. Connect the blower motor electrical connector.
12. Connect the blower motor resistor assembly electrical connector.
13. Evacuate and recharge the A/C system. Refer to Refrigerant Recovery and Recharging (See: Service and Repair/Refrigerant Recovery and