Express 2500 V8-6.6L DSL Turbo (2010)

the copper washer sealing area (2) before re-installation.
2. Inspect the fuel injector nozzle tip (1) for any signs of discoloration (dark yellow, tan or blue) due to excessive heat.
3. Replace the injector if any damage is found.
4. Clean the fuel injector high pressure line.
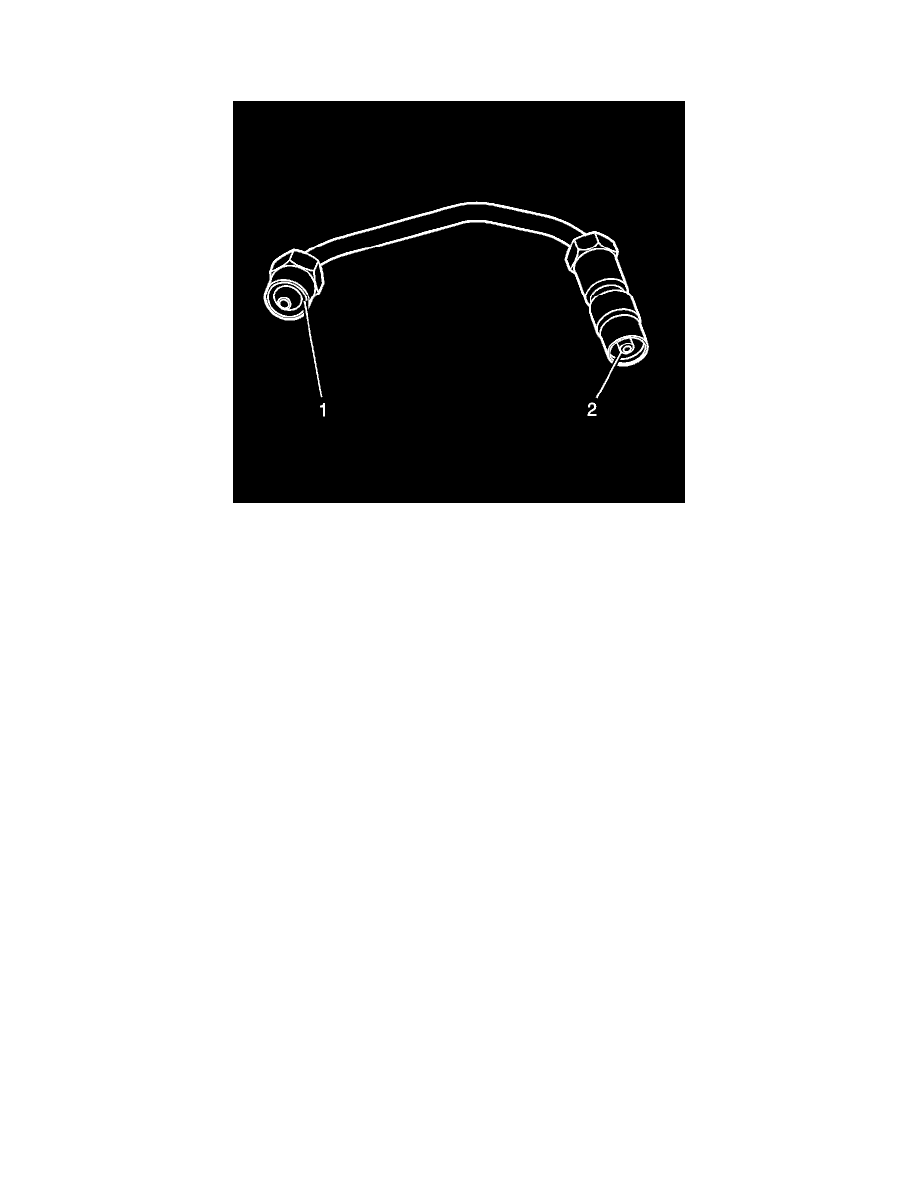
5. Inspect the fuel injector line for excessive corrosion or damage to the sealing surfaces (1, 2). Replace the line if any damage is found.
Injector Bore Cleaning
Note: The procedure below will aid in the cleaning of carbon deposits from the injector sleeve during an injector replacement
1. Install the EN-47909-2 Radial Brush (brass), to the EN-47909-1 Handle Assembly.
2. Insert the brush into the injector bore and rotate the handle in order to break loose any carbon deposits from the injector bore walls and the
combustion deck hole.
Warning
Wear safety glasses in order to avoid eye damage.
3. Using compressed air, evacuate any debris from the injector bore.
4. Remove the radial brush from the handle assembly.
5. Install the EN-47909-3 Axial Brush (nylon), to the EN-47909-1.
6. Insert the axial brush into the injector bore and rotate the handle while also applying a slight downward pressure, in order to force the brush ends
into the bottom corners of the injector bore.
Warning
Wear safety glasses in order to avoid eye damage.
7. Using compressed air, evacuate any debris from the injector bore.
Caution: Do not allow excessive amounts of solvent to go into the cylinder during cleaning. Failure to do so may cause engine damage upon
start-up.
8. Lightly dampen EN-47909-20 Cotton Swab with Top Engine Cleaner, GM P/N 1052626 (Canadian P/N 993026) or equivalent, and wipe away
any deposits from the injector bore.
9. Inspect the injector bore for any deposits and repeat brushing if necessary.
Warning
Keep hands and face clear of glow plug holes while cranking. Hot liquid or gases may be expelled during cranking.
