
G 1500 1/2 Ton Van V6-4.3L VIN W (1997)
Ball Joint: Service and Repair
Lower
^
Tools Required:
-
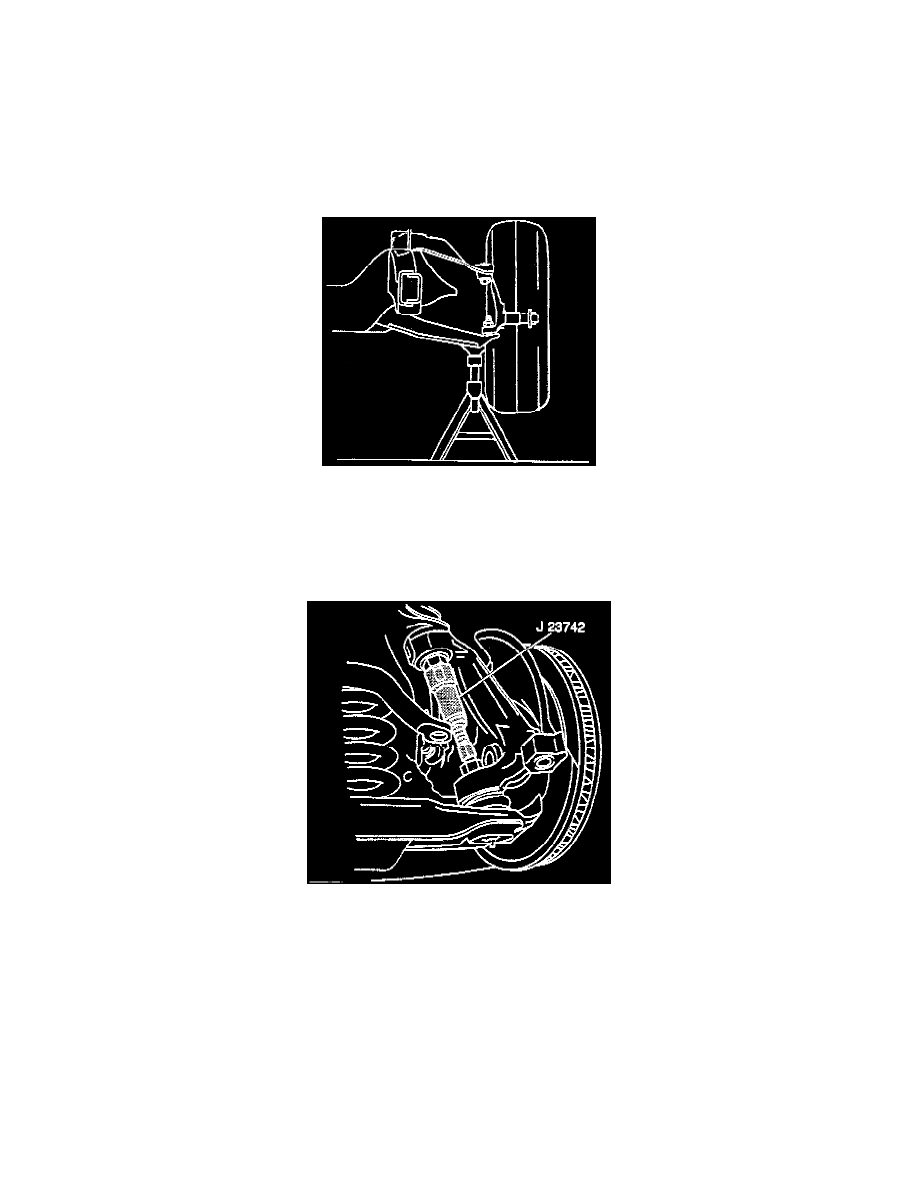
J 23742 Ball Joint Separator
-
J 9519-40 Lower Ball Joint Remover Adapter
-
J 9519-D Ball Joint Remover and Installer Kit
-
Or Equivalent
Remove or Disconnect
1. Raise the vehicle and support the frame with suitable safety stands.
2. The tire and wheel.
3. Place a floor jack under the control arm spring seat and raise it until it supports the control arm.
CAUTION: Floor jack must remain under the control arm spring seat during removal and installation to retain the spring and control arm in
position or personal injury may result.
4. The cotter pin and nut from the lower ball joint.
5. Using a pry bar placed under the upper control arm and on top of the frame, pry upward.
6. With the aid of a helper, carefully pound on the steering knuckle in the area of the lower ball joint stud to release it from the lower control arm.
7. Place a block under the upper control arm to keep the control arm and knuckle out of the way.