G 2500 3/4 Ton Van V8-6.5L DSL Turbo VIN F (1997)

Intake Manifold: Service and Repair
Removal
1. Disconnect the negative battery cables.
2. Remove the engine cover.
3. Remove the air cleaner assembly and air intake duct.
4. Remove the CDR vent hose.
5. Remove the fuel lines and brackets.
6. Remove the electrical harness and all electrical connections and brackets.
7. Remove the transmission oil level indicator tube.
8. Remove the engine oil indicator tube and bracket.
9. Remove the rear air conditioning (A/C) line. if equipped.
10. Evacuate the A/C system.
NOTE: Do not attempt to remove the center intake manifold with the left and the right intake manifolds as an assembly. Damage to the intake
gaskets, center intake manifold and the turbocharger may occur during reassembly.
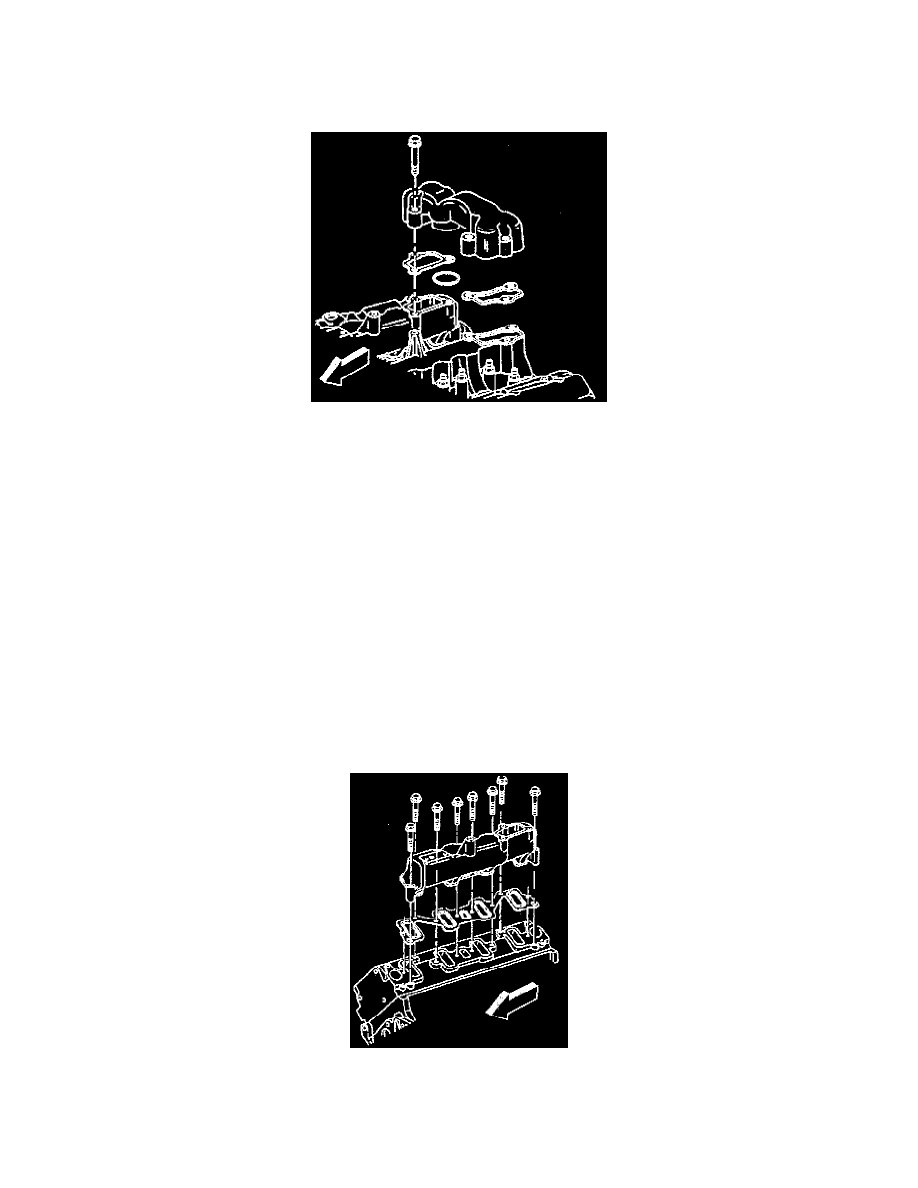
11. Remove the upper intake manifold.
12. Remove the glow plug relay.
NOTE: Mark the following components in order to ensure proper reinstallation
-
The fuel line clips
-
The lower intake manifold studs
-
The brackets.
13. Remove the lower intake manifold studs and fuel line clips.
14. Remove the intake manifold and the gaskets.
15. Clean the gasket surfaces on the lower intake manifold.
16. Clean the gasket surfaces on the cylinder heads.
