
G 2500 3/4 Ton Van V8-6.5L DSL Turbo VIN F (1997)
Intake Manifold: Service and Repair
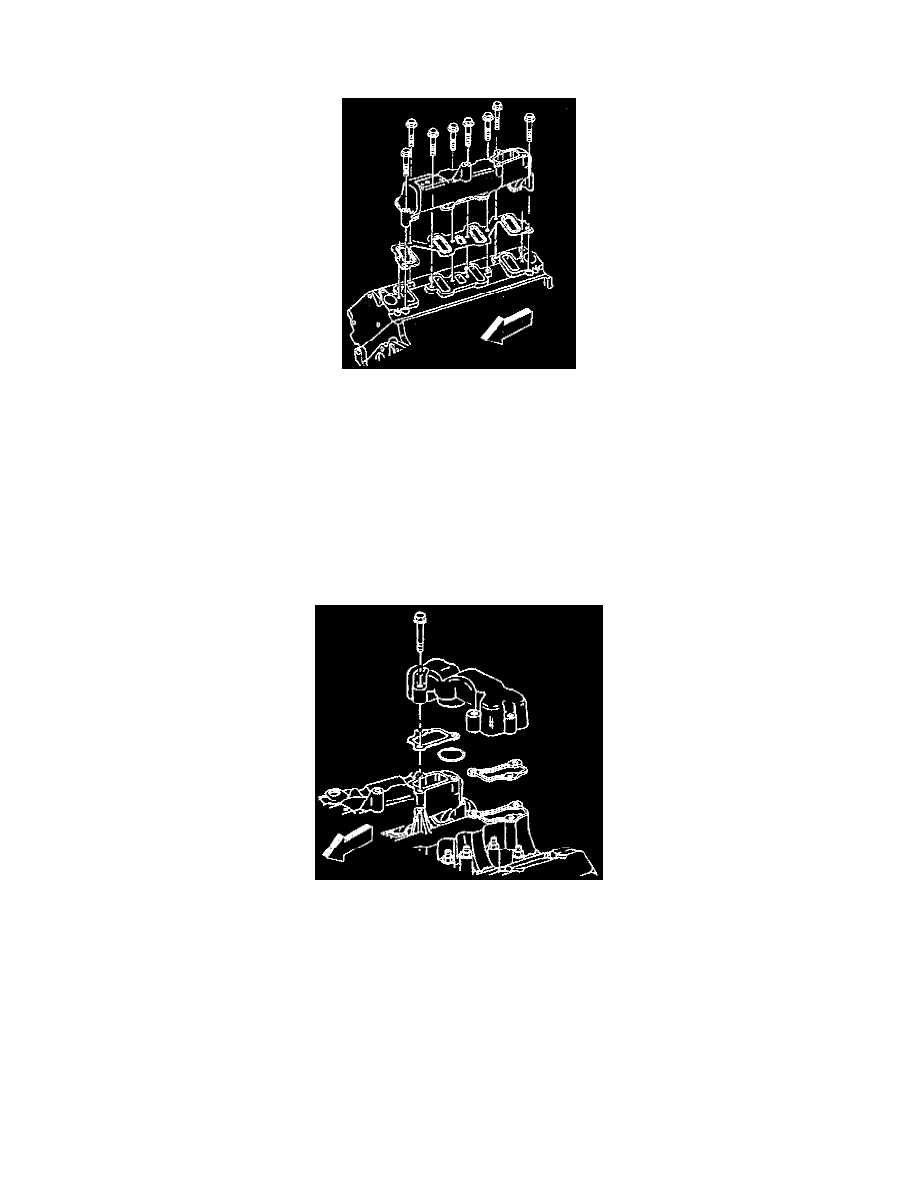
Installation
1. Install the lower intake manifold and gaskets.
2. Install the intake studs and the fuel line clips. Apply teflon sealer or equivalent to the intake manifold bolts.
-
Tighten the lower intake manifold studs to 42 Nm (31 ft. lbs.).
3. Install the fuel line brackets and the ground straps.
4. Install the electrical harness.
5. Install all the electrical connections and the brackets.
6. Install the transmission oil level indicator tube.
7. Install the engine oil level indicator tube.
8. Install the CDR vent hose.
NOTE: Always replace the O ring between the upper intake manifold and the turbocharger. Coat the O ring with clean engine oil before
installing.
9. Install the upper intake manifold.
-
Tighten the upper intake manifold bolts to 23 Nm (17 ft. lbs.).
10. Install the rear A/C lines, if equipped. Recharge the A/C system.
11. Install the glow plug relay.
12. Install the engine cover.
13. Connect the negative battery cable.