
HHR L4-2.4L (2010)
18. Lower the vehicle to approximately 1 meter (3 feet) off the ground in order to place a hydraulic lift table under the frame.
19. Use two 2 x 4s between the lift table and the frame and lift the table to the frame.
20. Slowly remove the frame bolts using the following sequence:
1. Remove the front frame bolts.
2. Remove the rear frame bolts.
21. Slowly lower the lift table and frame to the floor.
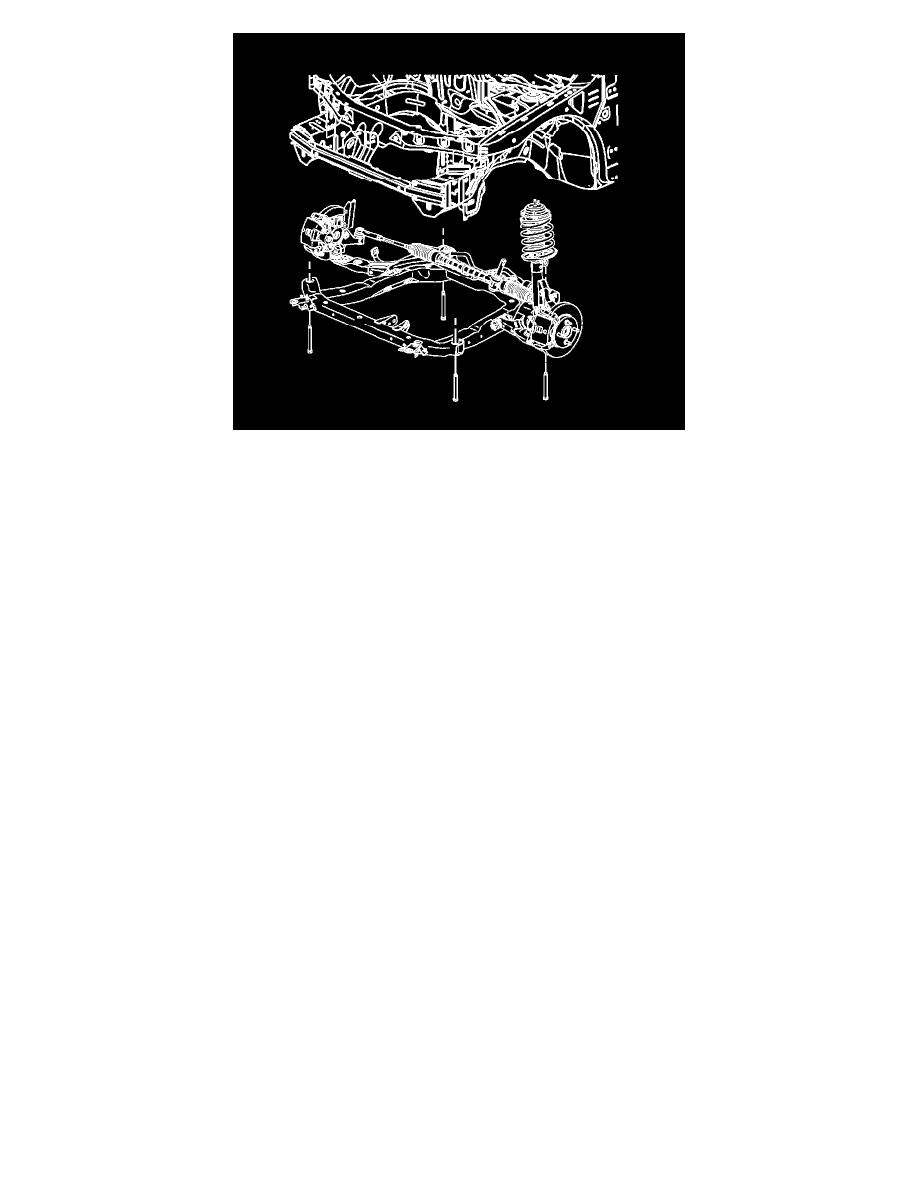
22. Continue with the following steps when replacing the frame:
1. Remove the steering gear from the frame. Refer to Steering Gear Replacement (LE8 and LE9) (See: Steering/Steering Gear)Steering Gear
Replacement (LNF) (See: Steering/Steering Gear).
2. Remove the stabilizer bar from the frame. Refer to Stabilizer Shaft Replacement (See: Stabilizer Bar/Service and Repair).
3. Remove the lower control arms from the frame. Refer to Lower Control Arm Replacement (See: Control Arm/Service and Repair).
4. Remove the radiator brackets from the frame.
Installation Procedure
1. If replacing the frame, perform the following steps:
1. Install the radiator brackets to the frame.
2. Install the lower control arms to the frame. Refer to Lower Control Arm Replacement (See: Control Arm/Service and Repair).
3. Install the stabilizer bar to the frame. Refer to Stabilizer Shaft Replacement (See: Stabilizer Bar/Service and Repair).
4. Install the steering gear to the frame. Refer to Steering Gear Replacement (LE8 and LE9) (See: Steering/Steering Gear)Steering Gear
Replacement (LNF) (See: Steering/Steering Gear).
2. With the frame on the lift table, raise the frame to the vehicle.