
HHR L4-2.4L (2010)
3. Hand start all the frame bolts while aligning the frame to the paint marks.
Caution: Refer to Fastener Caution (See: Service Precautions/Vehicle Damage Warnings/Fastener Caution).
4. Tighten the frame bolts to 100 Nm (74 lb ft) plus 180 degrees.
5. Lower and remove the hydraulic table.
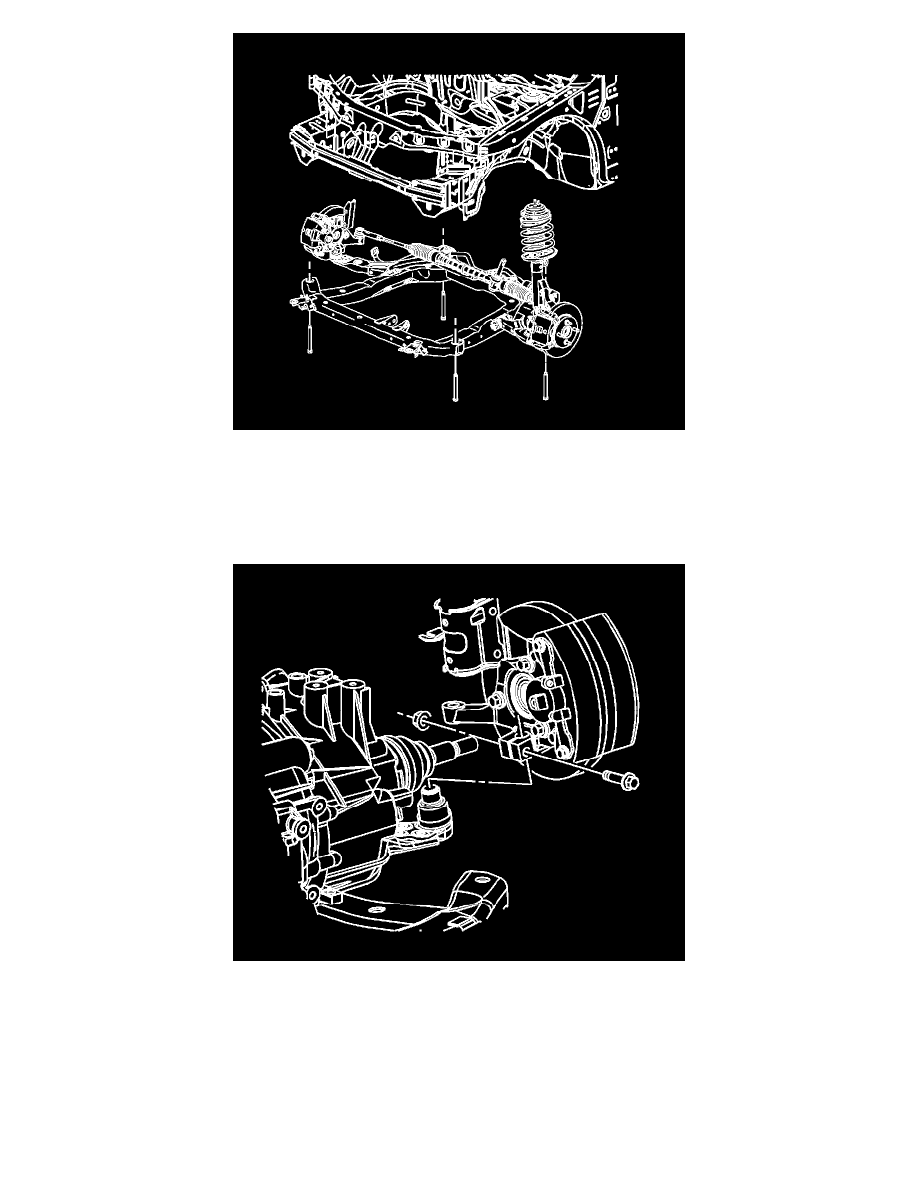
6. Connect the lower control arm to the steering knuckle.
Note: The torque sequence must be followed in the order that is listed.
7. Install the ball joint pinch bolt and nut. Tighten the nut to:
1. First Pass-Tighten the nut to 50 Nm (37 lb ft).
2. Reverse the nut 3/4 turn.
3. Second Pass-Tighten the nut to 50 Nm (37 lb ft) plus 30 degrees.