
Lumina V6-191 3.1L (1990)
2.
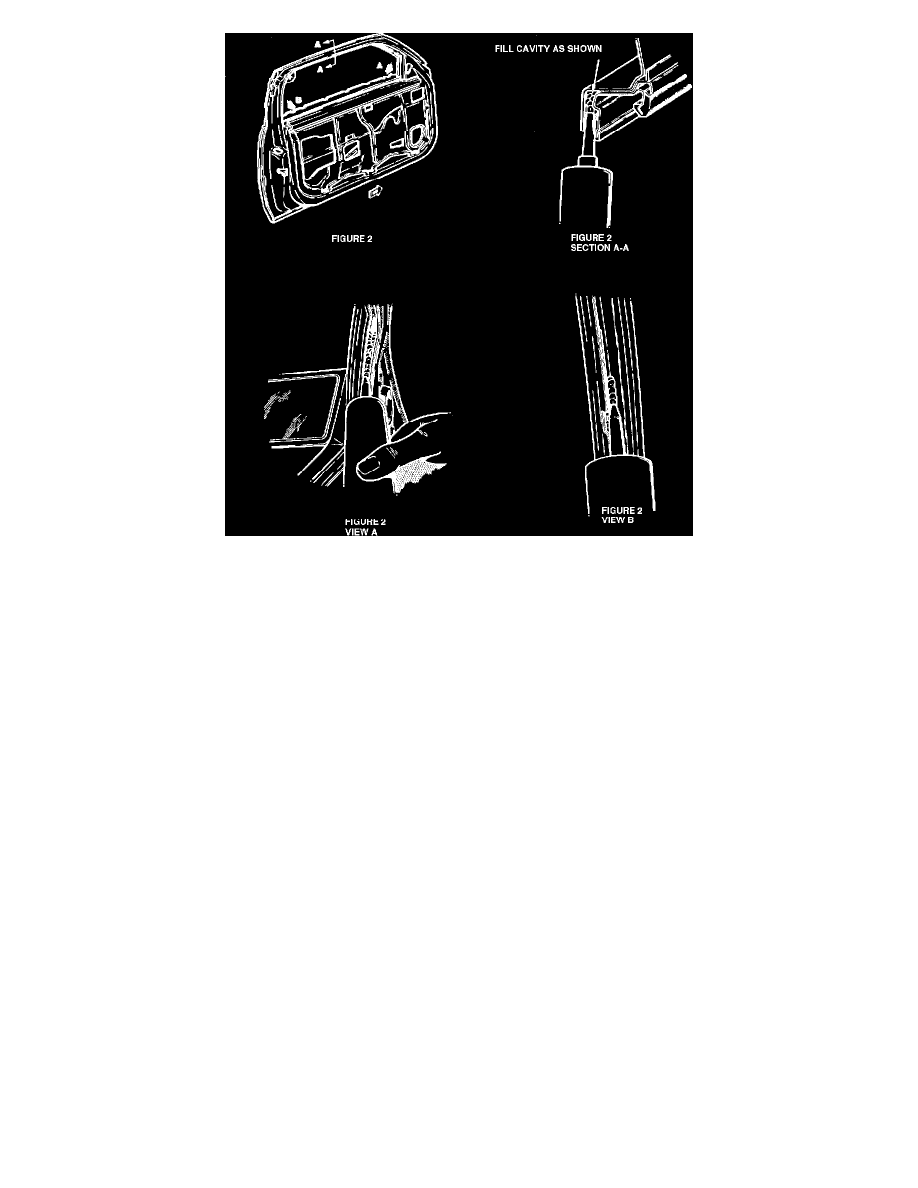
FRONT WINDOW RUN CHANNEL TO DOOR FRAME
With door trim panel, upper seat belt attachment, inner belt strip and door frame inside garnish molding removed:
A.
Carefully inject silicone sealer (clear or black) into the area between the door flange and window weatherstrip retainer see Figure
2-section A-A. Inject enough material until slight squeeze out is seen. Apply material the full length of the upper frame portion from the
top of the foam pad at the mirror patch area to the rear upper corner at belt attachment.
B.
Starting at the foam pad between the front run channel and the inside door flange at front, fill cavity from that pad downward to
approximately one inch below the belt line (See Figure 2, view A).
C.
With the same material, starting approximately one inch below the belt line at the rear of door frame (See Figure 2, view B), fill cavity to
the rear upper corner of the door frame.
D.
Reinstall garnish moldings, inner belt strip, upper seat belt attachment and door trim panel.
Rear Door Vent Glass Rubber Channel to Door Frame