
Lumina V6-3.1L VIN J (2000)
Trunk / Liftgate Weatherstrip: Service and Repair
Rear Compartment Lid Weatherstrip Replacement
Removal Procedure
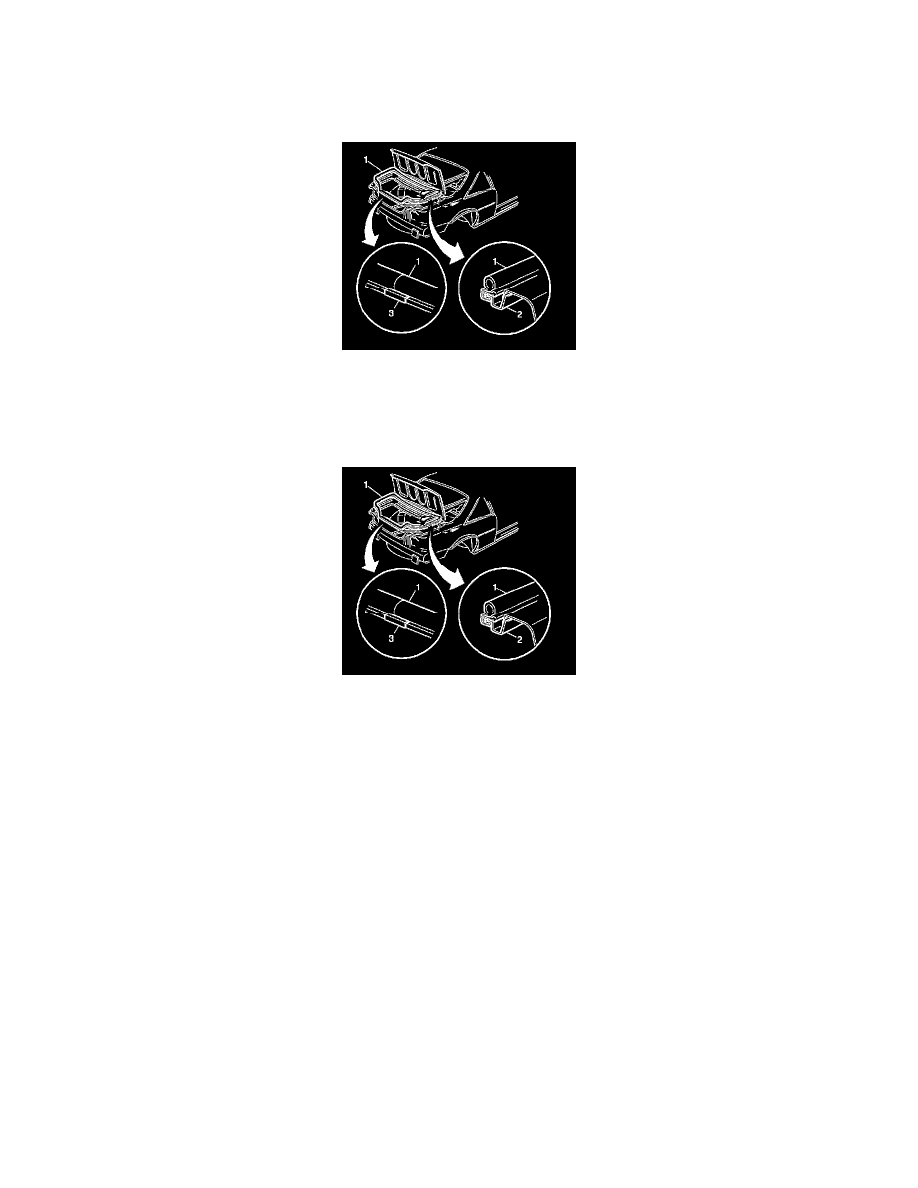
1. Grasp the rear compartment weatherstrip (1).
2. Carefully pull up the weatherstrip (1). Remove the weatherstrip (1) from the pinch-weld flange (2).
3. Clean all of the adhesive from the pinch-weld flang.
Installation Procedure
1. Apply a 3 mm (1/8 in) bead of weatherstrip adhesive to the top edge of the pinch-weld flange (2), around the complete perimeter of the rear
compartment opening.
2. Loop the weatherstrip (1) over the rear compartment lid.
3. Locate the color mark on the weatherstrip (1) to the body centerline at the front of the rear compartment lid opening.
4. Engage the weatherstrip (1) onto the pinch-weld flange (2), starting at the top center of the lid opening and working toward the bottom center.
5. Ensure that the metal joint clip (3) is located at the striker after installation.
6. Use a rubber mallet in order to engage the weatherstrip (1) to the pinch-weld flange. Ensure that the weatherstrip is fully engaged.