
Malibu L4-2.4L (2010)
1. Install the brake caliper bracket.
Caution: This is a self-retaining fastener joint that does not require thread locking compounds. Do not attempt to clean the threads with a
standard tap. If a standard tap is used, damage to the joint threads will occur.
Caution: Refer to Fastener Caution (See: Service Precautions/Vehicle Damage Warnings/Fastener Caution).
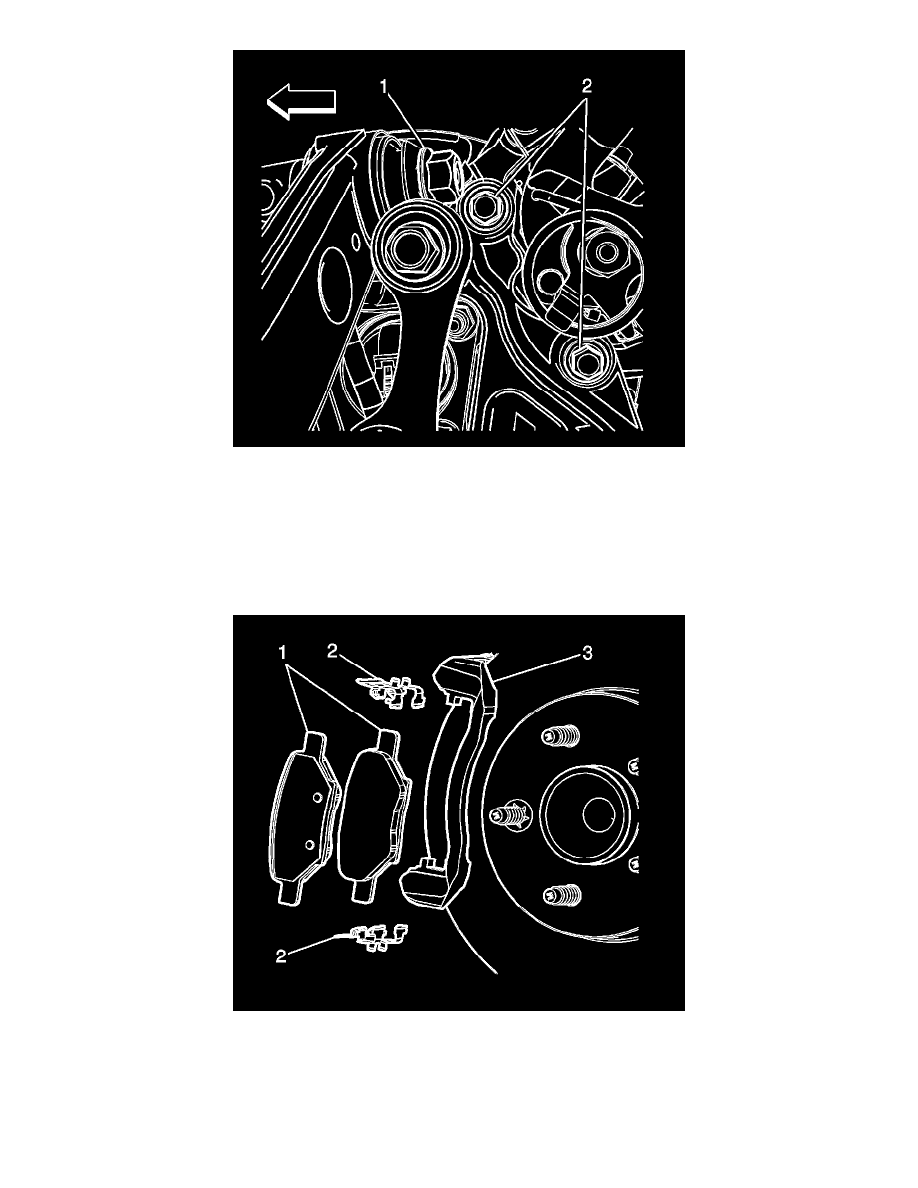
2. Install the brake caliper mounting bracket bolts (2) and tighten to 130 Nm (96 lb ft).
3. Install the brake pad retainers (2) to the brake caliper bracket (3).
4. Install the brake pads (1) to the brake caliper bracket (3).
5. Install the brake caliper. Refer to Rear Brake Caliper Replacement (See: Rear Brake Caliper Replacement).
6. Install the rear tire and wheel assembly. Refer to Tire and Wheel Removal and Installation (See: Maintenance/Wheels and Tires/Service and
Repair).
7. Lower the vehicle.
8. Pump the brake pedal 2-3 times in order to seat the rear disc brake pads to the rotor.