
Malibu L4-2.4L (2010)
11. Install the brake caliper to the vehicle. Refer to Front Brake Caliper Replacement (See: Removal and Replacement/Front Brake Caliper
Replacement).
Rear Brake Caliper Overhaul
Rear Brake Caliper Overhaul
Removal Procedure
Warning: Refer to Brake Dust Warning (See: Service Precautions/Technician Safety Information/Brake Dust Warning).
Warning: Refer to Brake Fluid Irritant Warning (See: Service Precautions/Technician Safety Information/Brake Fluid Irritant Warning).
Caution: Refer to Brake Fluid Effects on Paint and Electrical Components Caution (See: Service Precautions/Vehicle Damage Warnings/Brake
Fluid Effects on Paint and Electrical Components Caution).
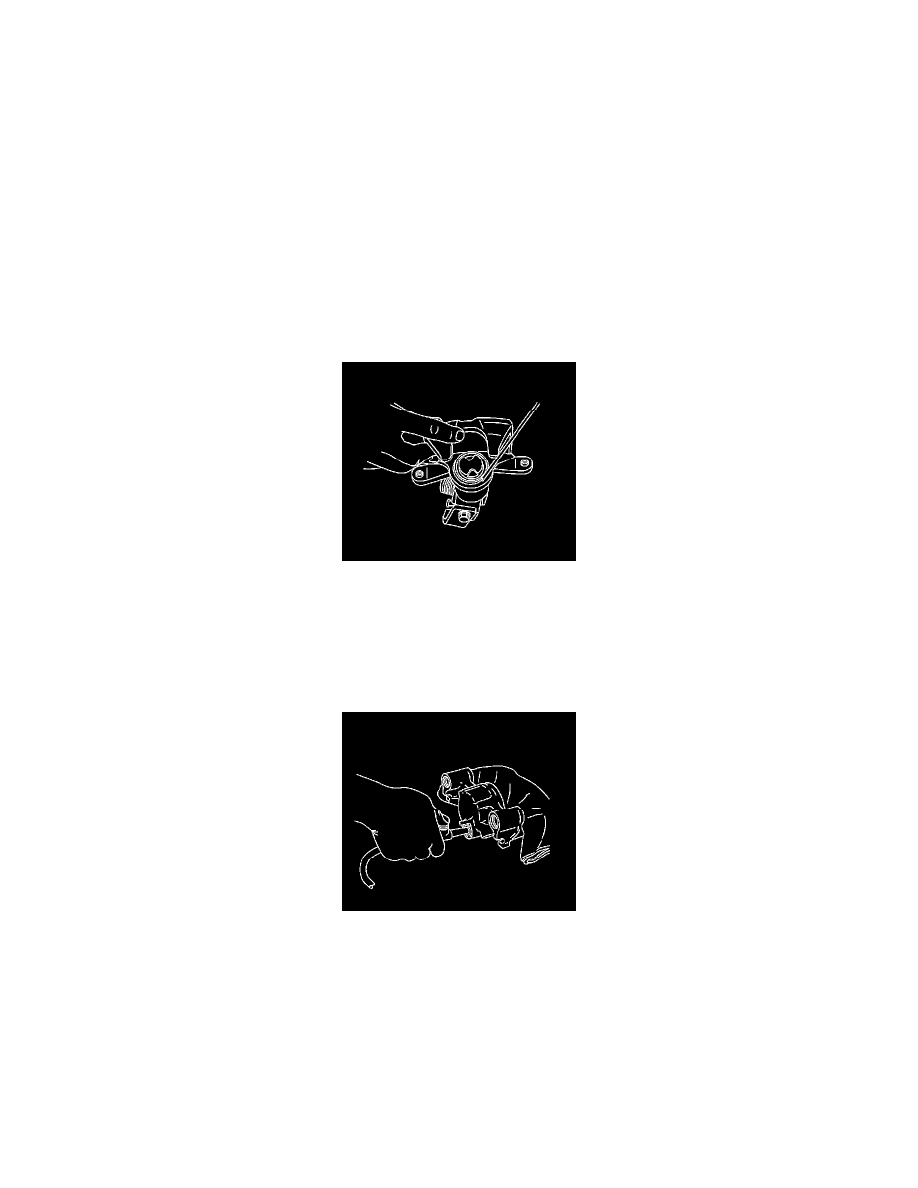
1. Remove the rear brake caliper from vehicle. Refer to Rear Brake Caliper Replacement (See: Removal and Replacement/Rear Brake Caliper
Replacement).
Note: If the brake caliper was leaking brake fluid from the REAR of the caliper past the integral park brake actuator shaft seal, replace the brake
caliper assembly. The park brake integral mechanism contains a non-serviceable seal which may be allowing brake fluid to leak past it and into the
non-serviceable integral park brake mechanism.
2. Drain the brake fluid from the caliper assembly.
3. Using a small wooden or plastic tool, carefully remove the brake caliper piston dust boot seal retaining ring from the groove in the caliper seal
counterbore.
4. Place a block of wood against the inside of the caliper body, opposite of the caliper piston.
5. Direct low pressure compressed air through the caliper inlet hose to remove the caliper piston.