
Prizm L4-108 1.8L DOHC VIN 8 MFI (1998)
Oxygen Sensor: Service and Repair
HO2S Replacement (Sensor 2)
Removal Procedure
Notice: The heated oxygen sensors each use a permanently attached pigtail and connector. Do not remove the pigtail from the heated oxygen sensor.
Damage or removal of the pigtail or the connector affects proper operation of the heated oxygen sensor. Handle the oxygen sensor carefully. Do not drop
the oxygen sensor. Keep the in-line connector and the louvered end free of grease, dirt, or other contaminants. Do not use cleaning solvents of any type.
Do not repair the wiring, the connector, or the terminals. Replace the oxygen sensor if the pigtail wiring, the terminals, or the connector is damaged.
Proper oxygen sensor operation requires an external air reference. This external air reference is obtained by way of the oxygen sensor signal and heater
wires. Any attempt to repair the wires, the connectors, or the terminals results in the obstruction of the air reference and degrades the oxygen sensor
performance. A dropped oxygen sensor is a bad oxygen sensor.
Important: The HO2S may be difficult to remove at temperatures above 48°C (120°F). Allow the engine to cool down before attempting to remove the
HO2S. Use care in order to prevent any damage to the threads in the exhaust pipe.
1. Remove the front floor console.
2. Pull back the passenger side carpet from along the console floor area.
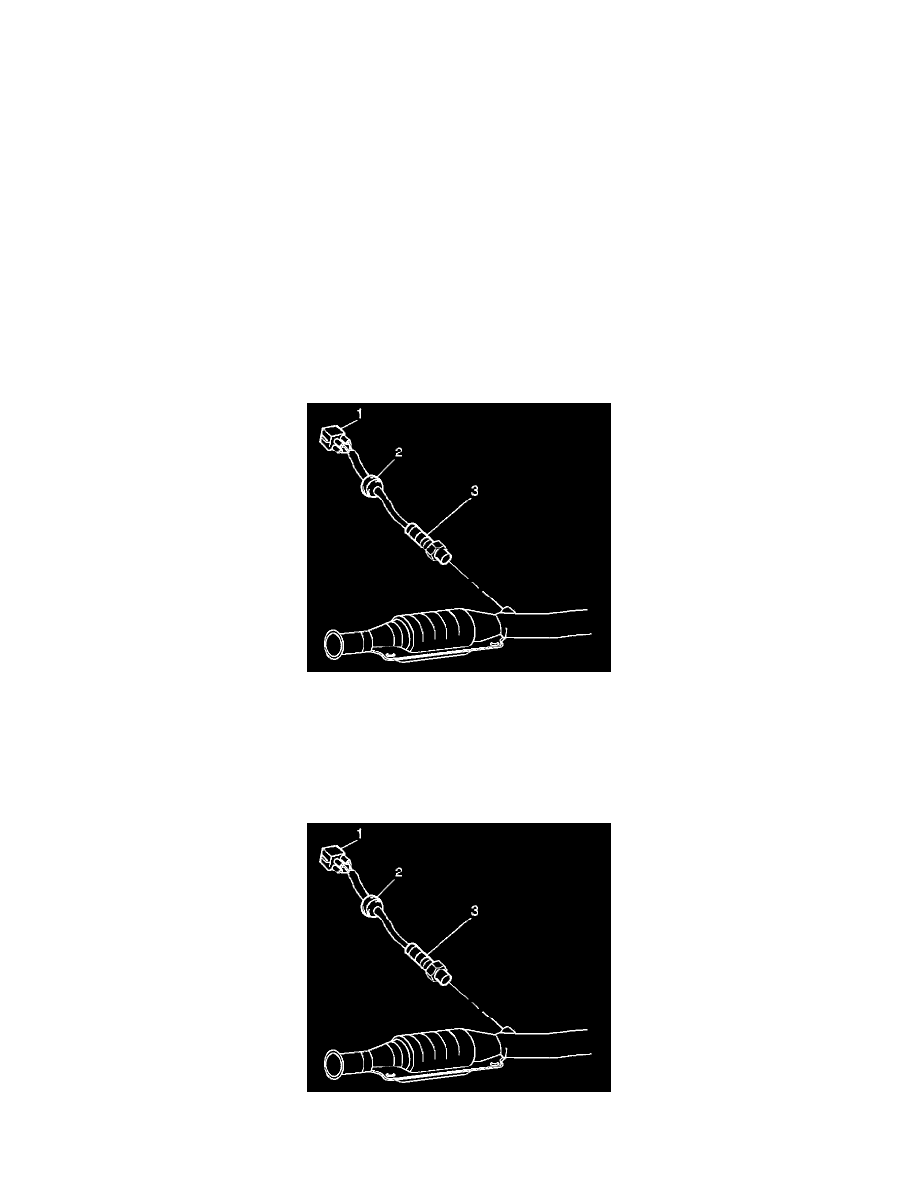
3. Disconnect the HO2S 2 electrical connector (1).
4. Remove the HO2S wiring from being under the floor heat duct.
5. Raise and suitably support the vehicle.
6. Remove the wiring and the body plug (2) from the floor pan.
7. Remove the HO2S 2 (3) from the exhaust pipe.
Installation Procedure
Important: The HO2S 2 comes with an anti-seize coating on the new sensor. Take precautions in order to prevent removal of any of this coating prior to
installation.
1. Install the HO2S 2 (3) into the exhaust pipe.