
Prizm L4-108 1.8L DOHC VIN 8 MFI (1998)
Wheel Fastener: Service and Repair
Front Suspension
REMOVAL PROCEDURE
^
Tools Required:
-
J 6627-A Stud Remover
1. Siphon brake fluid from the master cylinder.
2. Raise and support the vehicle.
3. Remove the tire and wheel assembly from the vehicle. Refer to TIRE AND WHEEL REMOVAL AND INSTALLATION in TIRES AND
WHEELS.
4. Compress the brake caliper piston with a C-clamp.
5. Remove the two brake caliper mounting bolts.
NOTICE: Do not allow the brake components to hang from the flexible brake hoses. Damage to the brake hoses could result.
6. Remove the caliper from the rotor. Suspend the caliper assembly with wire in order to prevent damage to the brake hose.
7. Remove the brake rotor. Refer to BRAKE ROTOR REPLACEMENT in DISC BRAKES.
8. Remove the three disc brake shield bolts and the disc brake shield.
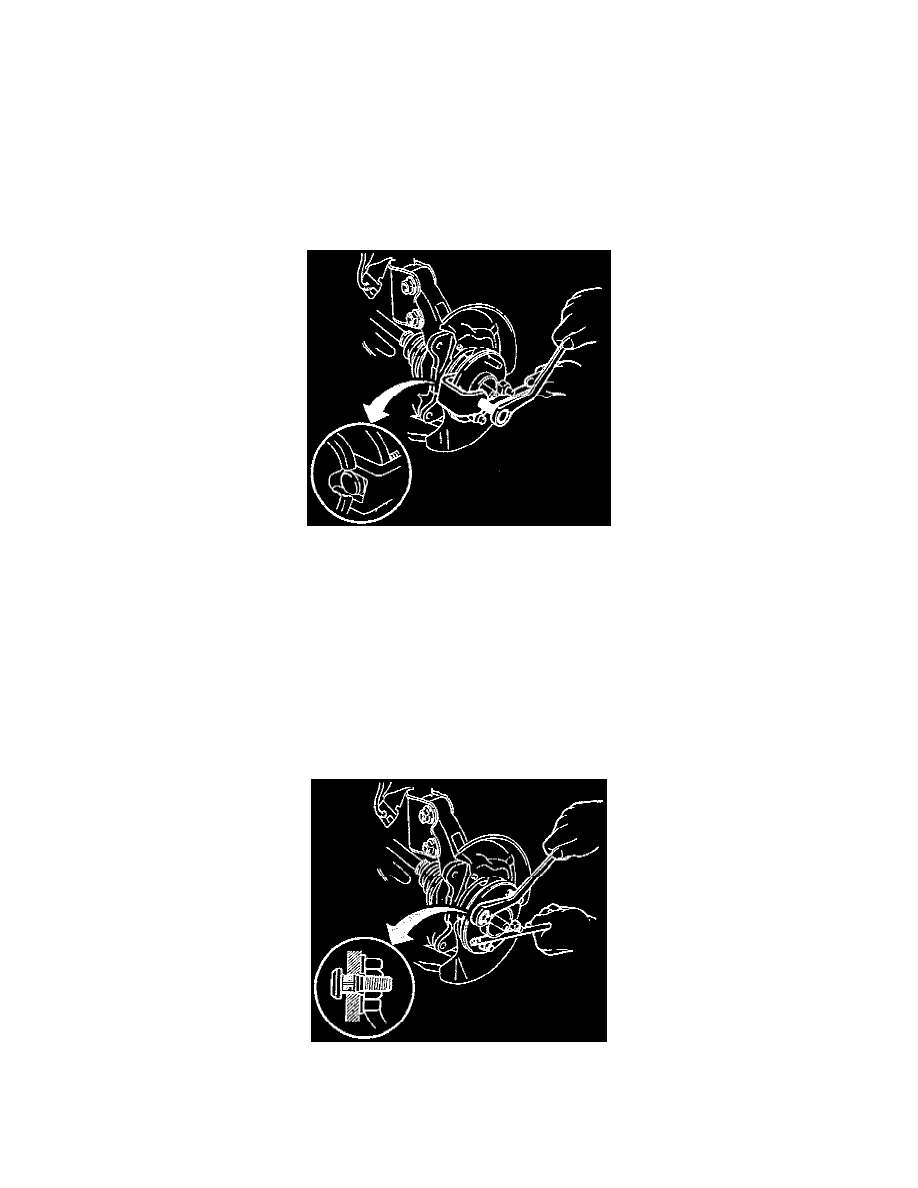
9. Install a wheel nut onto the wheel stud.
10. Remove the wheel stud using the J 6627-A.
11. Remove the wheel nut from the stud.
INSTALLATION PROCEDURE
1. Install the washers on the wheel stud. Pull the wheel stud into position with a wheel nut.
2. Remove the wheel nut and washers.
NOTICE: Always use the correct fastener in the proper location. When you replace a fastener, use ONLY the exact part number for that
application. The manufacturer will call out those fasteners that require a replacement after removal. The manufacturer will also call out the